Ender 3 Control Box for original Board / TL-Smoother Plus / Mosfet / 2x relay
thingiverse
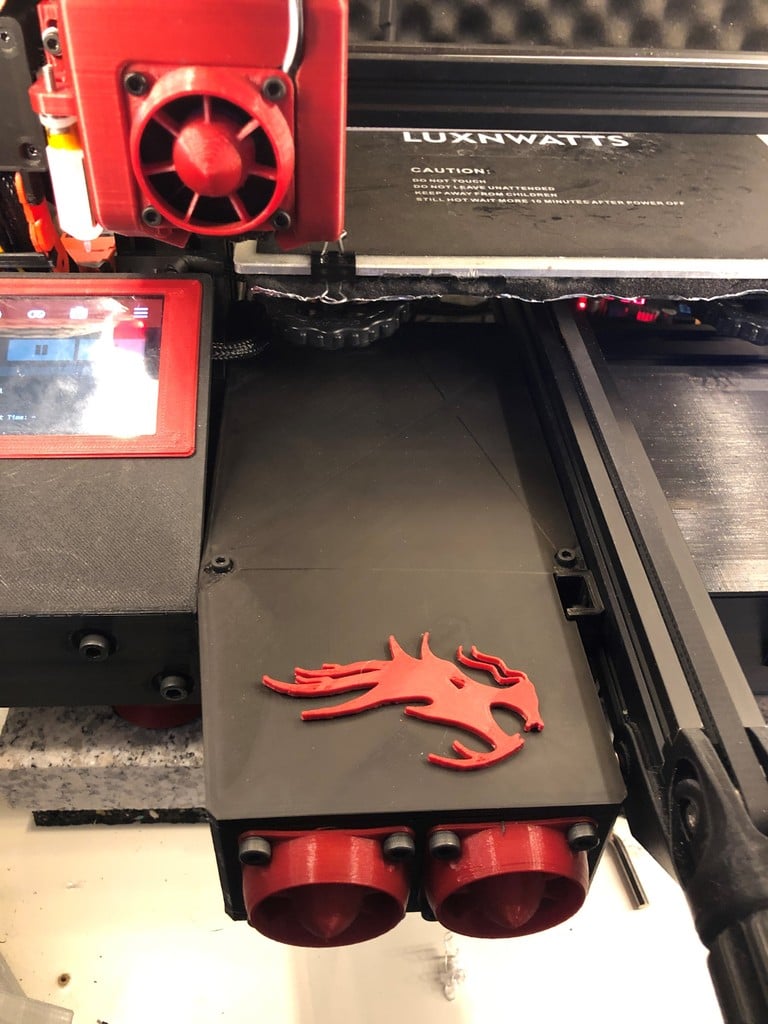
UPDATE 04.03.2019 I've made several changes: - I aligned the position of some screw holes to fit better. - I added an option to screw the box onto the Y-axis extrusion. - I removed some millimeters from the backside to fit better on printers with a 220x220 print bed. - I added some cable holders onto the TL-Smoother holder. Hey guys, This modification was requested in the Ender 3 Facebook group, so I decided to make it public for everyone. It has a place for the following items: - Original Ender 3 Melzi Board (1.1.3 in my case) - 3D-Freunde Mosfet V2 (the big one) - 4x TL-Smoother Plus by Trianglelab (without screw holes) - 2x relay module IMPORTANT: I recommend disassembling the old XT60 1.5mm² cable and installing a 2.5mm² cable without XT60, which directly goes into the control box. Why? The mosfet produces more power to the heatbed than the original board. You should place the TL-Smoother for the extruder stepper on top because other than X/Y/Z, the extruder stepper is a full-size NEMA17 with much more voltage than the others, which produces much more heat in the TL-Smoother. You need 2x 40x10mm fans to get good cooling. You need to use some good connectors for the cables so that it's safe to use. There are high amps used in the printer, so double-check everything before - the original wiring methods from Creality are not good!
With this file you will be able to print Ender 3 Control Box for original Board / TL-Smoother Plus / Mosfet / 2x relay with your 3D printer. Click on the button and save the file on your computer to work, edit or customize your design. You can also find more 3D designs for printers on Ender 3 Control Box for original Board / TL-Smoother Plus / Mosfet / 2x relay.