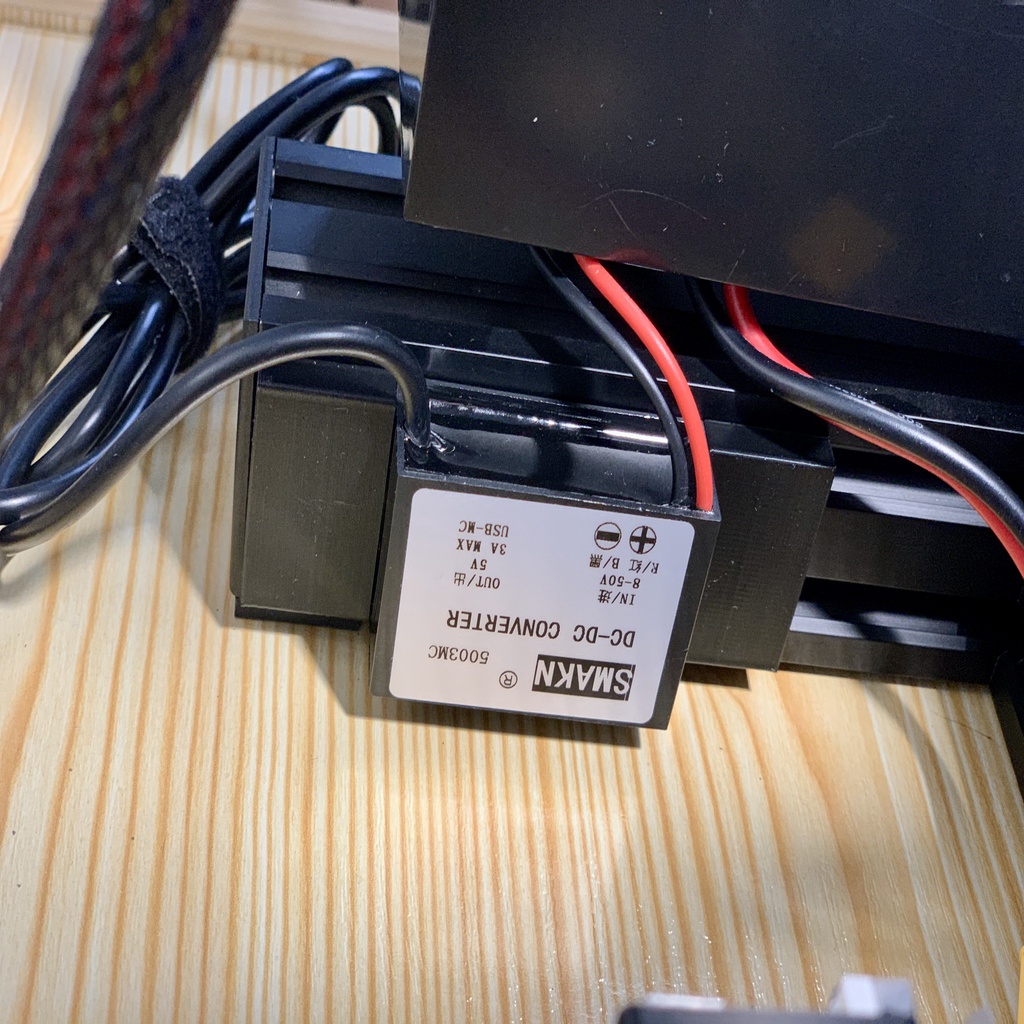
Ender-3 buck converter holder (for Raspberry Pi)
thingiverse
To run a buck converter with Raspberry Pi, two holders are needed. These can be attached to 4040 extrusion and connected directly to the main power supply via the buck converter, while also linking the micro USB cable to Raspberry Pi. That's it! No soldering is required, nor is a multimeter necessary. I utilized this particular buck converter: https://www.amazon.com/SMAKN%C2%AE-Converter-Supply-Module-OUTPUT/dp/B00R5JL8WI/ref=sr_1_3?__mk_pt_BR=ÅMÅŽÕÑ&keywords=smakn%C2%AE+dc%2Fdc+converter+12v%2F24v%2F36v%2F48v+step+down&qid=1570976906&sr=8-3
With this file you will be able to print Ender-3 buck converter holder (for Raspberry Pi) with your 3D printer. Click on the button and save the file on your computer to work, edit or customize your design. You can also find more 3D designs for printers on Ender-3 buck converter holder (for Raspberry Pi).
