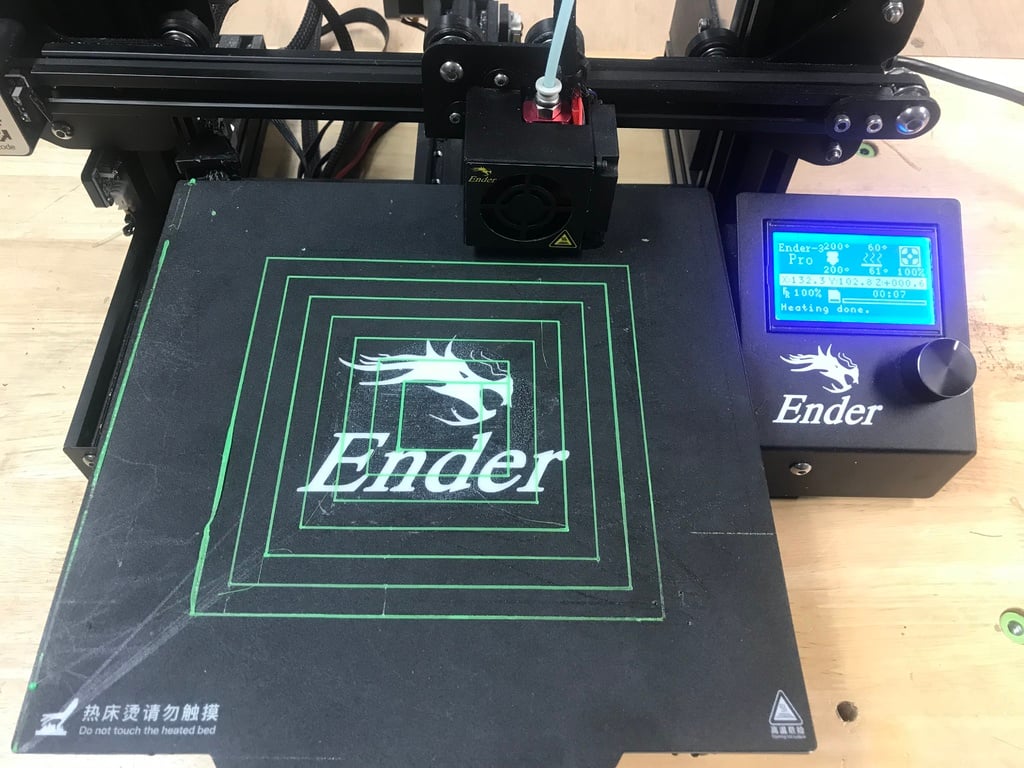
Ender 3 Bed Level
thingiverse
Note: I've updated this 2/12/2020. The test print now prints from outside to inside, rather than the reverse. To complete this task, you'll need two files. First, run the CHEP_ender_3_bed_level.gcode file on your Ender 3 or any similar-sized printer. Next, adjust each corner by passing a piece of paper or a Filament Friday sticker under the nozzle until it can barely move. Then, run the CHEP_bed_level_test.gcode file and live-adjust or "adjust on the fly" the bed level knobs to get as close to a level bed as possible. The print will continue through multiple layers, but you can stop at any time and proceed with 3D printing without worrying about bed level. I've also included the CHEP_bed_level_test.stl file for those who prefer to slice it themselves. Further details on this process are explained in my YouTube video: https://youtu.be/_EfWVUJjBdA
With this file you will be able to print Ender 3 Bed Level with your 3D printer. Click on the button and save the file on your computer to work, edit or customize your design. You can also find more 3D designs for printers on Ender 3 Bed Level.
