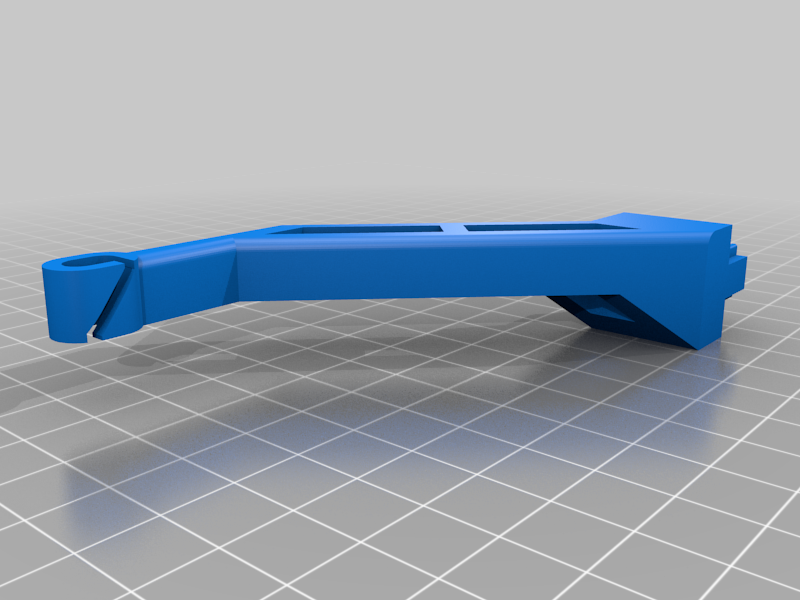
Ender 3/3 Pro top filament for use with Micro Swiss direct drive
thingiverse
Ender 3 3 Pro Top Filament Guide for Direct Drive Extrusion with Micro Swiss System 1. Install Guide: Attach the Top Filament Guide to the right side of your 3D printer's extruder system. Secure it firmly using M5x10 screws provided. 2. Cable Management: Route cables neatly through cable ties and secure them within the guide to keep the work area clean and free from obstacles. 3. Micro Swiss Direct Drive Extruder Setup: Ensure the direct drive extruder is correctly assembled and securely attached to the top filament guide. 4. Filament Threader: Use the provided threader tool to push the filament through the guide's entry point, ensuring a smooth path for the filament. 5. Guide Adjustment: Make any necessary adjustments to the guide's positioning to ensure proper alignment with the extruder's hotend and filament path. 6. Cable Management (continued): Securely tie down the cable management system within the guide using cable clips or zip ties, maintaining a clean and organized workspace. 7. Final Check: Verify all connections are secure and properly aligned before proceeding with 3D printing operations.
With this file you will be able to print Ender 3/3 Pro top filament for use with Micro Swiss direct drive with your 3D printer. Click on the button and save the file on your computer to work, edit or customize your design. You can also find more 3D designs for printers on Ender 3/3 Pro top filament for use with Micro Swiss direct drive.
