Ender 2 Pro Bed Knobs EZ Install
prusaprinters
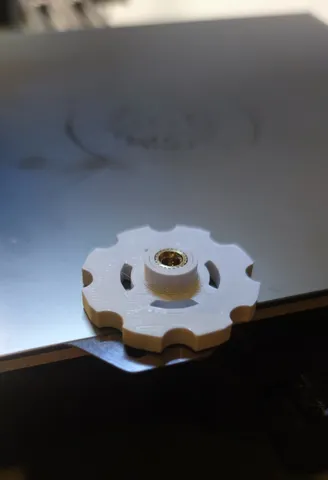
I wanted to make a bed knob that didn't need to use a soldering iron to install and get rid of the last red parts on my printer. Below are the steps you take to install and also I've posted some pictures for reference.1. Print the knobs then use an m4 bolt and screw it a little into the m4x8x6 insert. 2. Add just a little Kwik JB Weld onto the insert.3. Turn the wheel upside down and then place the insert into the knob while holding the m4 bolt. Take out bolt.4. Let the JB Weld cure(I let mine cure overnight) then you can install onto the printer.Link to the insert kit I used: https://www.amazon.com/dp/B07YFQ1H5J?psc=1&ref=ppx_yo2ov_dt_b_product_detailsHope you like it.
With this file you will be able to print Ender 2 Pro Bed Knobs EZ Install with your 3D printer. Click on the button and save the file on your computer to work, edit or customize your design. You can also find more 3D designs for printers on Ender 2 Pro Bed Knobs EZ Install.