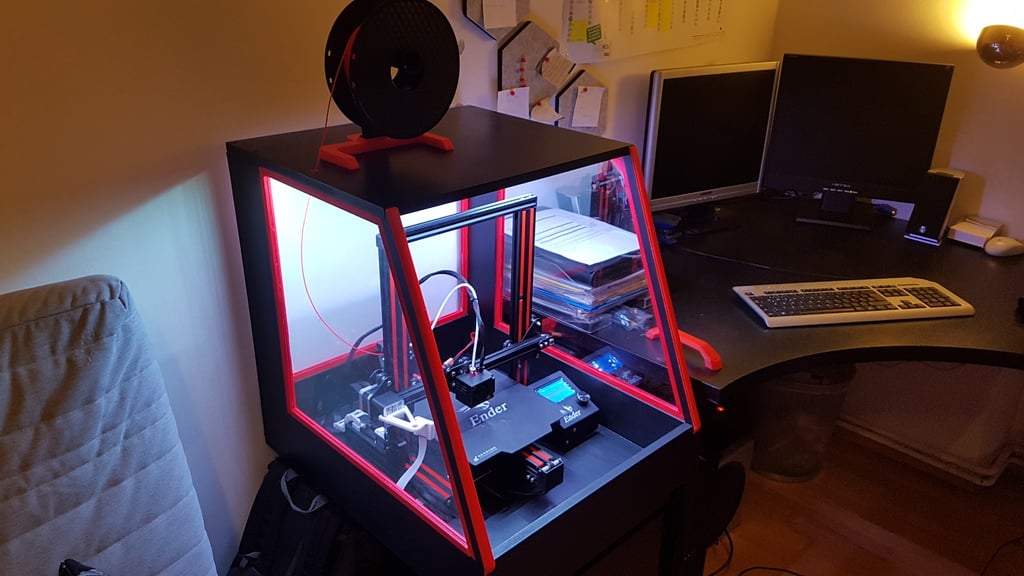
Enclosure/ Umhausung Ender3 Pro
thingiverse
I'm really proud of my Creality Ender 3 Pro enclosure.\r\n\r\nTo make this amazing project, I used:\r\n-Creality Ender 3 printer\r\n-Raspberry Pi computer\r\n-Raspi cam for high-quality video\r\n-24V to 5V step-down converter for efficient power management\r\n-Y-Wire XT60 connectors for powering both the Ender and Raspberry from a single supply\r\n-Two hinges for smooth door operation\r\n-Red spray paint for a vibrant finish\r\n-Black acrylic paint for a sleek look\r\n-Red filament from Greeetech for a pop of color\r\n-Thin 16mm MDF plates for durability and stability\r\n-Plexiglas sheets measuring 50x50x2mm for clarity and strength\r\n-Wooden strips to build a sturdy frame for the Plexiglas\r\n-24V LED stripes for bright lighting\r\n-Assorted wires for connections\r\n-Velcro fasteners in M3 size for easy installation
With this file you will be able to print Enclosure/ Umhausung Ender3 Pro with your 3D printer. Click on the button and save the file on your computer to work, edit or customize your design. You can also find more 3D designs for printers on Enclosure/ Umhausung Ender3 Pro.
