Enclosure heater
thingiverse
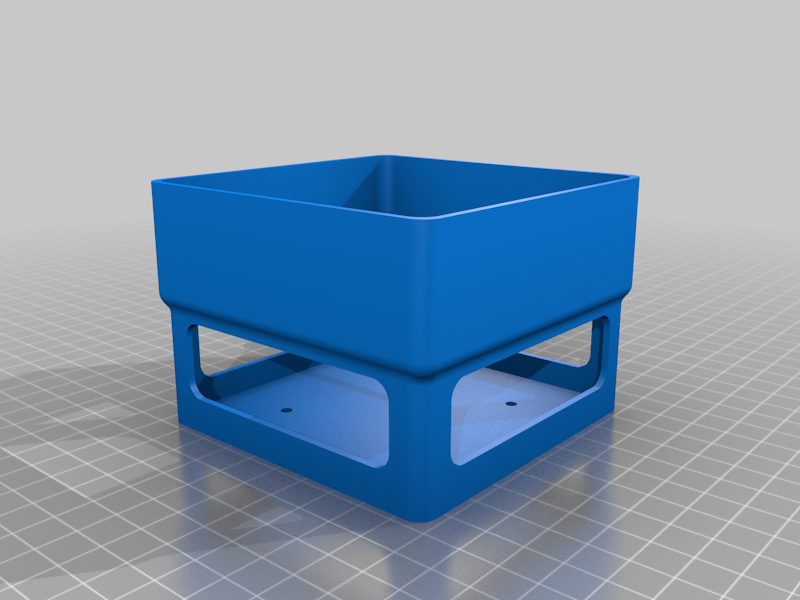
This is an enclosure heater designed specifically for a 3D printer. It requires 3.5mm screws at the bottom to secure it, and you'll need to slide in a 120mm fan and a PTC heater as shown here: https://tinyurl.com/ycyjk8yw. For temperature control, use a generic relay-based controller with an external relay or any other compact heating controller you prefer. Note: This enclosure can pose a significant fire hazard and electrical shock risk due to live voltage, so exercise extreme caution when handling it. Parts Needed: 1. Shroud 2. Floor bracket 3. 4 screws (3.5mm or smaller) for attachment 4. 4 M3 screws for securing the heater (these screw into plastic, so avoid overtightening) 5. A 120mm fan with a compatible power supply 6. A heating controller Instructions: 1. Slide the fan into the floor bracket and route cables outside. 2. Attach the heater to the shroud using the M3 screws. 3. Position the shroud on top of the floor bracket, securing it with glue or by modifying the design with additional screws if desired. 4. Connect the temperature controller and power supply for the fan. 5. To automate the heating process, consider using a smart power strip that turns on the heater when your 3D printer starts drawing power. Alternatively, you can explore integrating the mainboard of your printer or utilizing OctoPrint; however, this requires more advanced knowledge and expertise.
With this file you will be able to print Enclosure heater with your 3D printer. Click on the button and save the file on your computer to work, edit or customize your design. You can also find more 3D designs for printers on Enclosure heater.
