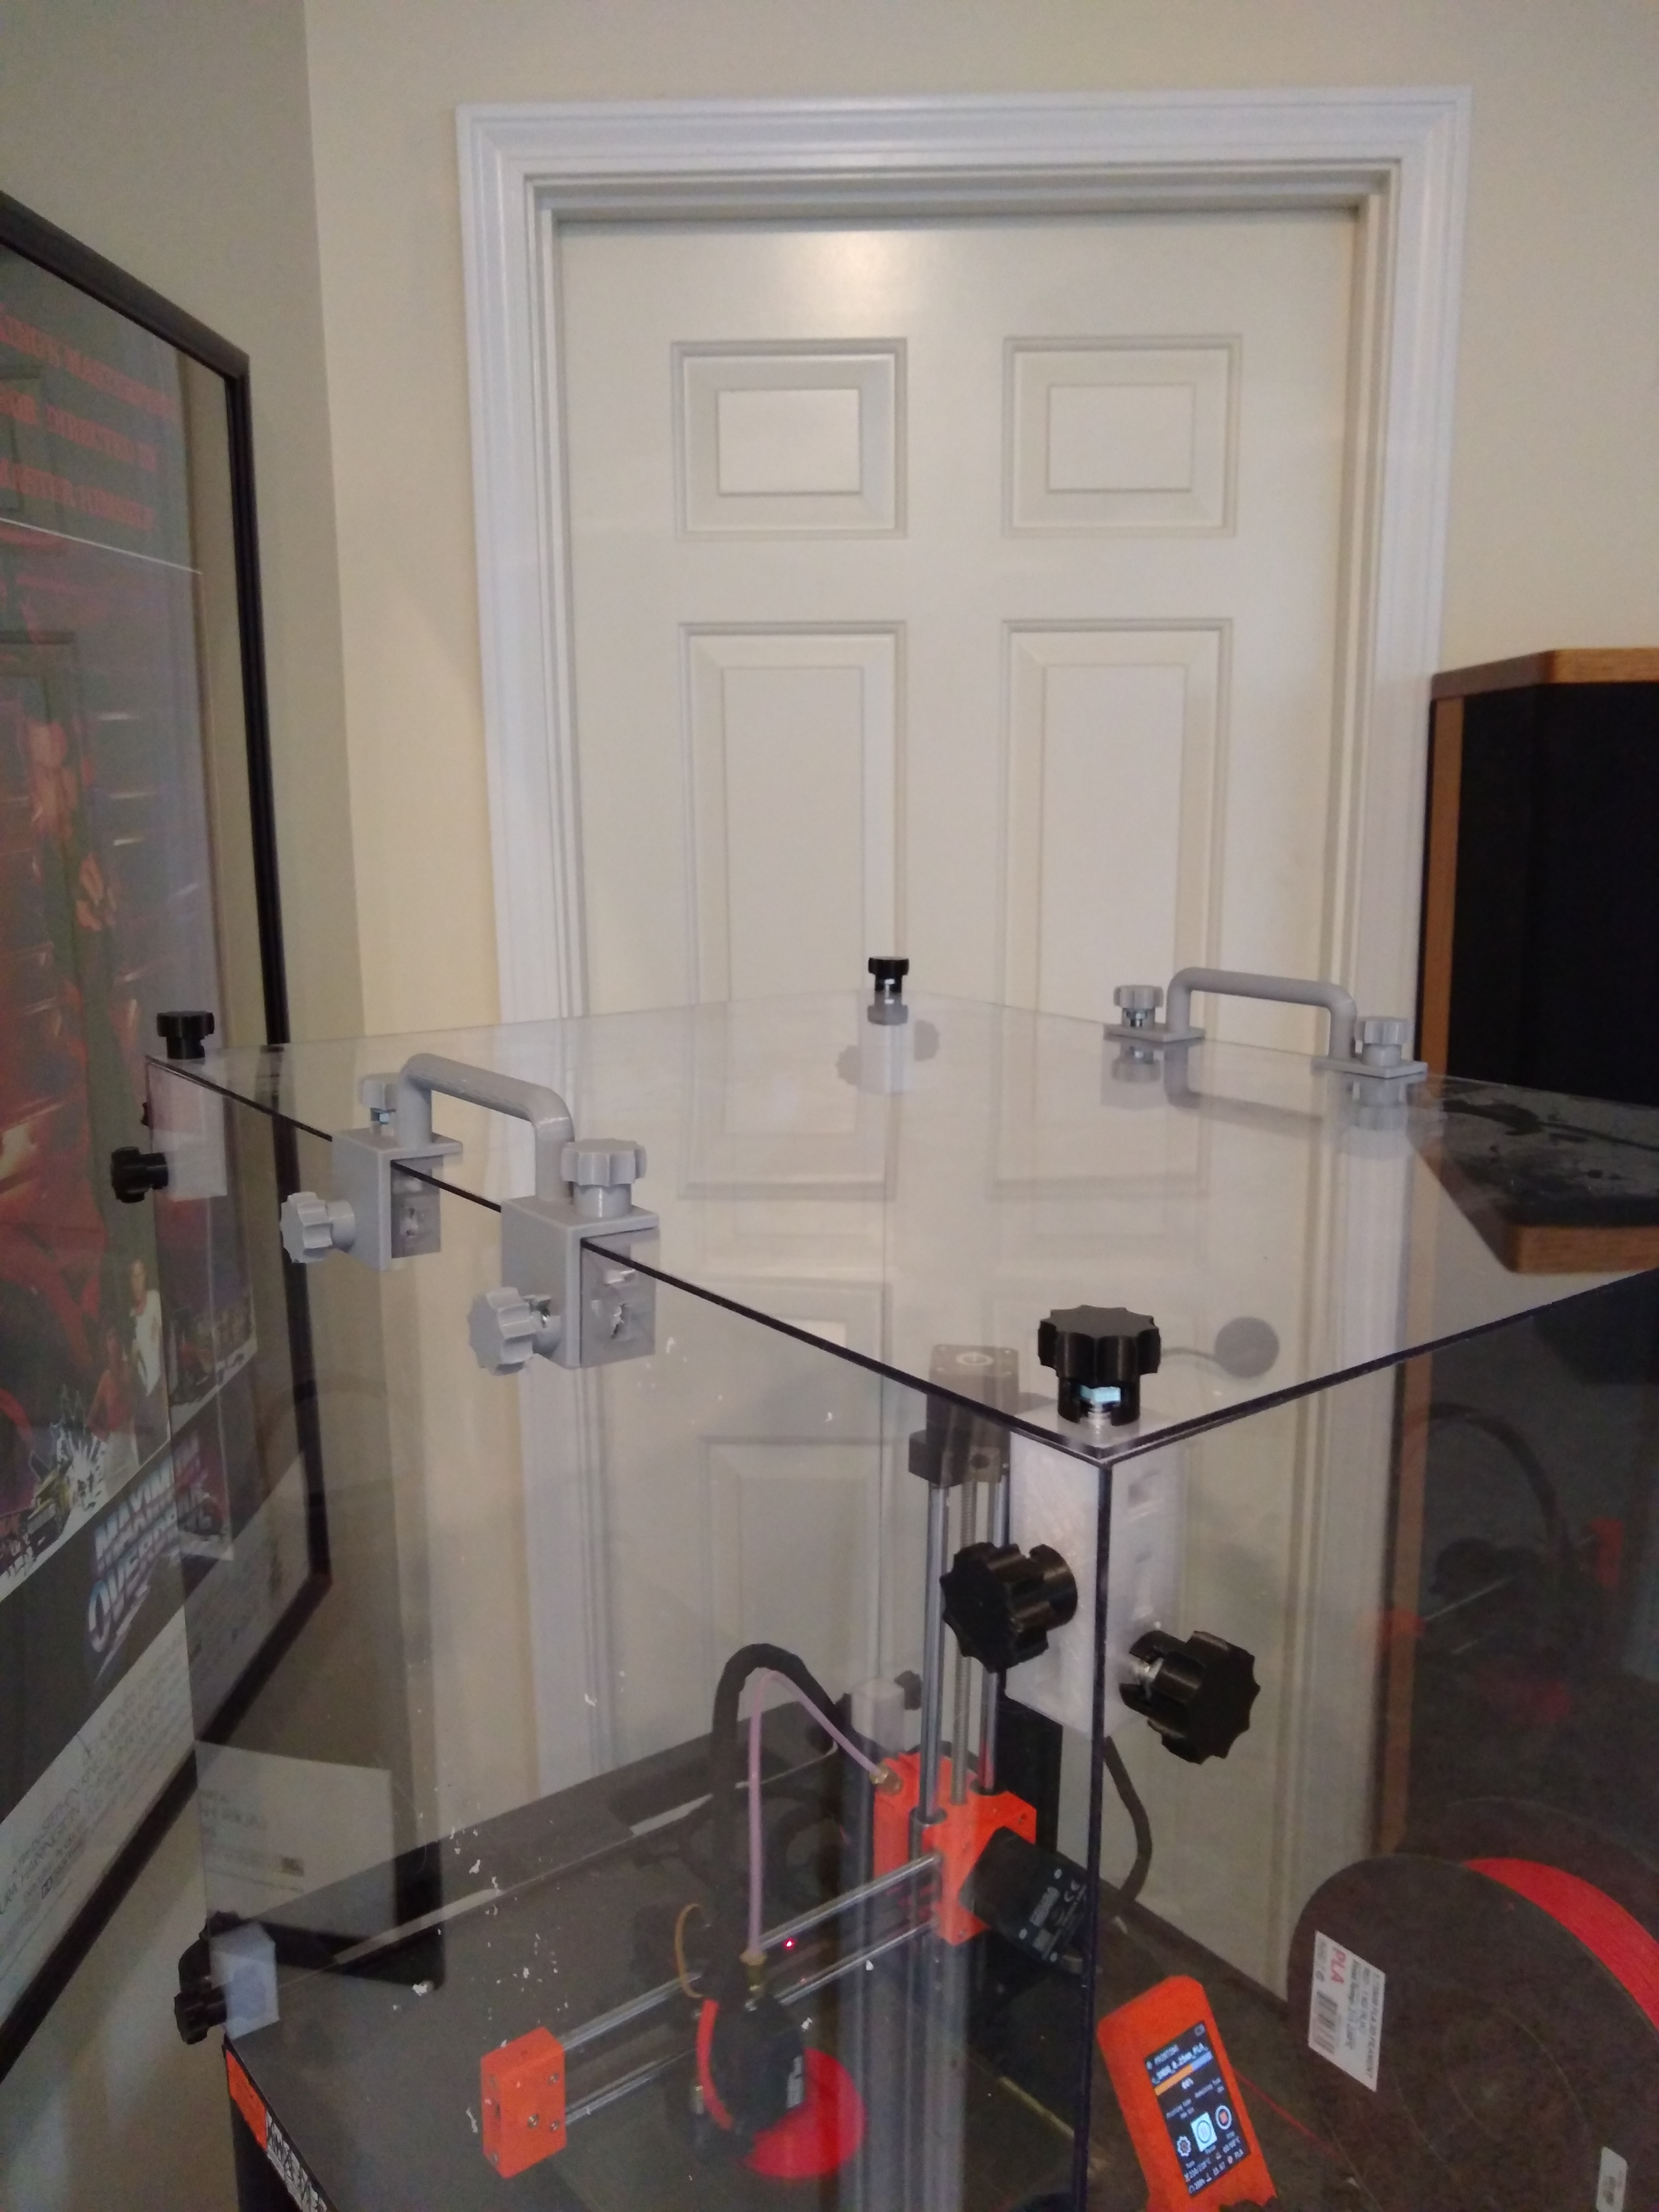
Enclosure handle
prusaprinters
<p>Handles for <a href="https://www.prusaprinters.org/prints/108651-3d-printer-enclosure">https://www.prusaprinters.org/prints/108651-3d-printer-enclosure</a> </p><p><strong>In addition to printed parts, you'll need:</strong></p><p>(4) Hex bolts, Zinc plated steel, 1/4"-20 x 1-1/4"<br><a href="https://www.boltdepot.com/Product-Details.aspx?product=196">https://www.boltdepot.com/Product-Details.aspx?product=196</a></p><p>(4) Hex nuts, Zinc plated steel, 1/4"-20<br><a href="https://www.boltdepot.com/Product-Details.aspx?product=2648">https://www.boltdepot.com/Product-Details.aspx?product=2648</a> </p><p><strong>Printed parts (per handle):</strong></p><p>(4) bolt knobs ( <a href="https://www.prusaprinters.org/prints/78501-14-bolt-knob">https://www.prusaprinters.org/prints/78501-14-bolt-knob</a> )</p><p>(2) blocks</p><p>(1) handle (80mm wide or 100mm wide) </p><p>(1) pilot hole guide</p><p><strong>NOTE: </strong> Pictures show parts for two handles! Also Caulk can be used the hold the nuts in blocks (as shown in the pictures).</p><p><strong>Assembly:</strong></p><p>A demo STL is included to show handle placement!</p><ol><li>Position handle and drill first top pilot hole <img class="image_resized" style="width:40.6%;" src="https://media.prusaprinters.org/media/prints/109185/rich_content/7ac9d1fc-7ad5-4682-b6cb-1b44ec39c0db/img_20211231_132428.jpg#%7B%22uuid%22%3A%227099905b-2fea-4c6a-9c35-9720d9741ab1%22%2C%22w%22%3A3072%2C%22h%22%3A4096%7D"> </li><li>Drill ¼" hole using pilot hole <img class="image_resized" style="width:39.03%;" src="https://media.prusaprinters.org/media/prints/109185/rich_content/37a662bc-9a89-4dec-bf21-6736dba99764/img_20211231_132515.jpg#%7B%22uuid%22%3A%2226eefc85-94da-4aac-93a1-75ccab2edacc%22%2C%22w%22%3A3072%2C%22h%22%3A4096%7D"></li><li>Install handle with one bolt <img class="image_resized" style="width:57.9%;" src="https://media.prusaprinters.org/media/prints/109185/rich_content/4d12e8c2-d2a5-4cc7-b037-0e9bd5a12686/img_20211231_132627.jpg#%7B%22uuid%22%3A%2263339f0e-9343-4d8d-8fff-91f86d2ef77c%22%2C%22w%22%3A3163%2C%22h%22%3A1815%7D"></li><li>Drill 2nd top pilot hole, remove handle, and drill 2nd ¼" hole using pilot hole.</li><li>Install handle with top bolts and both blocks.<img class="image_resized" style="width:63.27%;" src="https://media.prusaprinters.org/media/prints/109185/rich_content/3fe74554-2e47-44eb-9fb2-697825af5022/img_20211231_132913.jpg#%7B%22uuid%22%3A%227489db81-6dd8-4033-a58e-a174cd53aa1c%22%2C%22w%22%3A3228%2C%22h%22%3A1765%7D"></li><li>Drill (2) bottom pilot holes, remove handle and blocks, drill (2) ¼" holes using pilot holes.</li><li>Install handle <img class="image_resized" style="width:73.75%;" src="https://media.prusaprinters.org/media/prints/109185/rich_content/0ee757f2-1efb-4474-8c39-a2a37cee6bf1/img_20211231_133338.jpg#%7B%22uuid%22%3A%22c0d00d26-11ce-4756-bbf8-34efc873c685%22%2C%22w%22%3A2816%2C%22h%22%3A1810%7D"></li></ol>
With this file you will be able to print Enclosure handle with your 3D printer. Click on the button and save the file on your computer to work, edit or customize your design. You can also find more 3D designs for printers on Enclosure handle.
