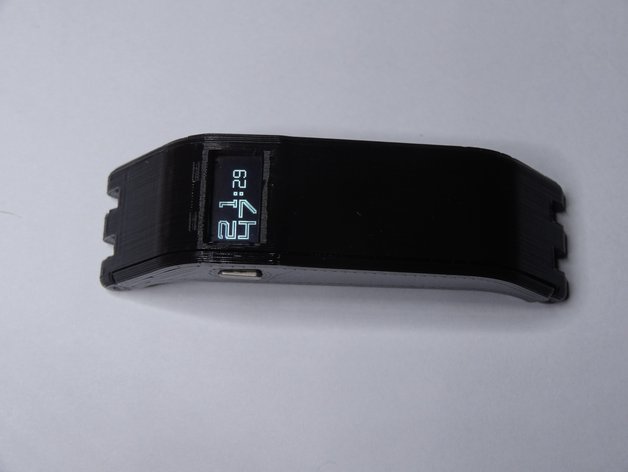
Enclosure and Wristband for FitBit Force electronics
thingiverse
This is a replacement enclosure for my FitBit Force that has lost its charge. I discovered that water had entered the sports smartwatch when it wasn't waterproof. Since you have to disassemble the device to open it up, I needed an new enclosure for the electronics. I'm trying to figure out how to connect the charger as well, but the opening to access the pins is there. Unfortunately, the original charger connection is molded into the metal part of the old housing and won't come off in one piece because it needs the metal housing as a mechanical clip. I'm thinking of using a 2 mm spaced female header with two-component glue and some small wires. Opening the FitBit Force without damaging its electronics can be challenging. Remove the wristbands by prying them up with a screwdriver first, then use a cutter knife to carefully cut along the outer edge of the plastic cover and pry it open with a small screwdriver. The top cover is one thin piece of plastic. Under the display, which is glued onto the plastic cover, you'll find an NFC tag chip and antenna that can be removed and replaced in the new enclosure. To use your device again, get the push-button out of its old enclosure and put it into the new one. Also remove the plastic support or mount under the display carefully to fit the display snugly in its new spot. The files for my custom wristbands are attached; I printed them in PLA, which worked out pretty well. However, printing TPE on my Makerger M2 is a problem that still needs solving.
With this file you will be able to print Enclosure and Wristband for FitBit Force electronics with your 3D printer. Click on the button and save the file on your computer to work, edit or customize your design. You can also find more 3D designs for printers on Enclosure and Wristband for FitBit Force electronics.
