Enclosed Electronics Case for Printers
prusaprinters
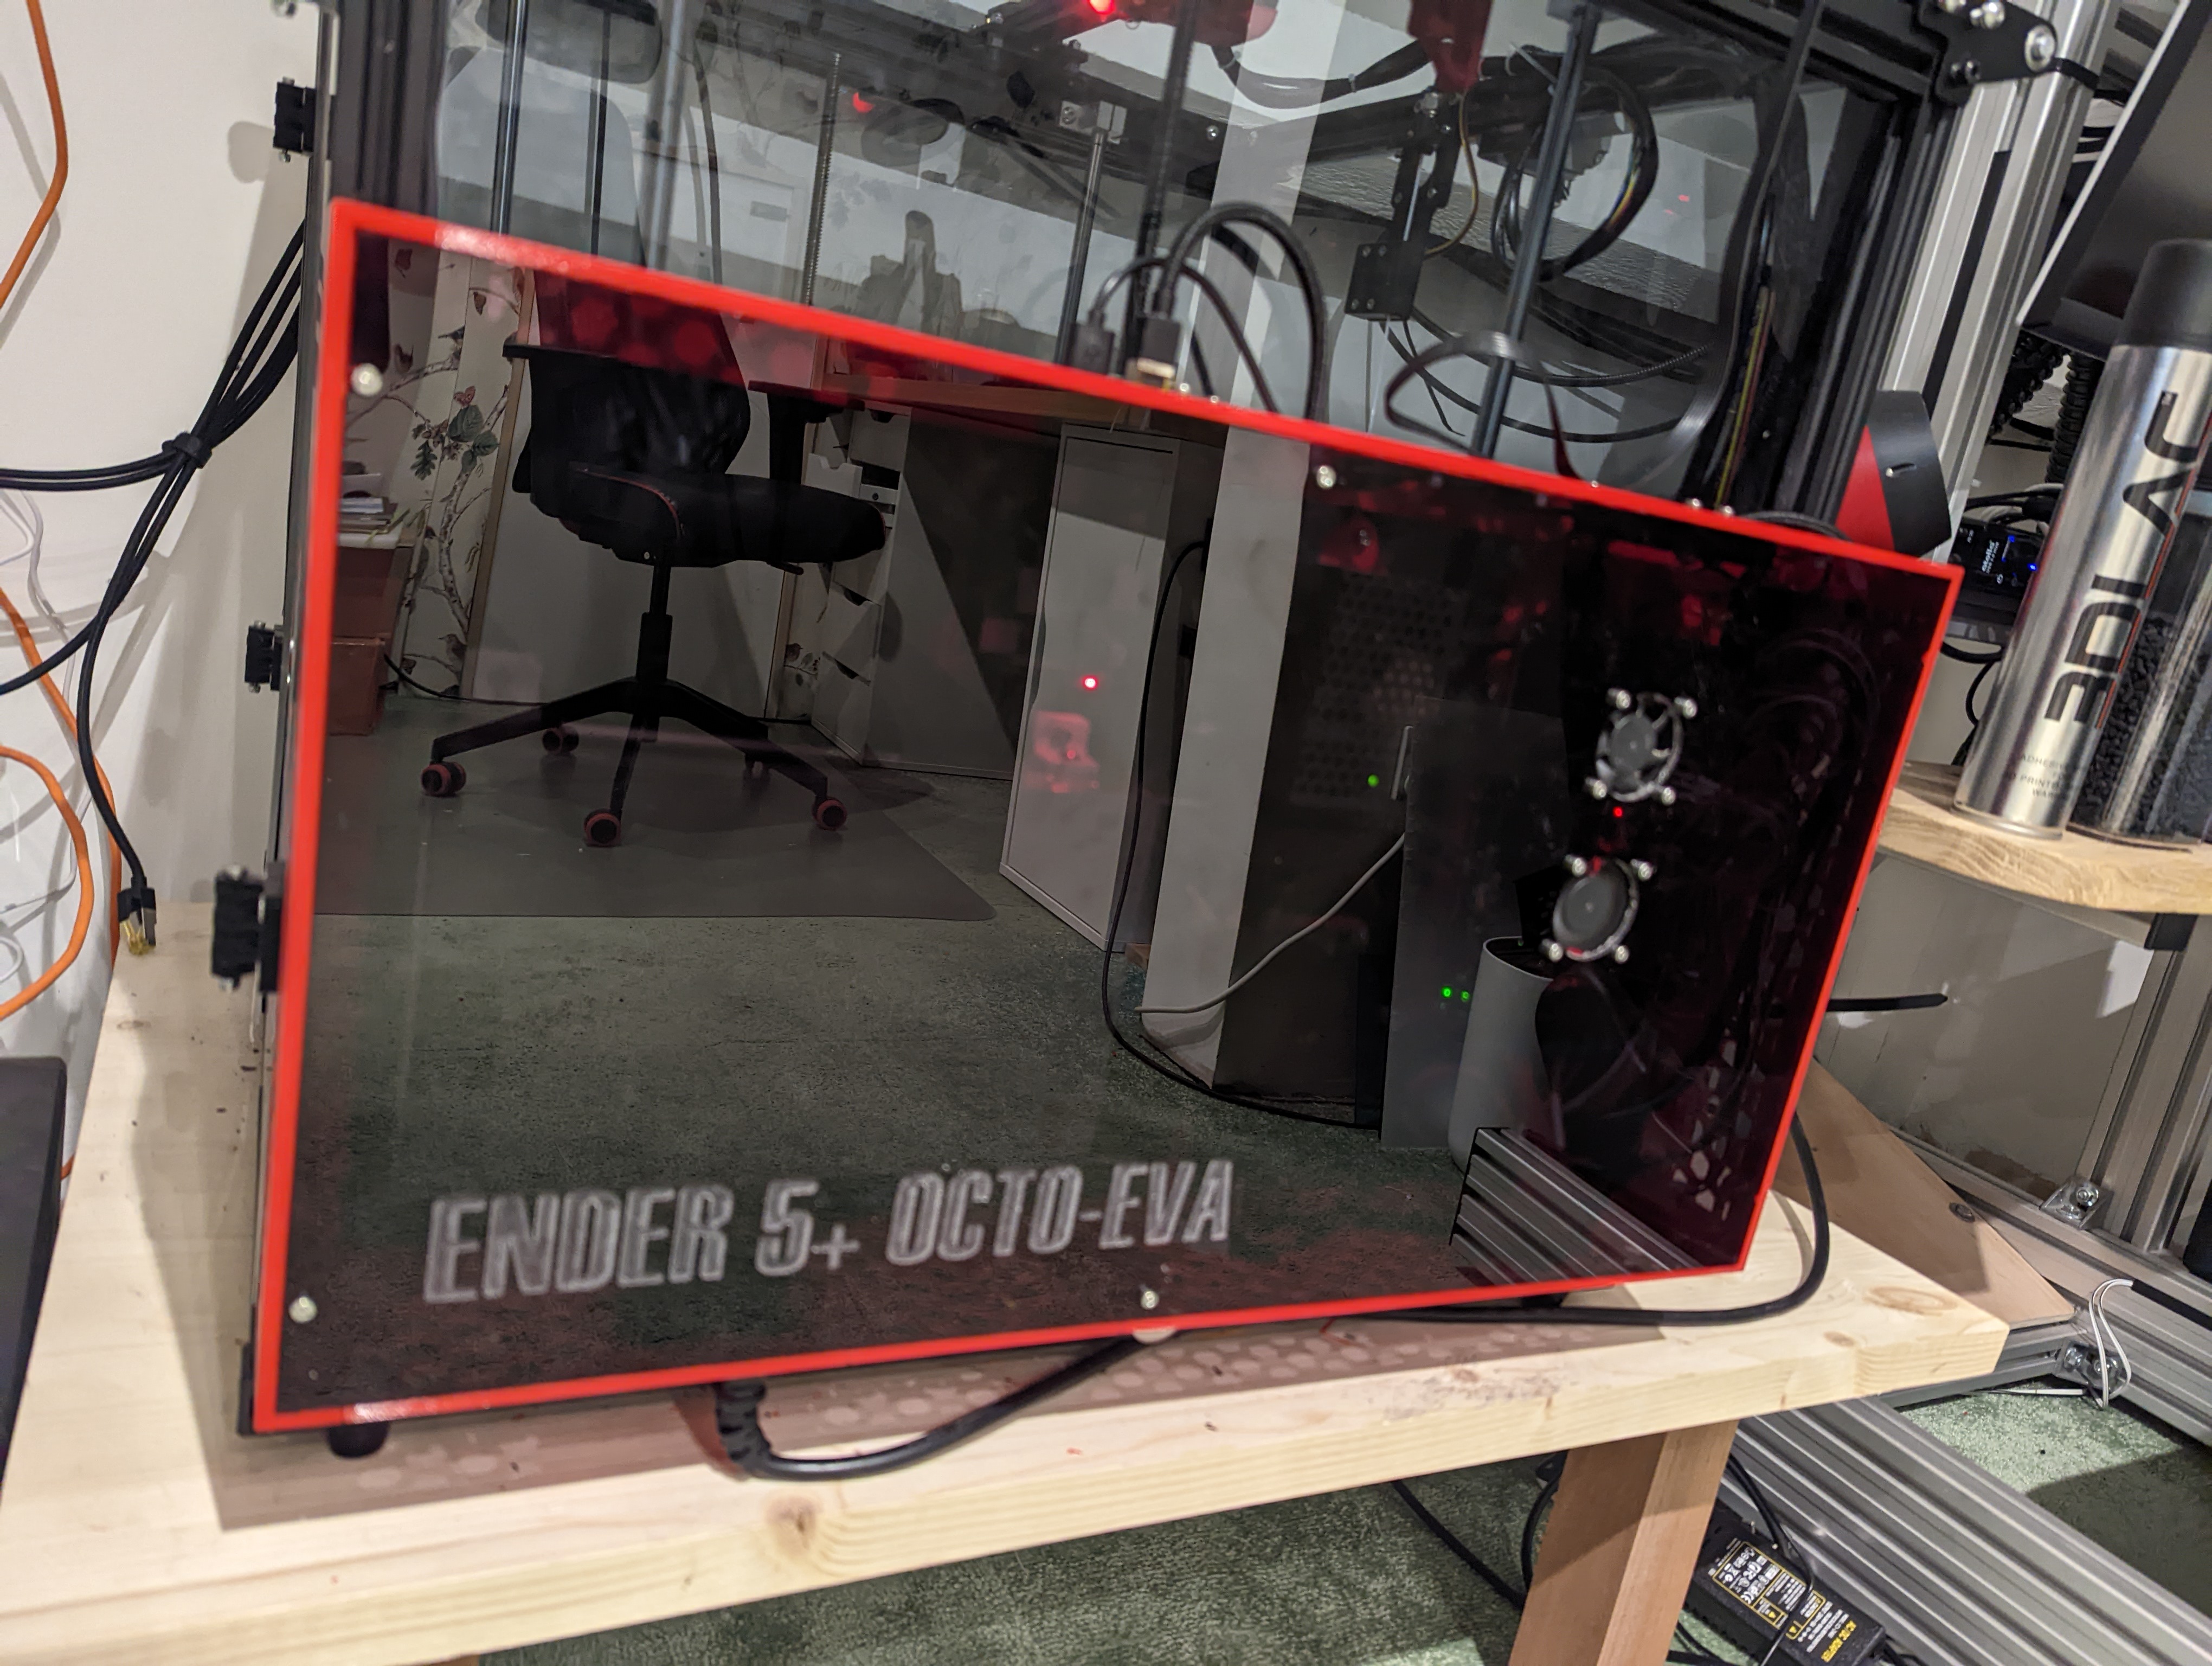
<p>This is a modular electronics case for 3d printers which I have used successfully for my Eryone Thinker (located underneath) and on the side of a Ender 5+</p><p>The attached model files provide the outer wall and any bases required. In addition you will need 2 x sheets of acrylic that form the front and rear. </p><p><strong>WORDS OF WARNING</strong></p><p>1 - Due to the scales involved I advise you to build the enclosure in stages, checking the measurements and test fitting against your printer as you go. I have provided the model files so you can make adjustments. </p><p>2 - Some of the models require supports and some will be better for them. TBH, I just printed them all face down with supports. You will need to use your own judgement once you see them in the slicer. </p><p>3 - Don't force the parts together. If they are tight check that all the support material has been removed and use sandpaper to clean up the joints. </p><p>4 - If you have to dissemble joints I found resting one piece on a table and tapping gently on the other piece at the joint would move them apart. DONT use two hands and try to force them apart - you will be twisting the joints and this both makes it harder and will break or split the prints.</p><p>5 - Don't source acrylic sheet until you have confirmed sizes - I'm not responsible if they do not fit.</p><p><strong>Build Process</strong></p><ol><li>Print two end pieces the required length e.g. End300 or End246</li><li>Print three side pieces for a single side e.g. PSU_Front + RPI_Outlet + Board_Outlet_282Octo</li><li>Fit them together and check you have a width that fits your extrusion. </li><li>Make any adjustments to your overall width. Remember you only need to change the size of one piece. Don't change the RPI Outlet. Its the most awkward to print and doesn't have much space to spare. </li><li>Print your remaining sides at the correct length</li><li>Check the size of acrylic sheet you will need with my defaults below. Source your acrylic.</li><li>Now plan your layout. Print PSU, PI and Board Mounts first and then mounts for the relay and Pi PSU.</li><li>Fit the rear to the side frame. If you lay the sheet on a flat surface you can fit the frame and it should all lock together nicely. Mark one central side hole, drill it with a M2.5ish drill bit, tap it with M3 tap and fit a M3 screw. Repeat for the opposite side. You have now positioned the frame. </li><li>Do the remaining side holes and fit bolts. </li><li>Mark the end holes and drill at M4. I found making these a little bigger helped fitting to the extrusion.</li><li>You should now be able to test fit the frame with the rear to the printer.</li><li>Now mark, drill and tap all the mounts for yours PSU, PI and Board etc. Don't forget or try to do this in situ - the acrylic sheet really needs support on the rear to stop it chipping/cracking when you are drilling.</li><li>You will also need to decide where to bring cables into the enclosure and cut a suitable hole. I recommend using a cone cutter. Don't forget when you are doing this to think about the position of the enclosure and make an allowance for the IEC plug that will come from underneath the case.</li><li>At this point you should be ready to fit your case. Good luck.</li><li>The top cover is a bit more tricky. I have provided a DXF file but YOU MUST CONFIRM DIMENSIONS because my first attempt did not fit very well. But basically its a case of marking the holes, drilling and tapping where necessary and then fitting. If you have access to a small CNC or laser cutter then this is definitely a help!</li></ol><p><strong>Fitting to Extrusion</strong></p><ul><li>During development I was using drop in t-nut (the rotate to lock variety). Once the case was completed it was next to impossible to get them all to twist and lock. I switched to the spring lock slide-in t-nuts which worked much better.</li></ul><p><strong>Default Acrylic Sizes</strong></p><p>I purchased Coloured Tinted Cast Acrylic Sheet in Grey 923. </p><ul><li>Rear: Thickness: 3, Length: 549, Width: 294,</li><li>Front: Thickness: 3, Length: 545, Width: 292 - although I ended up needing 547x290!</li></ul><p><strong>PSU Rear </strong></p><ul><li>Requires 2 x M3 Heated Inserts </li><li>Takes <a href="https://www.amazon.co.uk/gp/product/B07RRY5MYZ">3Dman 15A 250V Rocker Switch Power Socket Inlet Module Plug 5A Fuse Switch</a></li></ul><p><strong>RPI Outlet and Base</strong></p><ul><li>This is designed to take a Pi 3. If you want to use a Pi 4 then you will need to modify RPI_Outlet_Base.f3d. </li><li>Requires 4 x M2 Heater Inserts</li><li>Has space for a single 3010 fan.</li></ul><p><strong>Board Outlet</strong></p><ul><li>The board outlet has space for two 3010 fans although on the Ender Case I opted for more direct cooling on the cover. However, they are working well on the Thinker Undercase.</li></ul><p><strong>Pi PSU Mount</strong></p><ul><li>This is designed to work with a <a href="https://www.amazon.co.uk/Switching-power-supply-MeanWell-RS-25-5/dp/B00MWQDAMU">Meanwell RS-25-5</a> PSU. However, if I was approaching this again I would consider <a href="https://www.amazon.co.uk/gp/product/B08ZY6QV92/">DC Power Buck Converter Regulator 12V/24V to 5V 5A 25W</a> due to its reduced size and easier mounting.</li></ul><p><strong>Relay Mount</strong></p><ul><li>This is designed to work with a <a href="https://www.amazon.co.uk/gp/product/B08GWRJJ6M">Toaiot 3D Printer Heating Controller MKS MOSFET MOS Module for Heatbed</a>. Not a lot of thought went into its design and it could easily be improved or something better modelled. Same could be said for the Pi PSU Mount above.</li><li>Requires 4 x M3 Heated Inserts </li></ul>
With this file you will be able to print Enclosed Electronics Case for Printers with your 3D printer. Click on the button and save the file on your computer to work, edit or customize your design. You can also find more 3D designs for printers on Enclosed Electronics Case for Printers.