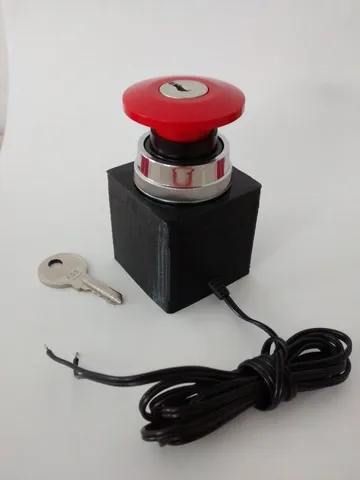
Emergency Stop Button adapted to tact switch
prusaprinters
I had 2 EMO button but only 1 module to cut the main voltage. To re-purpose the 2nd EMO, I've made this box to adapt a small 6mm tact switch (pushbutton). The height is adapted to screws I had in stock. The hole is large enough for a 2 wire female jst connector Fun fact is: there is just enough space between the switch plate and the bottom to place an esp8266. But for the moment, I just soldered 2 wire to connect directly to the raspberry-pi controlling my 3d printer. Wifi button will be the next upgrade ;) Print instructionsCategory: Electronics Summary I had 2 EMO button but only 1 module to cut the main voltage. To re-purpose the 2nd EMO, I've made this box to adapt a small 6mm tact switch (pushbutton). The height is adapted to screws I had in stock. The hole is large enough for a 2 wire female jst connector Fun fact is: there is just enough space between the switch plate and the bottom to place an esp8266. But for the moment, I just soldered 2 wire to connect directly to the raspberry-pi controlling my 3d printer. Wifi button will be the next upgrade ;) Post-Printing Bill of Material 1x Industrial 455 emergency button (configurable to be used with ou without the key)* screw diameter < 30mm Distance between button base (top of the box) and contact limit = 25mm 1x 6mm square tact switch with 2 leads. 4x 4mm x 40mm Conical head screw
With this file you will be able to print Emergency Stop Button adapted to tact switch with your 3D printer. Click on the button and save the file on your computer to work, edit or customize your design. You can also find more 3D designs for printers on Emergency Stop Button adapted to tact switch.
