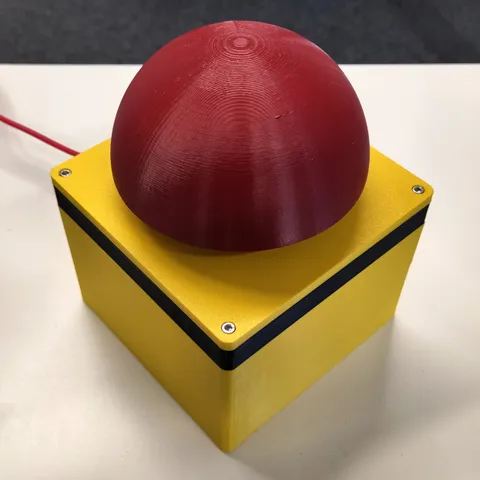
Emergency Button
prusaprinters
Recommended print settings:Use filament which is somewhat flexible, at least for the spring (PETG works fine).2mm-.3mm layer heightno supports should be needed:Bottom case on the flat sideSpring on the springy sideLid on the top sideButton's inner part on the small, closed circleButton's button part on the flat side with the opening, some loser bridges inside will not harm Additional material:4 M3 heated inserts (put them into the bottom case)4 M3 screws (25mm)Mechanical switch (roughly 11×12mm outside)Development Board to connect the switch toEither a small power bank or a USB cableM16 cable gland if you want to fix the cable in the bottom case Assembly:Check the animated image:Melt inserts into the four holes in the bottom caseMount button in the middleBut development board on the holder on the side, keep it in place with a zip tie (I used a velcro tie)Mount cable or attach power bankStick the inner button part through the case's lid, screw the button on topStack base, spring, lid with buttonScrew the four M3 screws into the holes on the cornersEnjoy pressing the button
With this file you will be able to print Emergency Button with your 3D printer. Click on the button and save the file on your computer to work, edit or customize your design. You can also find more 3D designs for printers on Emergency Button.
