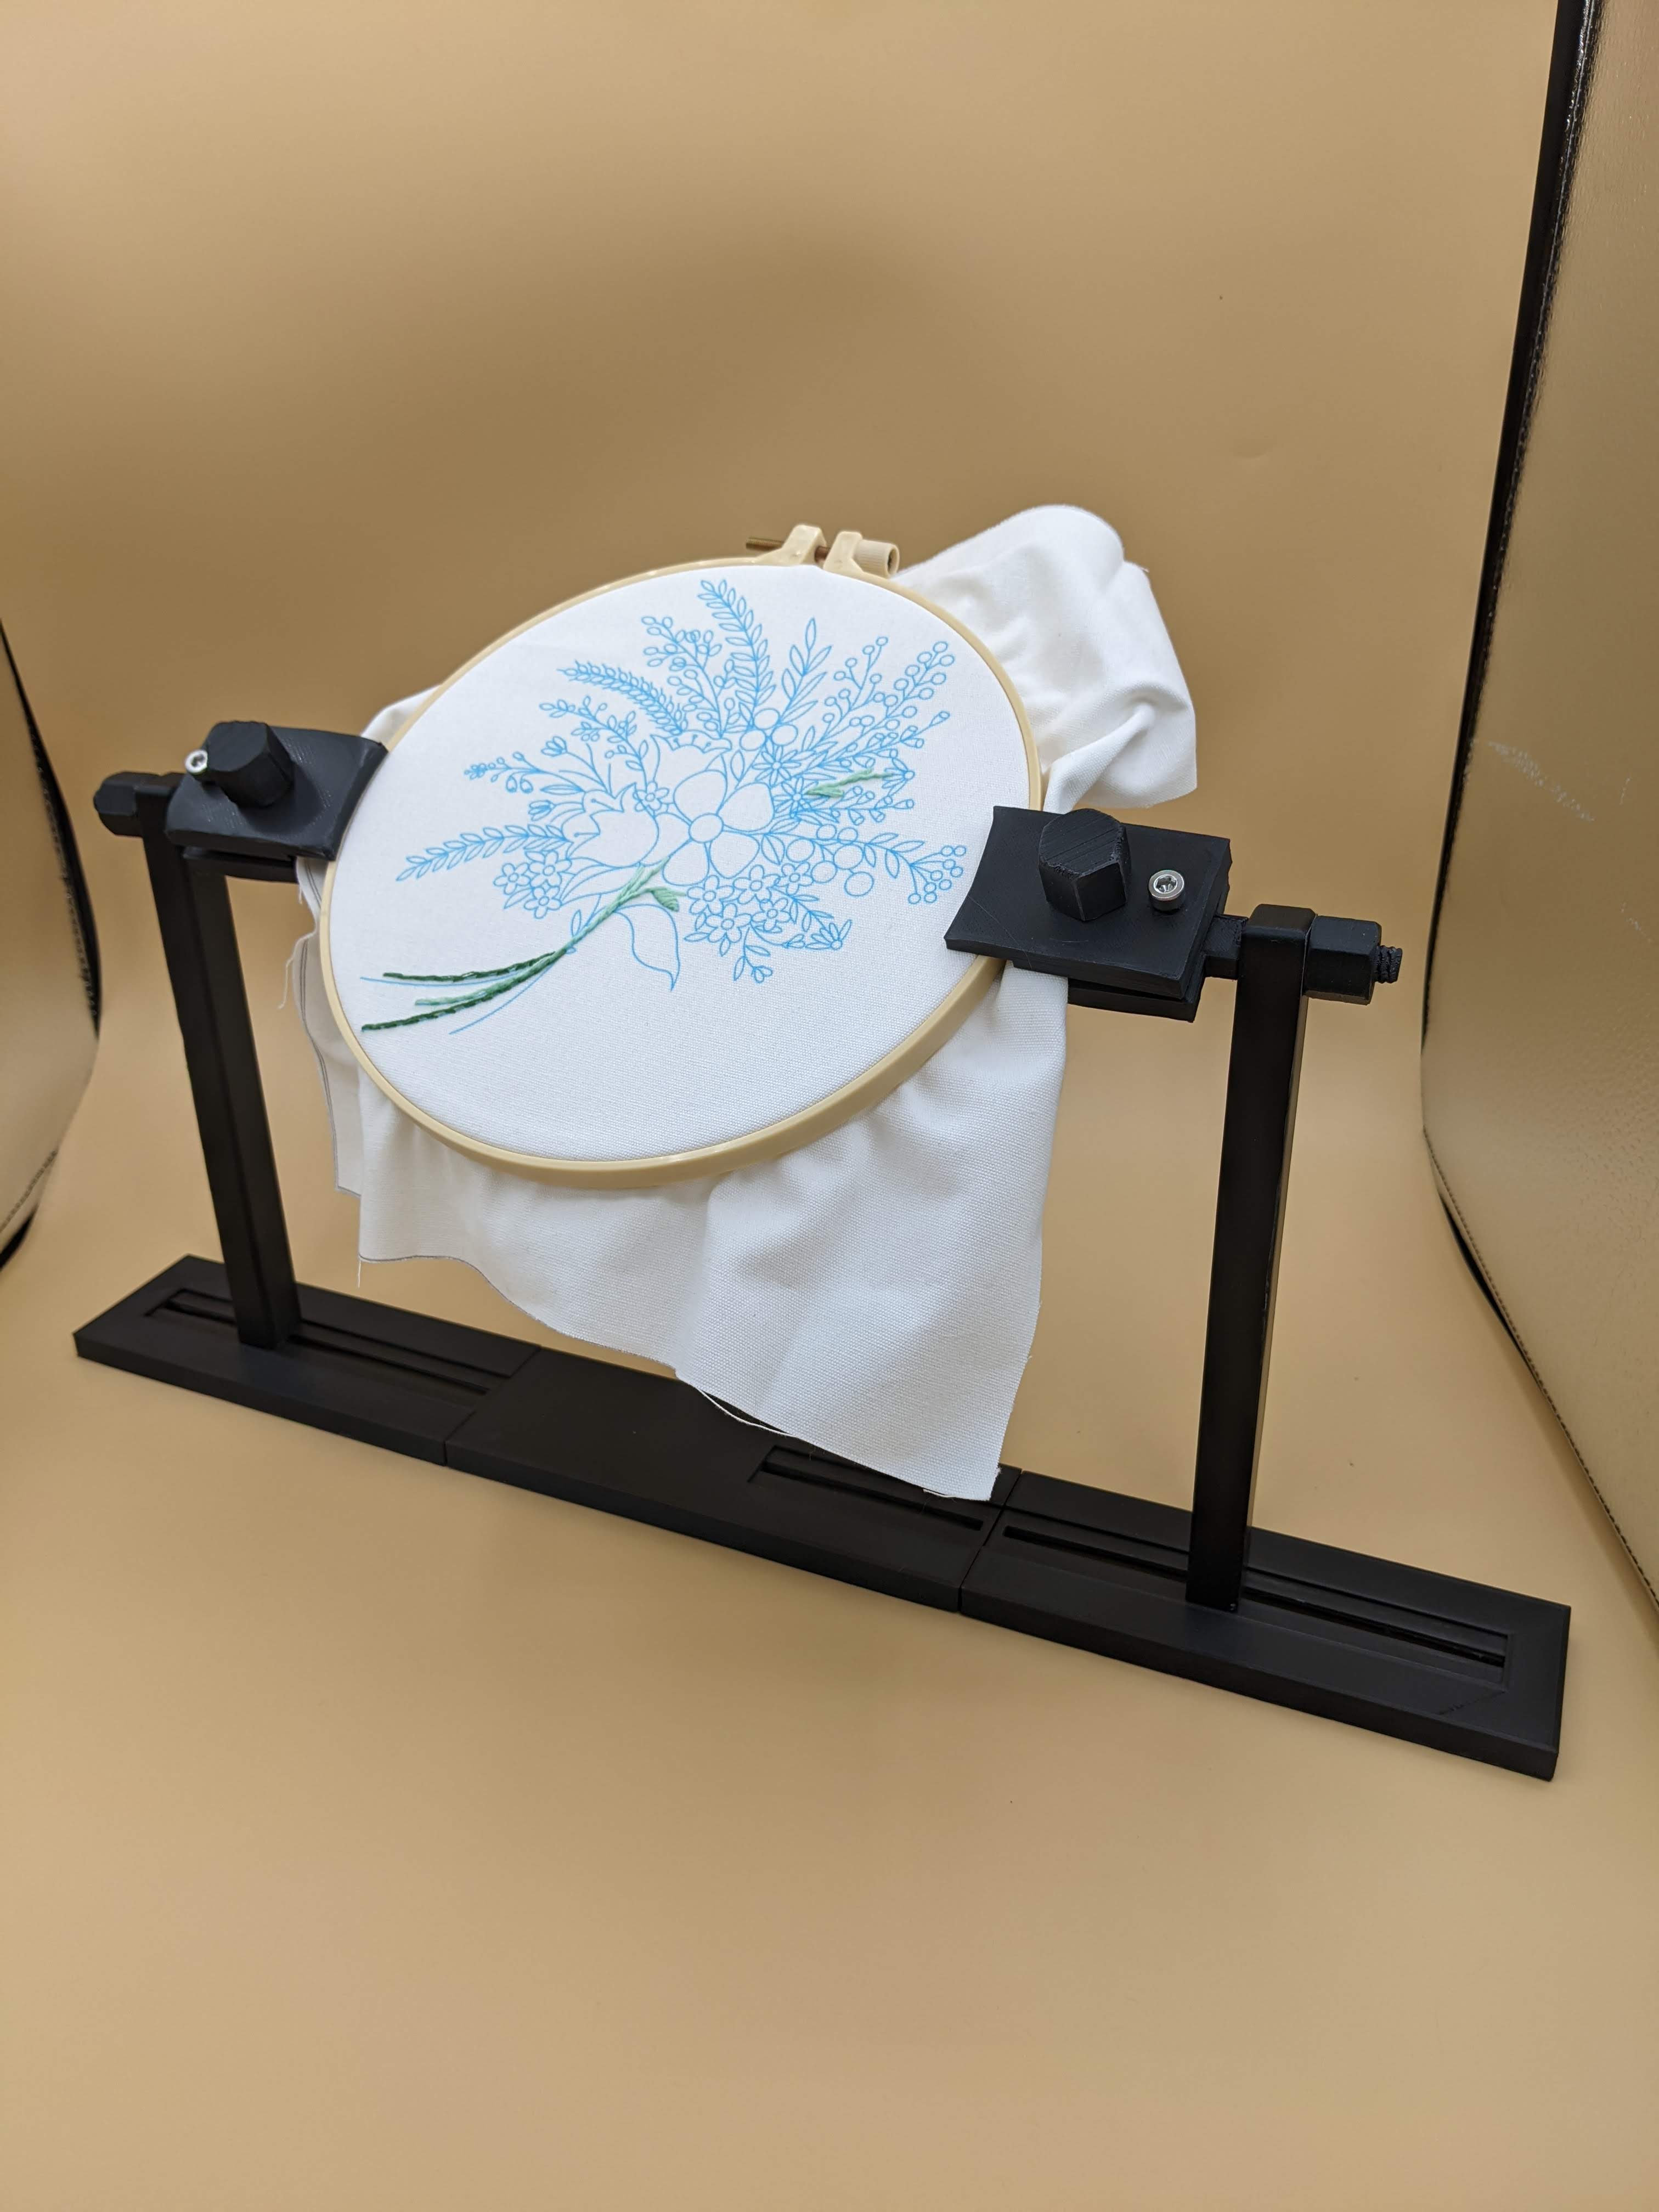
Embroidery Hoop Stand
prusaprinters
<p>My wife has recently become very enthusiastic about her cross stitch, and she wanted an embroidery hoop stand to hold her work. I spent a little time in Tinkercad and came up with this.</p><p>I printed in PLA, though if parts fail I will reprint in PETG.</p><p>You will need 4 M5 x 15 bolts and 2 matching nuts. I used cap screws, but panhead or washer head are also viable. Do not use countersunk machine screws.</p><p>You will need 2 of every part except the base extension. The washer is optional if the head on your socket cap screw doesn't hold well on the slot.</p><p>A note on orientation - if possible, print all of the parts flat on your bed (Smaller FDM may have problems with the upright, you might be able to fit them in diagonally.)</p><p>The bolt and bottom jaw should be printed with the male threaded sections horizontal with support, unless you're able to get excellent layer adhesion on your printer. (Tightening the bolts will pull against your layer adhesion if they're printed vertically, horizontally will have more tensile strength)</p><p>Tolerances are pretty generous, so if the supports leave rough threads on them they should still work.</p><p>Use support blockers on the threaded socket in the bottom jaw, the female threads printed vertically (also for the nut) should not require support.</p><p>I also printed the base sections with tree supports but you may be able to pull it off with good bridging.</p><p>I printed everything with a brim, but know your printer here and if you need one for the sharp corners.</p><p>The three sections of base should friction fit together. If not you can superglue them together.</p><p>insert a M5X15 bolt through the slot and screw it into the bottom of the upright. It should self tap.</p><p>insert the bottom jaw through the upright and snug the bolt on the outside.</p><p>insert a M5 bolt through the small hole in the top jaw and place a nut in the recess on the opposite side - this acts as a jaw jack so you can adjust how the jaw clamps down on the hoop. Then insert the bold through the big hole and thread it into the bottom jaw.</p><p>Please note that the included Nut and Washer were created using Mike Mattala's “Nut Job” customizer, found here: <a href="https://www.thingiverse.com/thing:193647">https://www.thingiverse.com/thing:193647</a></p><p> </p><p>update 11/9/2022-added a small round tool basket that sits over the base between the uprights. If you're having trouble with stability this can be glued in place to make the base wider.</p>
With this file you will be able to print Embroidery Hoop Stand with your 3D printer. Click on the button and save the file on your computer to work, edit or customize your design. You can also find more 3D designs for printers on Embroidery Hoop Stand.
