Emaker Huxley electronics enclosure
thingiverse
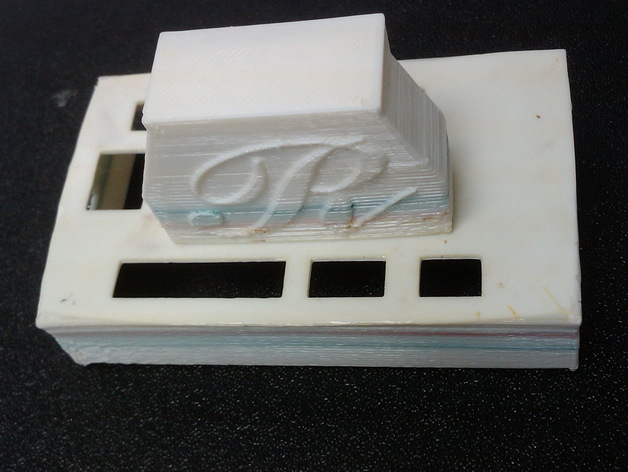
This custom enclosure is designed for use with Emaker Huxley electronics and includes an SD card clear function as well as accommodation for the specific connector orientation. Assemble the electronics on the base plate, secure it using zip ties to the angled M6 screw by the X-axis motor and position the Z-motor tab nearby. Fasten a 1/8" zip tie through the Z-motor mount slot and the corresponding hole on the base plate tab. Attach the fan (label side in) to the fan mount and glue it to the cover, facing the limit switch connectors. The base plate's side hole fits the supplied Huxley power socket. Adjust wires as needed for a neat appearance, then snap the cover onto the base plate. For optimal wire organization, route X wires vertically from the X motor and tie them to the nearby Z motor, following the example in the larger printer photo. Extruder wires should run straight out of the fan hub or parallel to the bowden tube, although a better routing method is being developed. The fan mount comes in three versions: #5 for simplicity with integrated holes but potential Skeinforge complaints, #6 requiring support but offering improved fan socket and built-in holes.
With this file you will be able to print Emaker Huxley electronics enclosure with your 3D printer. Click on the button and save the file on your computer to work, edit or customize your design. You can also find more 3D designs for printers on Emaker Huxley electronics enclosure.