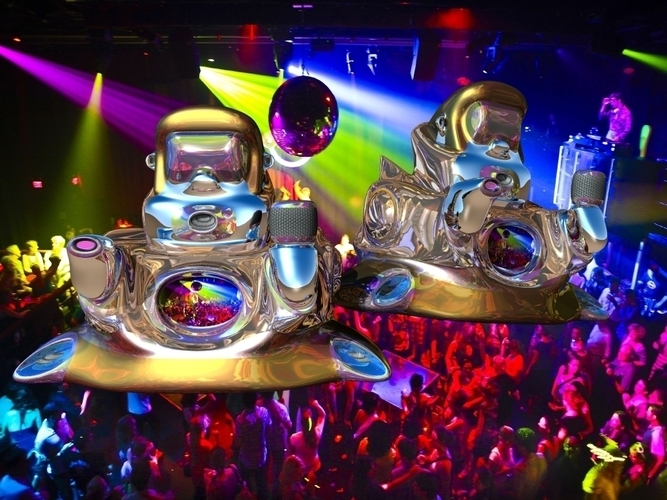
Elvis inspired toy design for 3D Printing
pinshape
Designing a Character-Based Toy from Scratch: A Step-by-Step Guide to Converting CAD Models into 3D Print-Friendly Designs When creating a character-based toy, it's essential to start with a solid understanding of the design process and how to convert your Computer-Aided Design (CAD) model into a 3D print-friendly format. This guide will walk you through the steps necessary to turn your CAD model into a printable design that brings your character to life. Step 1: Create Your Character-Based Toy in Lightwave 3D Begin by designing your toy using Lightwave 3D, a powerful CAD software tool. Use its robust features to create a detailed and accurate model of your character, paying close attention to proportions, texture, and details. This will ensure that your final printed product looks just as you envisioned. Step 2: Export Your Model in STL Format Once you've completed your design, export it from Lightwave 3D in STL (STereoLithography) format. This file type is widely supported by 3D printing software and will allow you to easily convert your model into a printable format. Step 3: Post-Processing and Optimization Before sending your STL file to the printer, perform some essential post-processing tasks. Use Lightwave 3D's built-in tools to remove any unnecessary geometry, simplify complex models, and prepare your design for printing. This step will help ensure that your printed toy looks its best and is free from defects. Step 4: Add Supports and Prepare for Printing After optimizing your model, it's time to add supports where necessary. Use Lightwave 3D's built-in support tools to generate additional geometry that will hold your design in place during printing. This step will help prevent warping or deformation of your printed toy. Step 5: Slice Your Model and Prepare for Printing With your supported model ready, it's time to slice it into individual layers using Lightwave 3D's slicing tool. This process will divide your design into manageable sections that can be easily printed on a 3D printer. Make sure to adjust the layer thickness and infill density according to your printer's specifications. Step 6: Print Your Character-Based Toy Finally, send your sliced model to your 3D printer and watch as it brings your character to life in three dimensions. With proper calibration and settings, you'll be able to create a high-quality, detailed print that showcases your design skills. Tips and Tricks for Printing Character-Based Toys * Always use a sturdy base or platform to prevent your printed toy from toppling over. * Experiment with different materials and colors to add texture and depth to your design. * Consider adding movable parts or joints to create an interactive experience. * Don't be afraid to experiment and try new things – it's all part of the creative process! By following these steps and tips, you'll be well on your way to creating a stunning character-based toy that will delight both kids and adults alike. Happy designing!
With this file you will be able to print Elvis inspired toy design for 3D Printing with your 3D printer. Click on the button and save the file on your computer to work, edit or customize your design. You can also find more 3D designs for printers on Elvis inspired toy design for 3D Printing.
