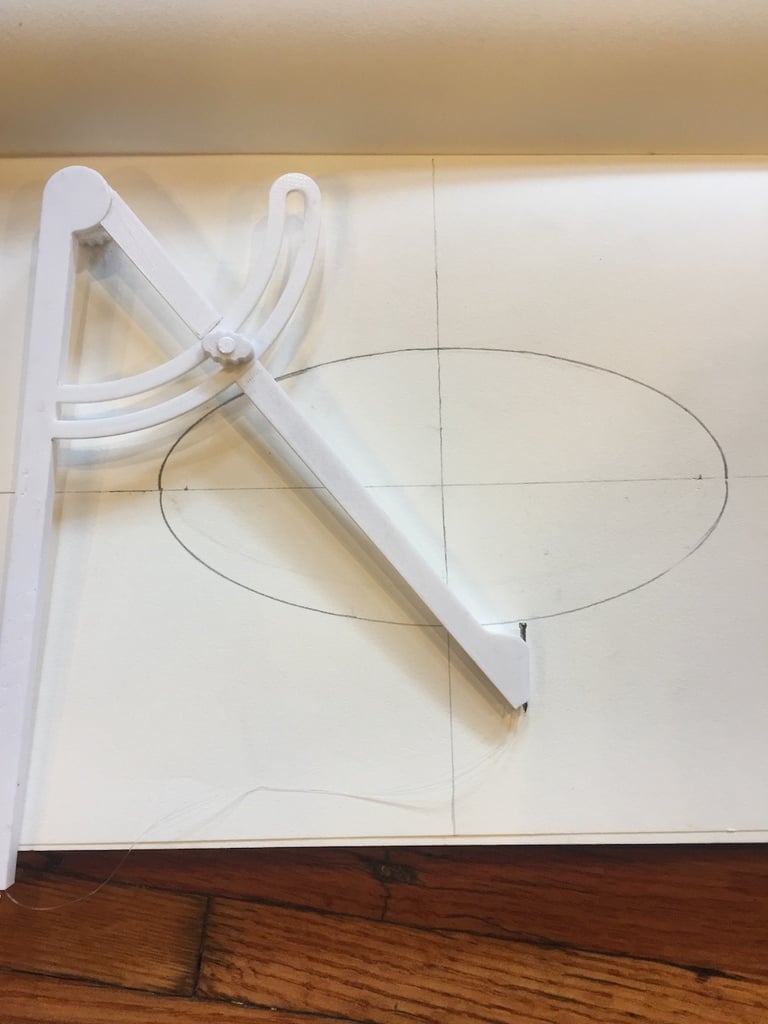
Ellipse Compass
thingiverse
This design came from the string and nail method for drawing an ellipse. There are other ellipse drawing tools online, but they are all very limited in performance. I decided there must be a more simple, less sloppy method to draw an ellipse, so I invented this compass. This compass uses light pressure to keep it in place instead of having to tack the nails through the paper to a board, and allows you to easily measure out the right amount of string. To draw an ellipse, place the points of the compass where the focuses of the ellipse will be, and stretch the string out to the edge of the short axis. Sketch one half, then switch your pencil to the other side and complete it. Extreme dimensions of possible ellipses: Min: 1" x 3/4" Max: 14" x 15" Assembly: Attach the two arms together and screw on the Adjustment Knob part way. Don't attach the Reel Knob yet. Measure out approximately 34" thin string (nonelastic twine is better than fishing line.) Thread the ends through the small holes at the tip of each arm until they come out at the top. Next, stick the ends through the small hole on the Reel Knob and tie both ends of the string to the small bar going across the indention on the other side. Snap the Reel Knob onto the pivot point of the arms, and wind the string up. Insert two small finish nails into the slots at the end of each arm. Align the tip of each nail vertically with the hole where the string comes out.
With this file you will be able to print Ellipse Compass with your 3D printer. Click on the button and save the file on your computer to work, edit or customize your design. You can also find more 3D designs for printers on Ellipse Compass.
