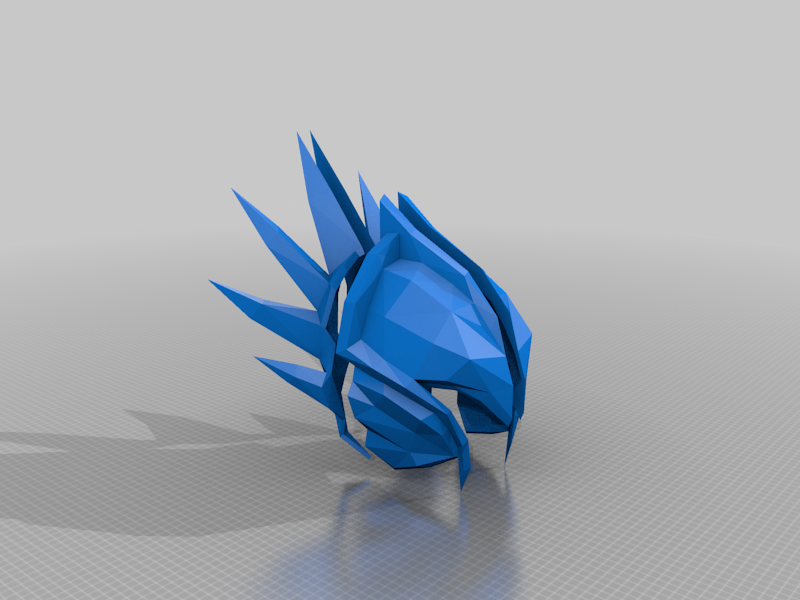
Elite Tectonic Mask
prusaprinters
<p>So, I'm working on making a set of game-accurate Elite Tectonic armor from RuneScape as a fully 3D printable cosplay set. There ended up being a lot of different slices for the Mask that I liked, so I'm uploading it here as its own post so I can go into a little more detail about it.</p> <p>Important: This armor is scaled for a 6ft tall individual, but can easily be re-scaled without causing issues with the fit, provided that all pieces are scaled together. Regardless of this, you may need to adjust the scaling for the mask to fit your head properly.</p> <p>Now, on to the cuts:</p> <ul> <li>Quarter Preview and Solid Preview are files specifically for the images above, but ARE useable models. Quarter Preview is the 4 pieces of the Quarter Cut model (more info below) and the Solid one is obviously a solid model if you'd prefer to slice it yourself.</li> <li>Hidden Seam: This model was manually separated into 2 halves in order to hide the seam, but will require more support material since it does not have a flat printing surface to rest on.</li> <li>Quarter Cut model: A version of the Hidden Seam model that's been sliced for smaller printers and to give a flat surface to print on for a more discreet seam after assembly.</li> <li>Halved: This model is manually halved along the middle (from front to back) giving you left and right halves of the mask. This provides a good flat surface for printing, but at the cost of a more visible seam. Only advised for larger printers.</li> <li>Planar Cut: This model is a sort of experimental one.. I cut the model into two halves (from left to right) like with the Hidden Seam version, but instead of a manual divide along the polygons, this is a flat cut in roughly the same area. It's not quite as neat looking, but gives a more discreet seam than the Halved model while still providing a flat surface to print on.</li> </ul> <p>There will be more armor pieces to come; I've got most of the files ready as of this post, but I want to slice them for printing first and make sure they're going to work before I release them. Enjoy!</p> <h3>Print Settings</h3> <p><strong>Rafts:</strong></p> <p>No</p> <p class="detail-setting supports"><strong>Supports: </strong> <div><p>Yes</p></div> <p><strong>Resolution:</strong></p> <p>0.2mm</p> <p class="detail-setting infill"><strong>Infill: </strong> <div><p>10% or less. Recommend 5%</p></div> <p><strong>Filament:</strong> Any PLA Any</p> <p><br/> <p class="detail-setting notes"><strong>Notes: </strong></p> </p><div><p>The parts will not work well without infill, but you <em>can</em> print them that way. I suggest using 5-10% infill or less, depending on how strong you want the part and how many wall layers you use. If you're using infill with 2+ wall layers, I recommend using 3-7% infill or less.</p></div> </p></p> Category: Costume
With this file you will be able to print Elite Tectonic Mask with your 3D printer. Click on the button and save the file on your computer to work, edit or customize your design. You can also find more 3D designs for printers on Elite Tectonic Mask.
