Elegoo StealthBurner Mount
prusaprinters
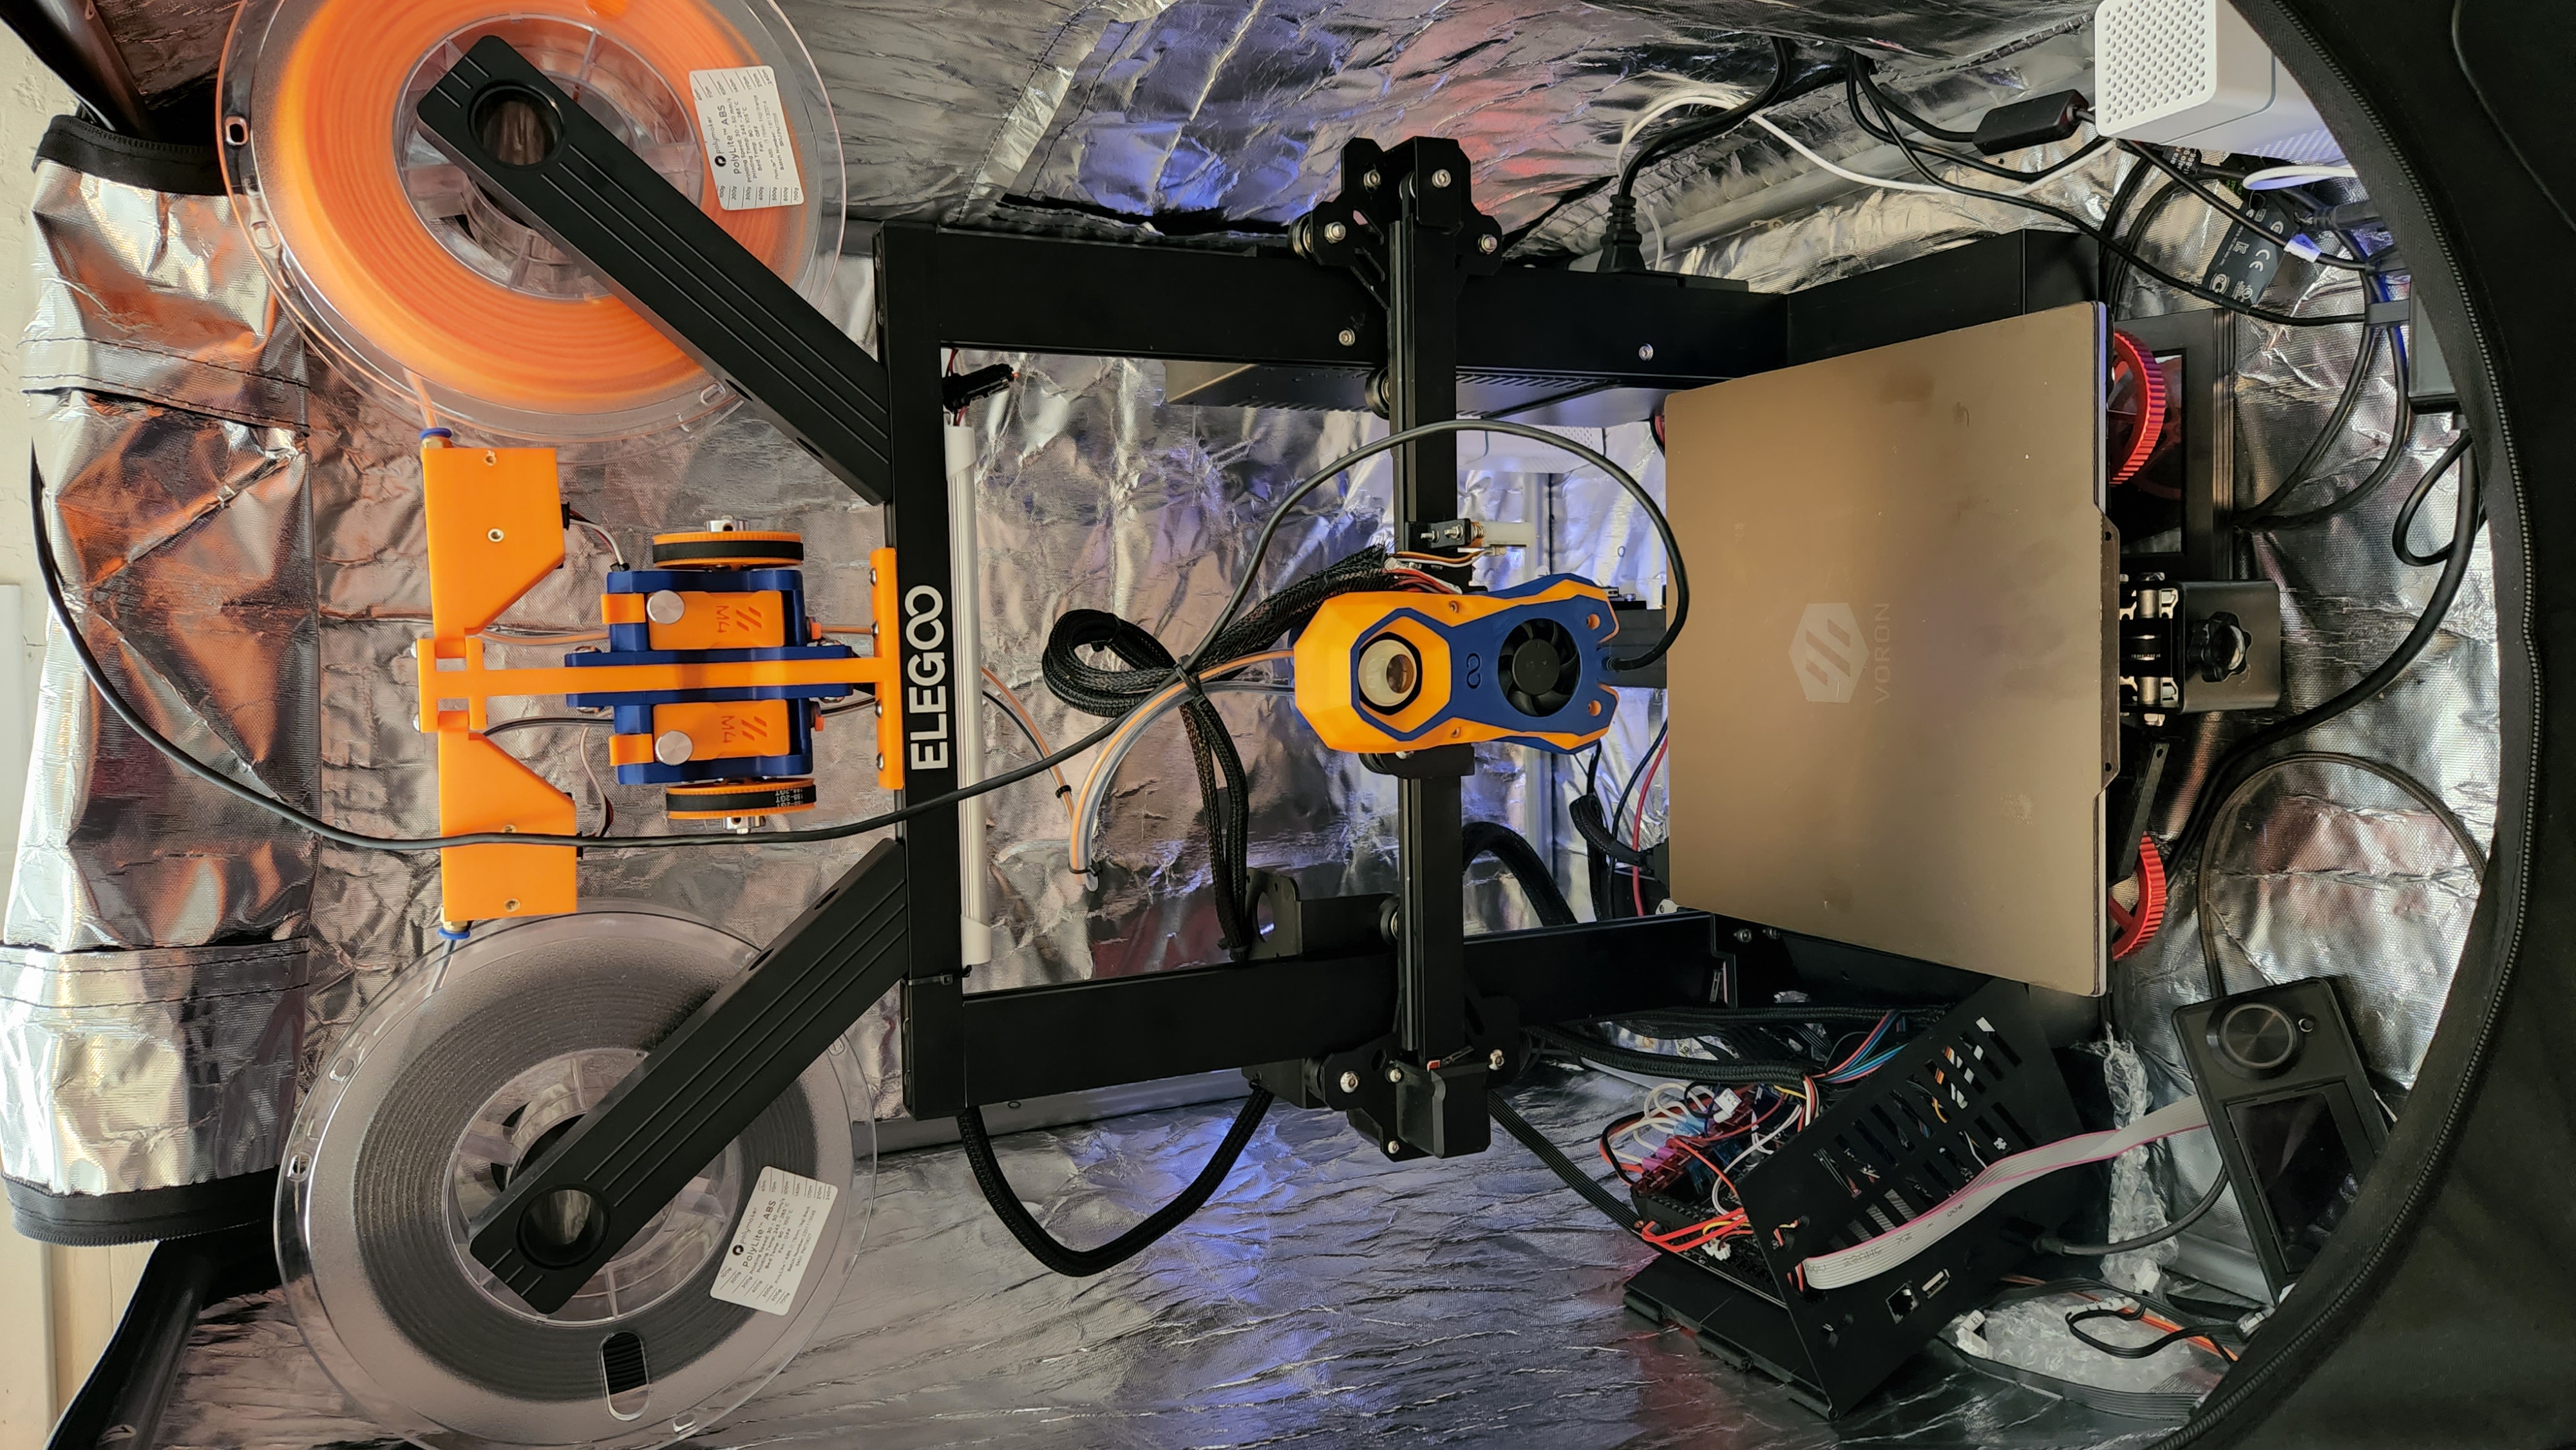
<p>WIP: This model is still a work in progress.</p><p>I remixed <a href="https://www.printables.com/model/139183-ender-3-v2-voron-stealthburner-conversion">https://www.printables.com/model/139183-ender-3-v2-voron-stealthburner-conversion</a> to work on the stock hotend carriage for the Elegoo Neptune 2 / 2S / 2D, may also work on the X though I'm not 100% sure if it uses the same carriage or not. I have not tested anything other than the fit to the carriage yet but everything “should” be the same as the original other than the carriage mounting hole locations. Pictures are from the last iteration and the slight interference on the head of the v-roller bolt heads has been addressed. You will also need to remove the washer from the lower v-roller bolt to get it to sit flush, it appears to be unnecessary as mine operates just fine without it. </p><p>You will need to get the single bowden adapter, etc from the original model if you want to utilize it. I have included the modified dual bowden adapter for the 2D. You will need to get some bowden collets like these: <a href="https://www.amazon.com/dp/B092ZGBC1M">https://www.amazon.com/dp/B092ZGBC1M</a> the thread in PC4-M10 /M6 will not work. You will also need heat sets and bolts. I have not confirmed if the CW1 / CW2 direct drive setups will fit directly without modification so if you want to go that route you will need to check the models and do some research.</p><p>I have added a BLTouch mount that utilizes the stock probe mounting holes on the Neptune to get further away from the hotend as there have been reports of heat damage to probes from the Voron community when utilizing a BLTouch style probe behind the hotend, which is were the original adapter setup places it. </p><p>You will lose 24mm of build volume on the Y axis due to the nozzle sticking out further forward than the stock hotend and 1mm on the X. You can set the X_MIN_POS to -1 and the Y_MIN_POS to -24 and the bed size to 234 on X and 211 on Y and then you won't run into issues with it trying to print off the edge of the build plate, you should also change them in the slicer to match. The probe offset is 51, 17, 0. With my individual setup with the E3D Revo Voron hotend the z-offset is -0.81 but that will be different for you probably especially if you are using a different hotend.</p><p>All of the different toolhead mounts are on the SB github. <a href="https://github.com/VoronDesign/Voron-Afterburner/tree/sb-beta">https://github.com/VoronDesign/Voron-Afterburner/tree/sb-beta</a></p><p>If you want to use the stock MK8 hotend that comes with the Neptune 2 / 2S this should work, though I haven't tested it myself: https://www.printables.com/model/137768-voron-stealthburner-mk8-toolhead</p><p>I used Tinkercad to modify the adapter as I was having trouble figuring out how to get the holes to move in Fusion 360, I am very new to the software and while I think I know how it's supposed to work there seems to be some constraint or lock on the holes that was preventing me from moving them. I will be revisiting this at some point once I learn more about Fusion 360.</p><p>I also have a modified StealhBurner cover based off the beta7 stl that replaces the Voron logo with the Elegoo logo and a matching diffuser that I will be posting separately for those who are interested. <a href="https://www.printables.com/model/185503-elegoo-stealthburner">https://www.printables.com/model/185503-elegoo-stealthburner</a></p><p> </p>
With this file you will be able to print Elegoo StealthBurner Mount with your 3D printer. Click on the button and save the file on your computer to work, edit or customize your design. You can also find more 3D designs for printers on Elegoo StealthBurner Mount.