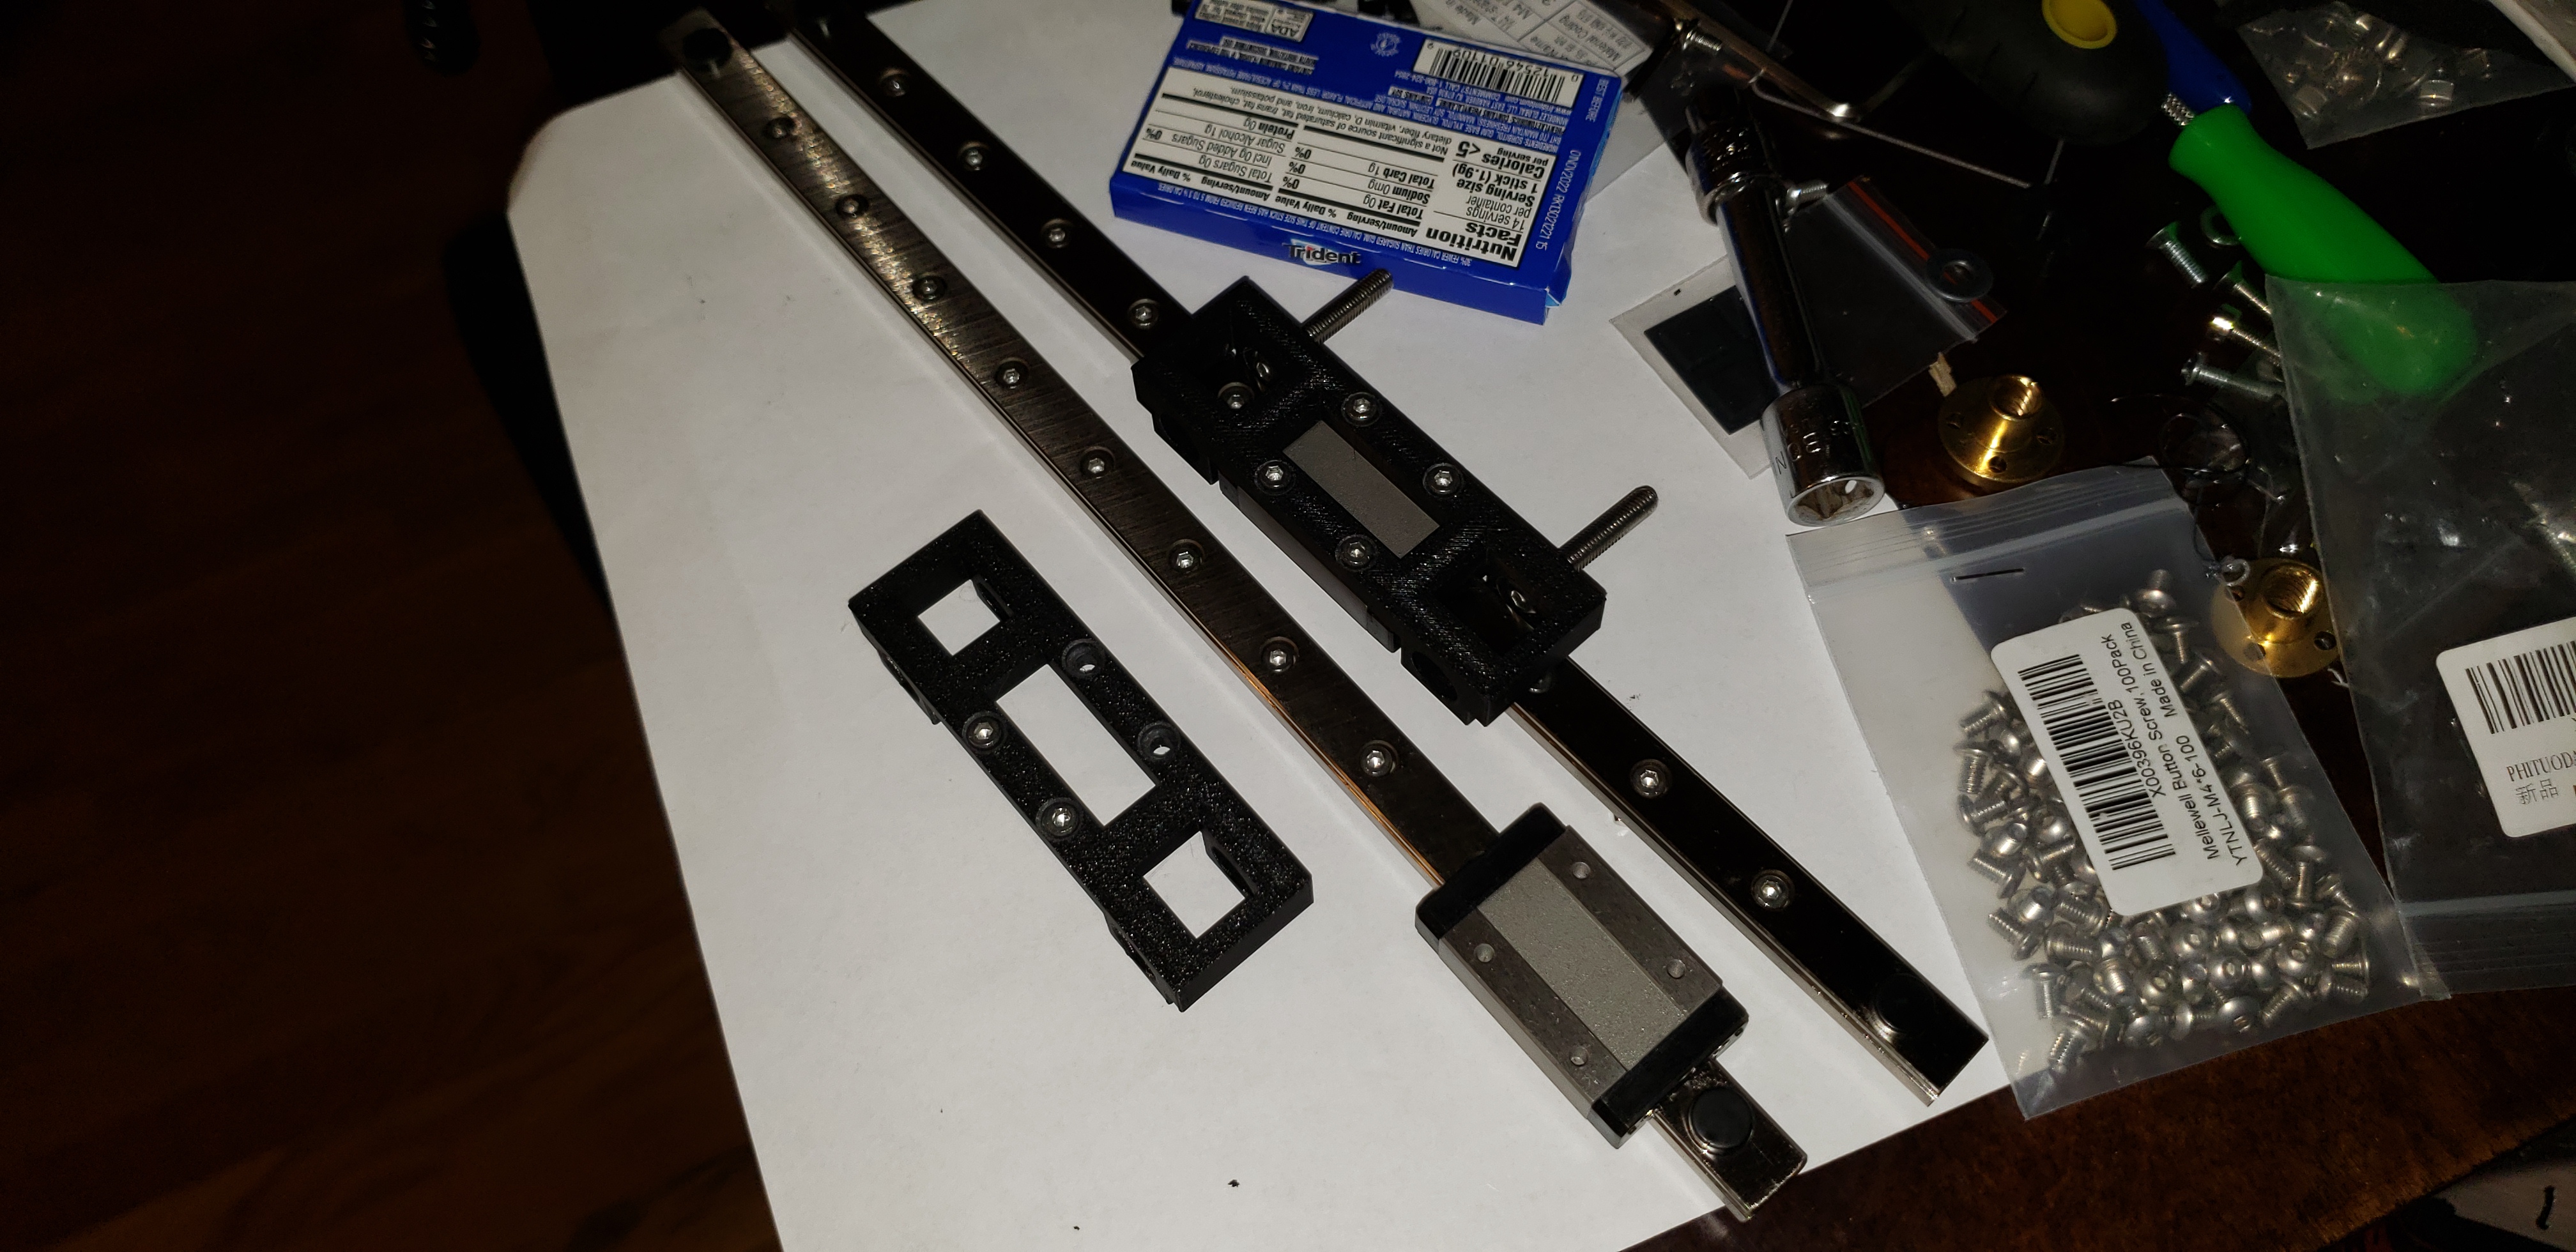
Elegoo Neptune 3 Y axis linear rail installation kit
prusaprinters
<p>I designed these parts to mount linear guide rails on the Y axis of my Elegoo Neptune 3. This kit could be used for any 235x235 machine with 4040 Y axis extrusion.</p><p>The linear rail adapter is universal left and right, which is why it's shaped the way it is. You need 2 adapters and 2 jigs. The jigs use the same M3 x 8mm screws and T nuts as the rails, so everything can be done with basically one screw size. You need 4 M5x16mm long screws to mount the adapters to the bottom of the table. Leave them loose until you secure the adapters to the linear trucks with the M3 x 8mm screws so the adapters are mounted securely to the trucks, then adjust and tighten the 4 M5 lock nuts to secure the table. The jigs are used on the underside of the 4040 extrusion to align and center the rails.</p><p>Youtube - <a href="https://www.youtube.com/watch?v=5DlCFSf0o3Y&t=69s">https://www.youtube.com/watch?v=5DlCFSf0o3Y&t=69s</a></p><p>Here are the parts used:<br>(2) adapters<br>(2) jigs<br>m3x.5x8mm socket head cap srews - https://amzn.to/3SBXM8U<br>m5x.8x16mm button head cap screws - https://amzn.to/3LIxSxT<br>(2) 12mm x 300mm linear rails - https://amzn.to/3SjD6CI<br>m3 drop in T nuts - https://amzn.to/3SBewwY</p><p><i>Please note</i><br>This kit took a long time to design, test, revise and implement, so if you wouldn't mind, drop me a tip! :)</p>
With this file you will be able to print Elegoo Neptune 3 Y axis linear rail installation kit with your 3D printer. Click on the button and save the file on your computer to work, edit or customize your design. You can also find more 3D designs for printers on Elegoo Neptune 3 Y axis linear rail installation kit.
