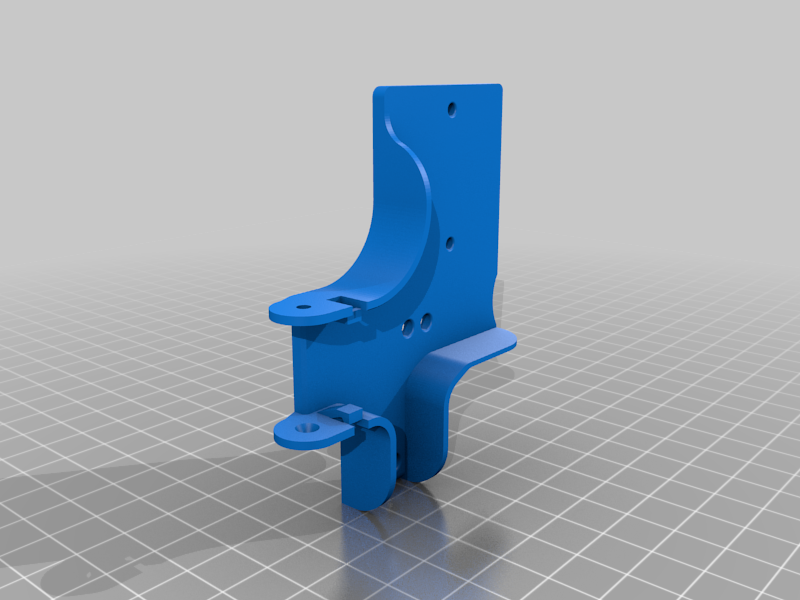
Elegoo Neptune 2 X Axis Extruder Chain
thingiverse
Due to the the solid top of the on the extrusions for the Neptune 2 and differing geometry for the extruder plate, there wasn't a good way to attach the cable chain for the x axis and extruder wires. The back mount simply replaces end cap of the extrusion, print with the channel side down. The ribs in the channel are there to help with bridging so you shouldn't need supports. The extruder mount piece mounts to the bottom of the extruder plate. I use zip tie to hold it on through the hole between the extruder and the filament sensor. The screws from my filament sensor also extend slightly below the metal plate and can be screwed into the small holes on the chain mount for some extra security, or some double sided tape or longer screws with nuts could be used. There's also a couple of extra holes for a zip tie to secure the hot end wires. Print off the chain links and clips from the base design. I believe I used 22-23 links and clips, there's also spots on the mounts here for a couple of extra clips. I did have a couple links flipped backwards on each end connected to each mount to help the with the bending direction
With this file you will be able to print Elegoo Neptune 2 X Axis Extruder Chain with your 3D printer. Click on the button and save the file on your computer to work, edit or customize your design. You can also find more 3D designs for printers on Elegoo Neptune 2 X Axis Extruder Chain.
