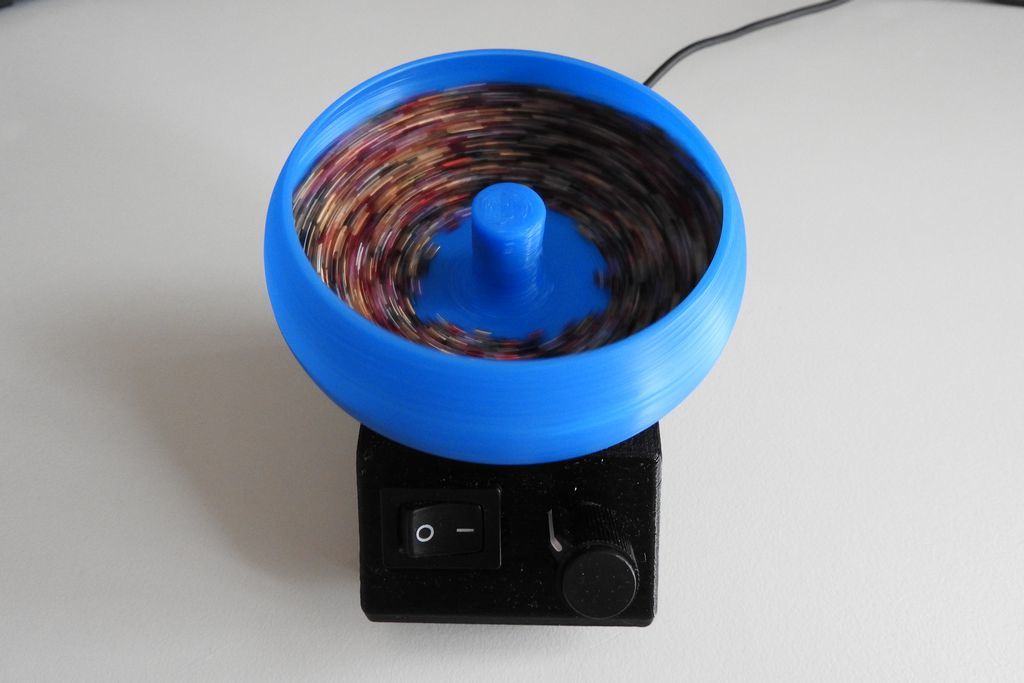
Electrical beads spinner (with motor)
thingiverse
I've Seen This Thing: A Simple Motorized Spinner The moment I laid eyes on it, I knew I had to create my own version. What if I added a motor to give it some life? The result was a simple circuit that anyone can replicate. All you need is a power supply, switch, motor, and potentiometer. With this setup, not only can you turn the spinner on and off, but also adjust its speed. The speed control isn't super precise, but it's incredibly easy to use. To build my housing, I printed it upside down with supports on the print bed. For all other parts, I went without supports. To secure the ground cover, I used two screws initially, then added three clips that should hold it in place if they work as planned - no more screws needed! Motor Details: I salvaged a motor from an old electronics project. It's a RF-310 6Volts model with a diameter of 24,4mm and requires a long axis. Switch Specs: This snap-in switch measures 19,2x12,9mm. Potentiometer Notes: My linear potentiometer has a resistance value of 330 ohms, but if you can't find that exact one, you can use a 470-ohm pot and connect a parallel resistor with 1k to it (check the schematic for details). You could also try using a logarithmic pot for more even motor regulation. Power Supply Requirements: Any power supply between 5 to 6 volts with at least 300-500mA will do. I used an old one with 5,7V/800mA. That's it - have fun building your own! If you catch any mistakes, feel free to leave a comment in the comments section below.
With this file you will be able to print Electrical beads spinner (with motor) with your 3D printer. Click on the button and save the file on your computer to work, edit or customize your design. You can also find more 3D designs for printers on Electrical beads spinner (with motor).
