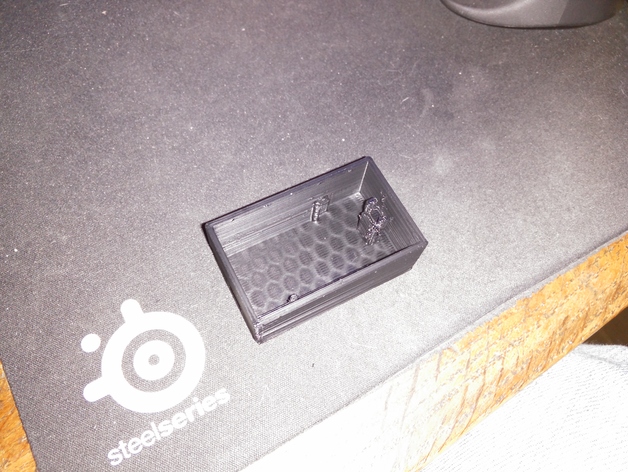
EdTracker Case for V2 PCB and MPU 9250
thingiverse
I picked up an EDTracker kit and the V2 PCB, only to realize that the switch wouldn't fit on the board with the MPU 9250 that came with the kit. Rather than throwing away the switch, I decided to wire it directly to the board and build a custom case to hold the switch. It's not the most elegant solution, but it got the job done. The PCB and switch mounting are a tight fit since I didn't want them moving around. In my case, one of the retaining arms for the switch cracked when I was pushing in the switch; this might vary with each printer, as mine didn't create a perfect switch post (a few globs on it). A little spot of super glue fixed the cracked arm. After assembling everything, I shrunk the latches on the lid a bit, in case it would print slightly too tight. It stays in place but may be a little loose. A little electrical tape can fix that issue. Print Settings: Printer Brand: MakerBot Printer: Thing-O-Matic Rafts: No Supports: No Resolution: 0.2mm Infill: 30%
With this file you will be able to print EdTracker Case for V2 PCB and MPU 9250 with your 3D printer. Click on the button and save the file on your computer to work, edit or customize your design. You can also find more 3D designs for printers on EdTracker Case for V2 PCB and MPU 9250.
