EDGE 540v3 73" - Wing Servo Connector - 3DLabPrint
prusaprinters
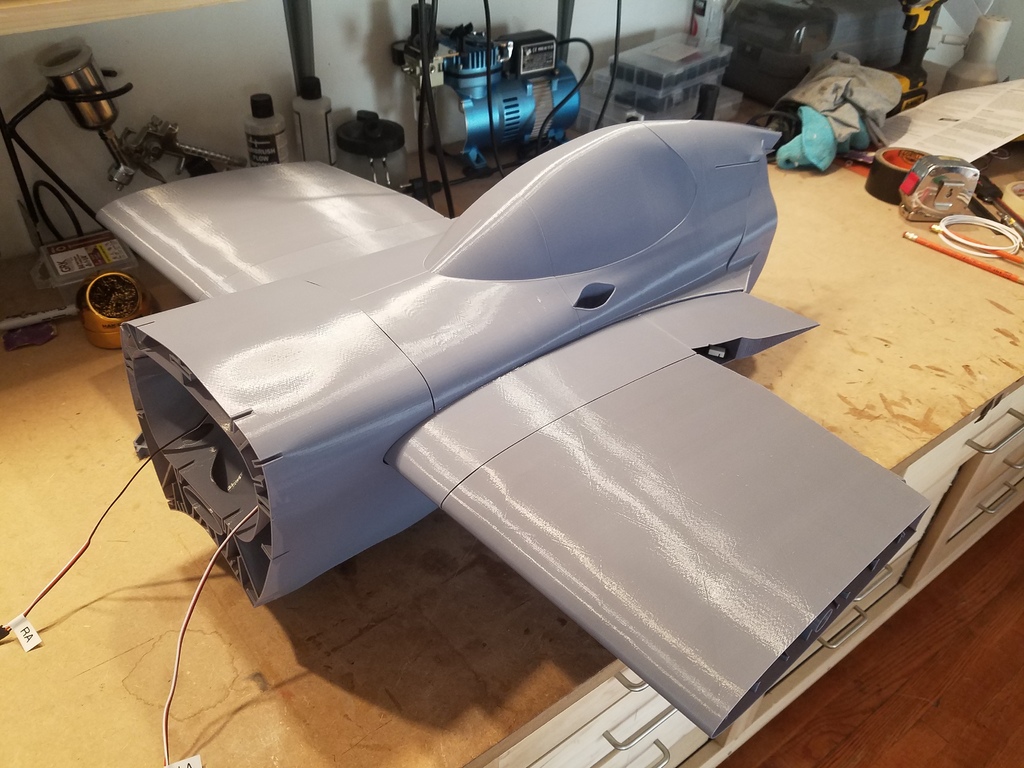
<p>Let's add another "Wireless Wing" to the collection.</p> <p>B-25 Mitchell <a href="https://www.thingiverse.com/thing:4121096">https://www.thingiverse.com/thing:4121096</a></p> <p>Spitfire Mk IX <a href="https://www.thingiverse.com/thing:4143803">https://www.thingiverse.com/thing:4143803</a></p> <p>F4U Corsair <a href="https://www.thingiverse.com/thing:4178322">https://www.thingiverse.com/thing:4178322</a></p> <p>Il-2 Sturmovik <a href="https://www.thingiverse.com/thing:4132256">https://www.thingiverse.com/thing:4132256</a></p> <p>EDGE 540 46” <a href="https://www.thingiverse.com/thing:4128056">https://www.thingiverse.com/thing:4128056</a></p> <p>Qtrainer <a href="https://www.thingiverse.com/thing:4137667">https://www.thingiverse.com/thing:4137667</a></p> <p>P-51 <a href="https://www.thingiverse.com/thing:4186416">https://www.thingiverse.com/thing:4186416</a></p> <p>Just Plug-and-Fly!</p> <p>Requires some 2.54mm JST-XH connectors, standard servo connectors, servo wire, and 2 ea M3 x 8mm self-tapping screws.</p> <p>Easy install.</p> <p>Can be installed before assembling UP pieces (preferred) or after assembly (not as convenient).</p> <p>This install is based on the New School Direct Linked Aileron Setup. Old School will likely require some servo extensions.</p> <p>Notes:</p> <p>Printed in eSun PLA+</p> <p>Arrange parts on the build plate according to the illustrations.</p> <p>Cura: Support Touching Build Plate, Infill 15%</p> <p>Trim away the 2 little locking tabs inside the slots of the XH base connector that is to be used in the Fuselage.</p> <p>FLIERS!!!</p> <p>If you find that this makes your flying sessions MORE enjoyable with LESS hassle, please consider buying me a cup of coffee at</p> <p>paypal.me/MakeItMakeItMakeIt</p> <p>Thank You!</p> <h3>Post-Printing</h3> <p><strong>Fuselage Wiring Preparation</strong></p> <p>Prepare your wiring as desired.</p> <p>These are 12" in length, maybe 2-3" longer than they have to be.</p> <p>Female servo connectors are crimped to wires, pressed over the XH connector posts, soldered and heat shrunk.</p> <p>Standard servo connectors are crimped onto the other ends: ready for Installation.</p> <p><strong>F-Mount Installation</strong></p> <h3>Test fit the F-Mount into the fuselage, ensuring it fits snugly, is centered side-to-side, and is flush to the edge of the fuselage.</h3> <h3>When you are satisfied with the test fit, apply CA across the entire curved face of the F-mount and glue it into place, making sure that the face is flush with the fuselage edge.</h3> <p>Ensure that the fuselage and F-mount are as snugly assembled as possible, especially in the 2 center areas of contact, illustrated by the arrows.</p> <p><strong>Fuselage Wiring Installation</strong></p> <p>Fit the wires through the opening in the F-Mount, separating them Left side/Right side, and insert the XH connector into the opening, with the slots facing UP.</p> <p>Ensure that the connector is flush to the face of the F-mount when installed.</p> <p>The XH connector should be firmly retained in its hole.</p> <p>If necessary, apply some CA to it before final insertion to keep it retained.</p> <p><strong>UP Fuselage Preparation</strong></p> <p>There needs to be a 1" hole in the bottom skin of UP#1, just before where it mates to UP #2, to allow the wiring to get to the aileron servos.</p> <p>It can be closer to the front if you desire: it's just a pass-through.</p> <p>It is easier if you have not yet assembled the UP pieces.</p> <p>If the UP pieces are already assembled, a hot knife, care and patience will do the trick.</p> <p><strong>Wing Wiring Installation</strong></p> <p>Prepare your wiring.</p> <p>These are 12" long, with standard servo connectors.</p> <p>The XP connector fits into the W-Plug Plate, followed by the W-Filler Plate (raised portion IN).</p> <p>The W-Filler Plate only fits one way.</p> <p>NO glue is used here.</p> <p>It's helpful to label one wire as L or R appropriately.</p> <p><strong>Install W-Mount Plate</strong></p> <p>Attach the Install Tool to the W-Mount Plate using 2 M3 x 8 screws.</p> <p>This makes it easy to test-fit and install the W-Mount Plate.</p> <p><strong>Test-fit/Install the W-Mount Plate</strong></p> <p>Holding the Install Tool, with the holes toward the bottom, maneuver/fit the W-Mount Plate to the inside edges of the vertical supports in UP#1.</p> <p>The sides should be flush against the supports and the bottom should be down onto the top of the UP#1/wing.</p> <p>When you are satisfied with the fit, remove the Mount Plate, apply some CA to both side notches, maneuver/fit the W-Mount Plate back into place, and apply activator.</p> <p>When dry, remove the Install Tool.</p> <p>You may run a bead of CA over the seams between the W-Mount Plate and the vertical supports if desired.</p> <p>OPTIONAL: There are 4 tabs called Up Tabs that I created and glued to UP1, Probably will end up being totally useless, but there they are, and you can have them too if you want them.</p> <p><strong>Wing Wiring Installation</strong></p> <p>Thread each wire end through the opening in the W-Mount Plate, then guide the wire through the hole in Up1,</p> <p>When both wires are through the hole, position the W-Plug Plate assembly and attach it to the W-Plug Plate with the 2 M3 screws.</p> <p>Position the W-Plug Plate almost to the bottom of the UP opening (< 1mm), then tighten the screws just enough to allow the W-Plug Plate to move for initial fitment.</p> <p><strong>Final Steps</strong></p> <p>With a hooked piece of stiff wire, pull the 2 wires through the bottom opening in the wing and connect the 2 Aileron servos, then stuff the wiring back into the wing hole.</p> <p><strong>Wing Installation</strong></p> <p>Adjust the W-Plug Plate as needed (Up/Down) so that the connectors fall into each other when inserting the wing. Once you have found the correct orientation, you can tighten the screws.</p> Category: R/C Vehicles
With this file you will be able to print EDGE 540v3 73" - Wing Servo Connector - 3DLabPrint with your 3D printer. Click on the button and save the file on your computer to work, edit or customize your design. You can also find more 3D designs for printers on EDGE 540v3 73" - Wing Servo Connector - 3DLabPrint.