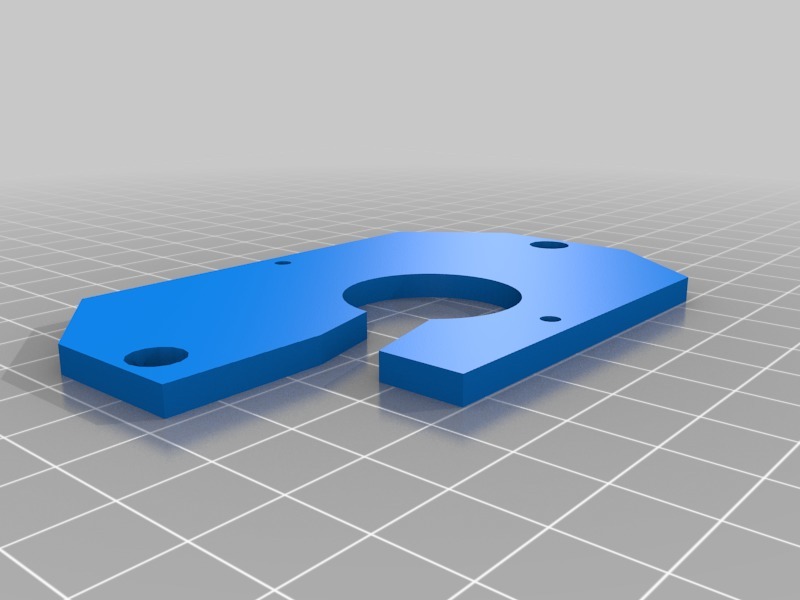
ecobee 4 horizonal jbox adapter
thingiverse
To convert an ecobee 4 thermostat into a standard electrical junction box, first remove the existing mounting screws and carefully lift out the unit from its original bracket. Next, locate the wires that connect the thermostat to the wall, which typically include red, white, and/or copper wires for power, as well as a blue or green wire for the common connection. Identify the specific type of wiring used in your installation, such as 18-gauge or 20-gauge, and note the color-coding scheme. This information will be crucial when reconnecting the wires to the new junction box. Set aside any additional components like mounting clips, sensors, or thermostatic radiators. Remove the thermostat's faceplate by gently prying it away from its surrounding bezel, taking care not to damage any internal components. You may need to use a flathead screwdriver for this step. Behind the faceplate lies the control board and wiring harness. Unclip any retaining clips that hold the control board in place. Carefully disconnect each wire from the control board by twisting or pulling them off their corresponding terminals. It's essential to note which wires were connected to specific terminals, as you'll need to reconnect them later. You may also find additional components like sensors or switches attached to the control board; these should be disconnected and set aside. Next, prepare the electrical junction box by ensuring it is securely fastened to the wall using screws or other suitable fasteners. Then, feed the wires from the ecobee 4 into the junction box through the knockout holes provided. Use wire nuts or connectors to join the wires together in pairs, following standard wiring color codes. Once all wires are connected within the junction box, reattach the control board and faceplate. Make sure any sensors or switches are securely attached as well. Replace any mounting clips or thermostatic radiators that were set aside earlier. Tighten all screws to ensure a secure connection. Finally, reconnect power to the thermostat by attaching the red and white wires to their corresponding terminals on the control board. If your installation features a blue or green wire for the common connection, connect it as well. Test the system by powering it on and verifying that all components are functioning correctly.
With this file you will be able to print ecobee 4 horizonal jbox adapter with your 3D printer. Click on the button and save the file on your computer to work, edit or customize your design. You can also find more 3D designs for printers on ecobee 4 horizonal jbox adapter.
