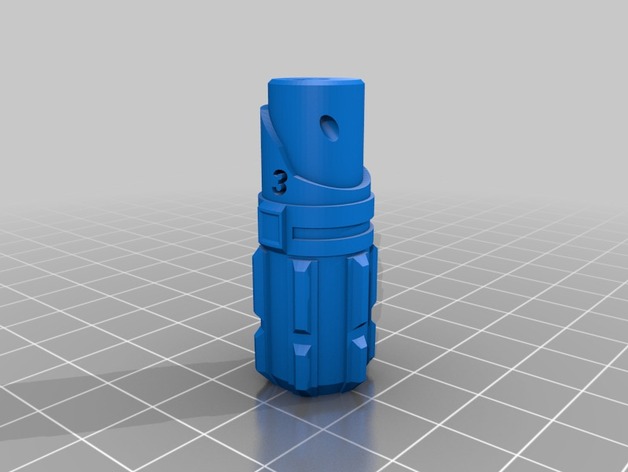
Ecig Coil Jig, The RBA Awakens
thingiverse
Here are some basic steps for creating a jig to make coils for your RBA: To begin with, I am sharing a simple jig that you can use to create various sized coils. It supports three standard sizes: 2mm, 2.5mm, and 3mm. If you need additional sizes, please modify it or let me know in the comments. To successfully complete this project, you will need to obtain either a drill bit or a rod with the appropriate metric diameter. Sorry for any inconvenience; unfortunately, I only have metric measurements available. In the lower section of the jig, ensure that there is a tight fit around your drill bit. It's essential to print it accurately, as the snugness helps to hold the drill in place. I have made an update: I added new bottom section designs inspired by the skywaker lightsaber featured on this video from YouTube: https://www.youtube.com/watch?v=Tdw46uc3MRY **Important Printing Instructions** Please follow these printing steps to get the desired outcome: 1. Print it in upright orientation with no supports. 2. The recommended layer height is 0.15mm for the top part, and 0.2mm will suffice for the lower section. 3. A moderate 20% infill is sufficient, while setting a minimum perimeter shell to 2 will give you better results. When selecting between options, choose whether to print with the original bottom or opt for the new lightsaber-inspired design in the bottom section.
With this file you will be able to print Ecig Coil Jig, The RBA Awakens with your 3D printer. Click on the button and save the file on your computer to work, edit or customize your design. You can also find more 3D designs for printers on Ecig Coil Jig, The RBA Awakens.
