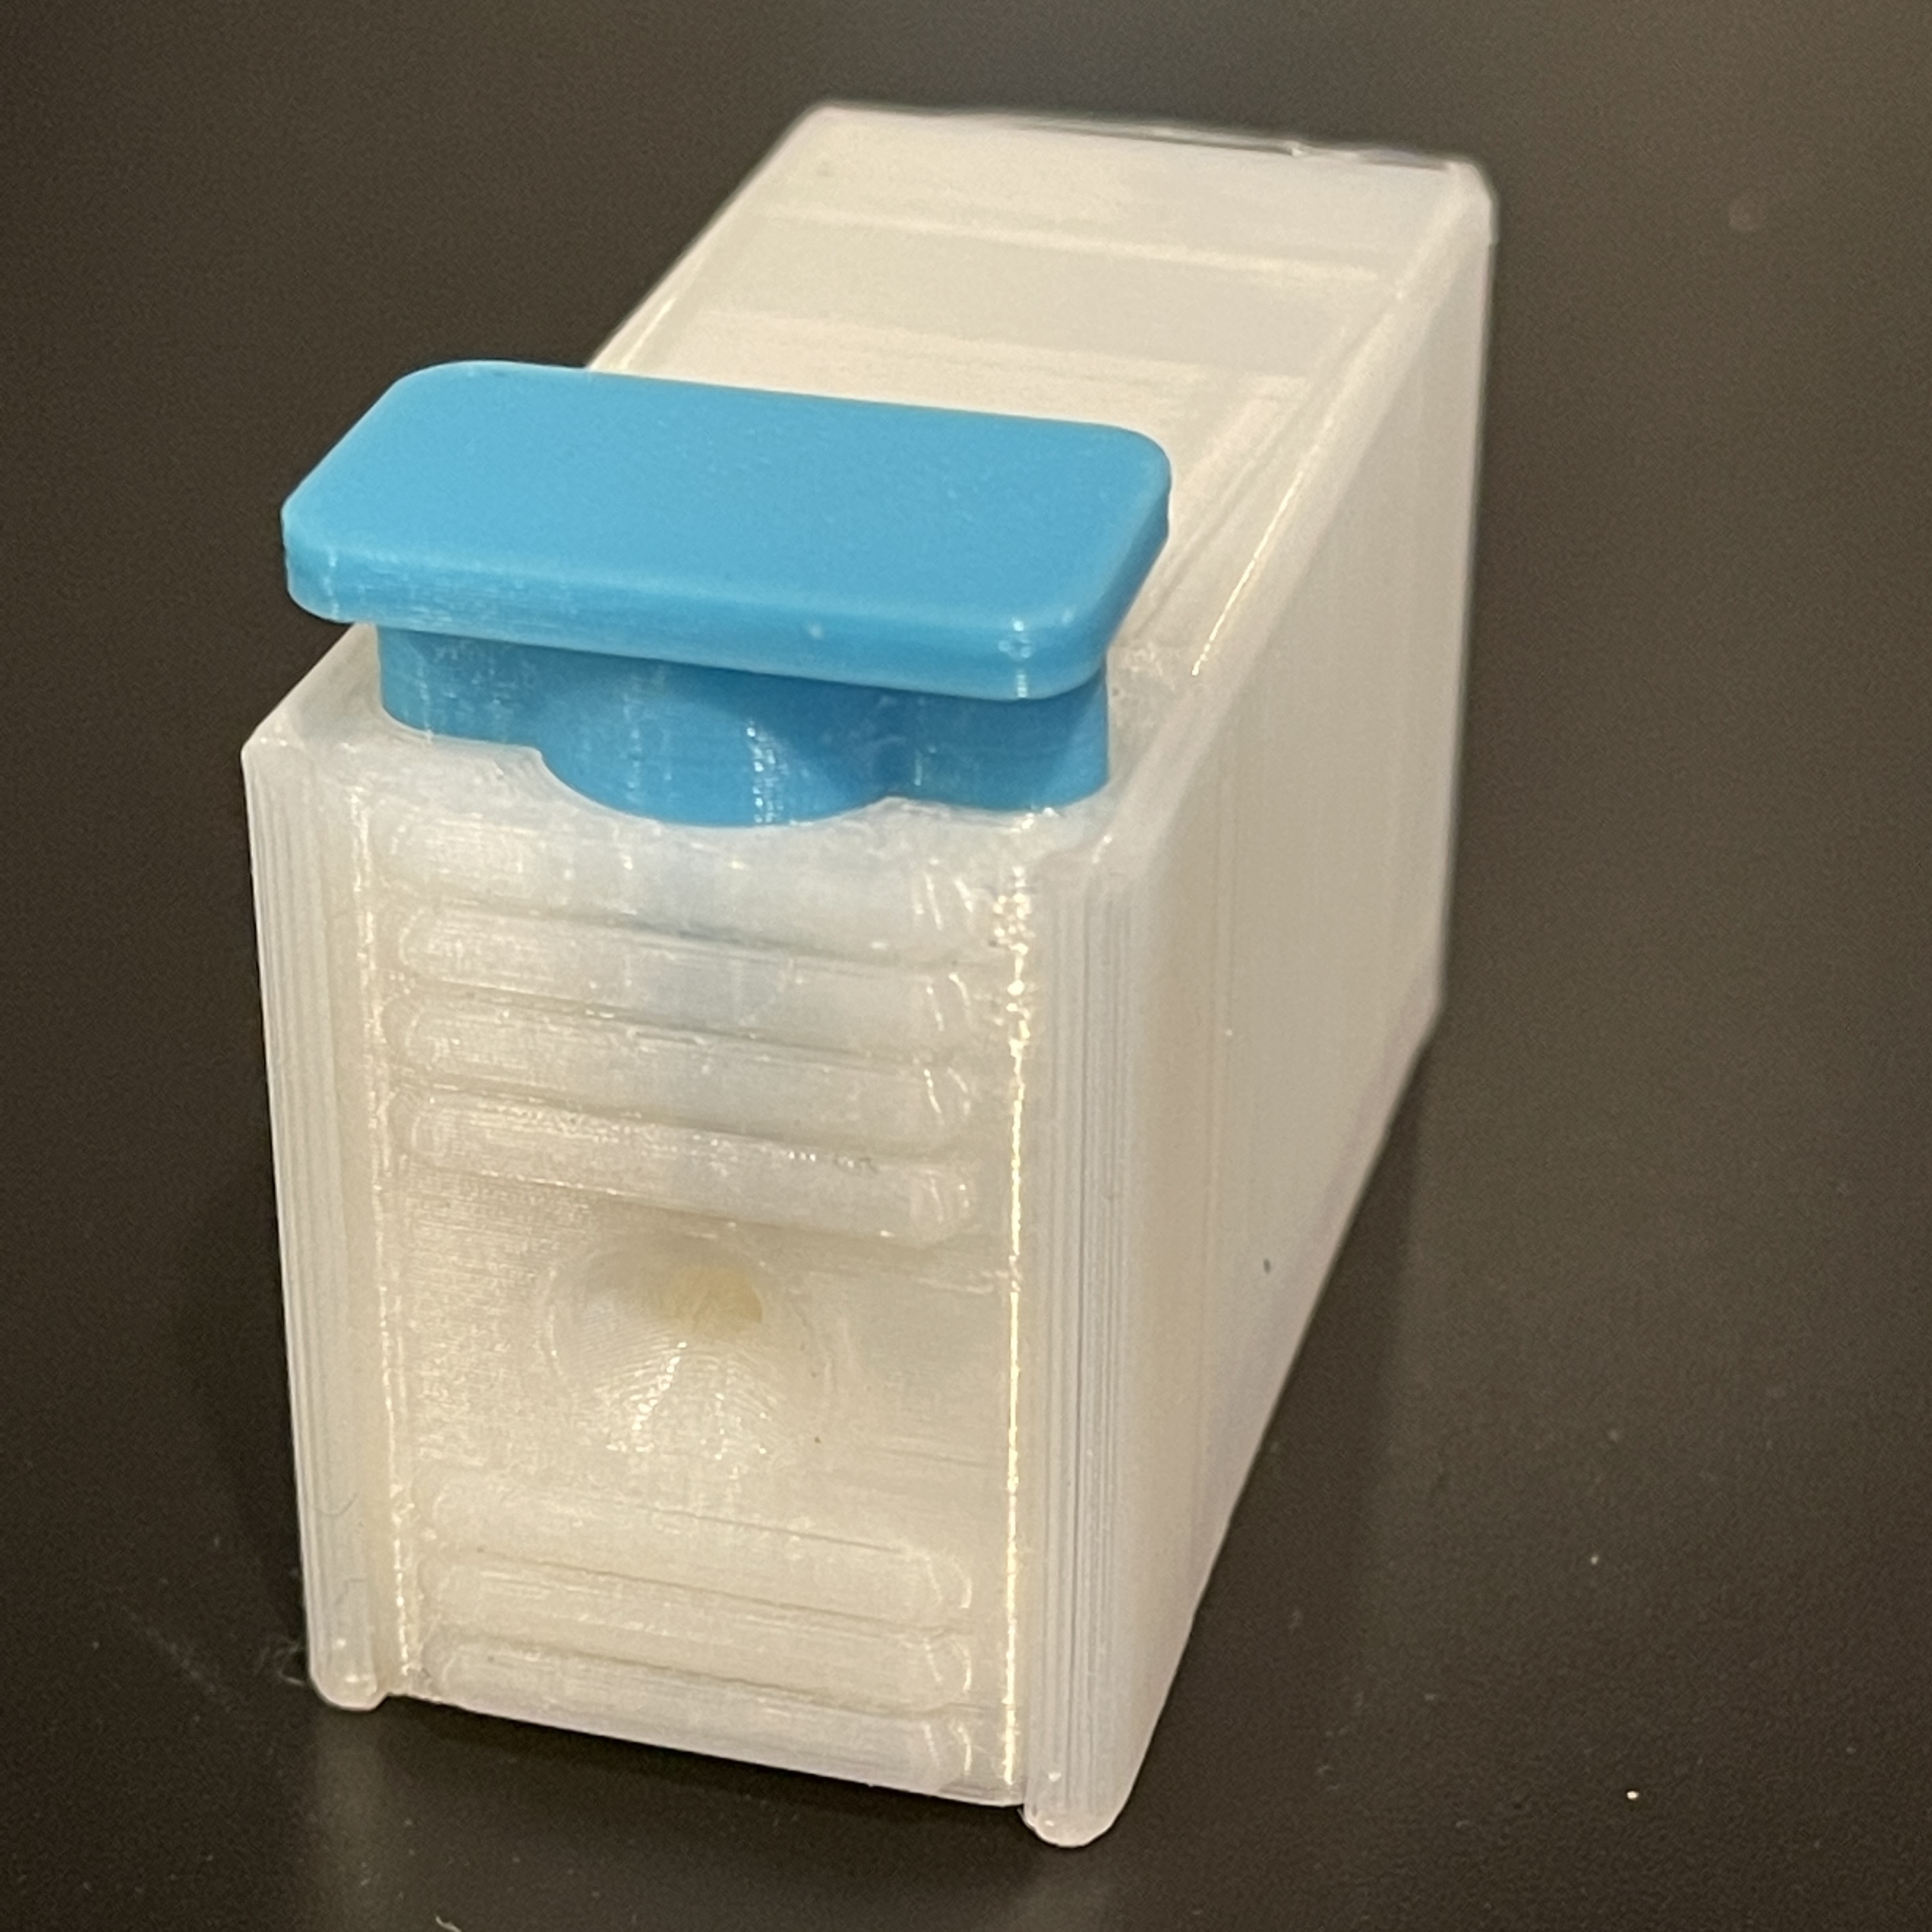
Easy-to-Empty Filament Cutter with Optional Mount
prusaprinters
<p>I liked the simplicity of @pomi's filament cutter but wouldn't want to use it without a box a la @wapameeto's.</p><p>However, I noticed that at least at my printer's tolerances, removing the filament cutter from the box to empty it wasn't that easy, a very tight fit. So I spent an hour with Fusion 360 to make some modifications.</p><p>First, I added some “ribs” to the cutter body, to make it easier to grab it for push/pull. Second, I added a cutout to the base of the box so that you can now easily push the actual cutter upward. The cutter top was left unchanged.</p><p><strong>Update:</strong></p><p>6/17/21: Added option to mount it to your enclosure (or other convenient place) using @layershifter's “multiclip mounting system”. Requires a flat-head wood screw (I used a #8 x ¾).</p><p>6/7/21: Regenerated Cutter Body from FreeCad file, to remove artifacts.</p><h3><strong>Material (by @pomi)</strong></h3><ul><li>One segment from snap-off blade 18 mm (<a href="https://www.amazon.com/Stanley-11-301-Quick-Point-Snap-Off-Blades/dp/B000BQY64Y">example</a> 1, <a href="https://www.heureka.cz/?h%5Bfraze%5D=%C4%8Depel+18mm+odlamovac%C3%AD+n%C3%A1hradn%C3%AD+-+10ks&m=f">example</a> 2)</li></ul><figure class="image image-style-align-center image_resized" style="width:347.281px;"><img src="https://media.prusaprinters.org/media/prints/67509/rich_content/621f4363-d438-41aa-805a-17a50d551125/obrazek.png"/></figure><ul><li>2 pieces of screw M3 x 25 mm</li><li>2 pieces of ball pen spring (probably 20 mm length, 4 mm diameter, M3 screw must fit inside)</li></ul><h3><strong>Assembly Instructions (by @pomi)</strong></h3><p>Check video instructions <a href="https://youtu.be/rSI0_ej1MC8">here</a>.</p><ol><li>Print both parts.</li><li>Take one piece of snap-off blade and put it into upper part. Use some pliers to avoid an injury. There is a small mark near blade pocket which shows you where the tip of the blade should be. Additionally you can use super glue to fix it in position.</li><li>Put both screws into the holes.</li><li>Put ball pen springs into the holes.</li><li>Place the upper part on the main body and press it fully.</li><li>Tighten the screws. Screw head should be about 1,5 mm inside head holes. If you will tight them too much it will destroy plate at the upper part.</li><li>Release upper part and check if blade is not visible inside the filament hole. If yes loose the screws little bit.</li></ol><p>Then just slide the cutter assembly into the box. </p><p>Prints fine in PLA and PETG. I printed it at 0.2mm layer height, 3 perimeters. 10% infill, no supports.</p><p><strong>If you like what I'm doing…</strong><br/><strong> </strong><br/>…consider <a href="https://www.buymeacoffee.com/mix579">buying me a coffee</a>.<br/><img alt="orange_img.webp" src="https://media.prusaprinters.org/media/prints/51471/rich_content/8871d2db-9b5f-47c1-a4f7-fd6e73984904/image.png#%7B%22uuid%22%3A%22544551d0-597c-42c7-9c9b-1b838bdd2ace%22%2C%22w%22%3A170%2C%22h%22%3A37%7D"/><br/> </p>
With this file you will be able to print Easy-to-Empty Filament Cutter with Optional Mount with your 3D printer. Click on the button and save the file on your computer to work, edit or customize your design. You can also find more 3D designs for printers on Easy-to-Empty Filament Cutter with Optional Mount.
