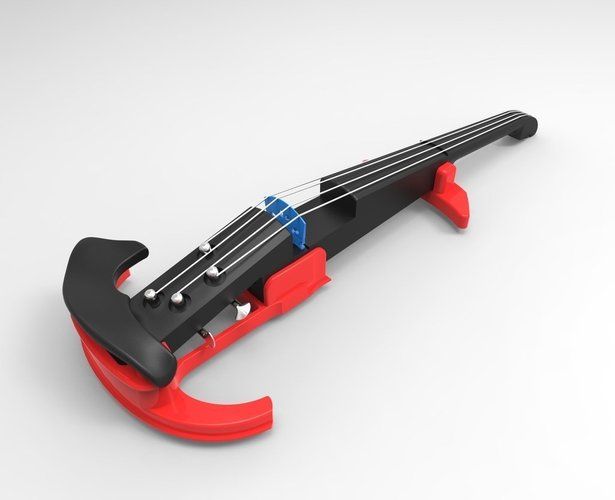
Easy printing Electric Violin.
pinshape
Summary Special thanks to Stepan83 for the Elviolin design on Thingiverse, which has truly inspired me. In this version, I've made some key modifications to make printing easier and more efficient without supports. A modern look is achieved by reworking some parts, while an integrated chinrest support adds a touch of sophistication. All components can be printed without supports, except for the chinrest. Recommended printing parameters include 5 mm shell thickness, 4 mm top-down solid thickness, 20-30% infill, and 0.20mm layer heights. When printing with ABS filament, acetone or PVC pipe glue can be used to bond parts together. For PLA prints, epoxy glue is the recommended choice. To achieve a smooth surface for painting, use sanding paper and automotive patching paste. Don't forget to apply a primer before applying your chosen color. You can find the necessary electronics on eBay, listed as electric violin pickups. A 9.5mm threaded rod serves as a steel core to strengthen the violin body. For instructions, please refer to the original Elviolin design on Thingiverse. Materials required: * Printed parts: 6 pieces * Bridge: 1 piece * Sound pickup: 1 piece * Electronic preamp: 1 piece * Guitar pegs: 4 pieces * Metal rod M8x370: 1 piece * Screws: + M4x25: 9 pieces + M4x50: 1 piece + M4x40: 2 pieces + M3x8: 4 pieces (for pegs) + M2x10: 4 pieces (for electronic preamp) * Nuts: + M4: 12 pieces + M3 long nut: 4 pieces (for hot installation in holes, for pegs screws) + M2x10: screws for electronic preamp
With this file you will be able to print Easy printing Electric Violin. with your 3D printer. Click on the button and save the file on your computer to work, edit or customize your design. You can also find more 3D designs for printers on Easy printing Electric Violin..
