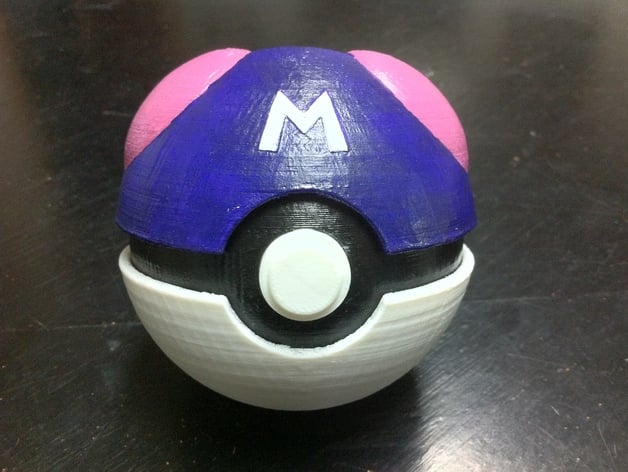
Easy-Print Master Ball
thingiverse
You can print the lid either fully assembled or in individual components. If you decide to print it in pieces, be aware that a new inner ring is required to secure the assembly. The alternative option is to utilize all the original parts from the Easy Print Pokeball that have been mirrored here for convenience. Instructions are below. For printing in separate components: 1) First, print three main parts: one outer shell lid, one outer shell lid m, and two outer shell lid bump pieces. 2) Locate the M of the outer shell lid and carefully remove the internal supports from it. 3) Ensure that when assembling the bumps, their curved sections are aligned towards the top of the lid. 4) Proceed by printing the new inner ring; this will serve as the core component around which you can assemble the rest of the lid. Alternatively, if you prefer to print the lid in its fully assembled state: 1) Start by printing a single piece: the outer shell lid assembled. 2) Then proceed with printing any remaining components from the Easy Print Pokeball and follow their standard assembly guidelines.
With this file you will be able to print Easy-Print Master Ball with your 3D printer. Click on the button and save the file on your computer to work, edit or customize your design. You can also find more 3D designs for printers on Easy-Print Master Ball.
