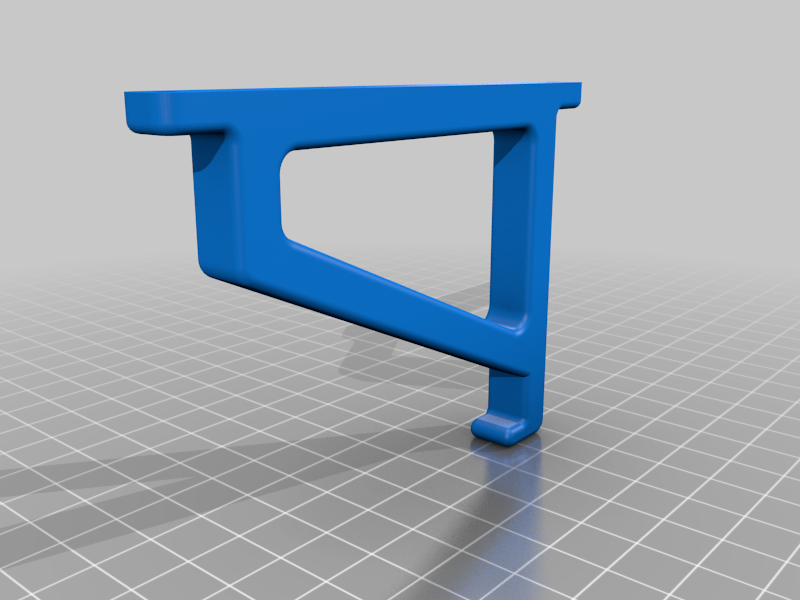
Easy Keyboard Wall Mount
thingiverse
Mounting a Wireless Keyboard on a Wall - A Simplified Approach Installing a wireless keyboard, such as the Logitech K400, on your wall can be accomplished with a few simple tools and steps. This approach is perfect for those looking to free up valuable desk space or add a touch of modern style to their home office setup. To begin, gather the necessary materials: a screwdriver, a drill, a keyboard mount, and the wireless keyboard itself. The keyboard mount should be specifically designed for your wireless keyboard model to ensure proper fitment and stability. Next, locate the wall stud behind the drywall using a stud finder or by knocking gently on the wall. This will provide a secure anchor point for the screw that holds the mount in place. Mark the spot where you want to install the keyboard with a pencil, taking care not to mark any wires or cables. Then, use the drill to create a small hole in the wall at the marked spot. Insert the screw into the hole and screw it into the wall stud until it's securely in place. Attach the keyboard mount to the screw using the provided hardware. Finally, slide the wireless keyboard onto the mount, ensuring it's properly seated and aligned with the wall. Adjust the mount as needed to achieve a comfortable typing position. With these straightforward steps, you can easily mount your wireless keyboard on the wall and enjoy a clutter-free workspace.
With this file you will be able to print Easy Keyboard Wall Mount with your 3D printer. Click on the button and save the file on your computer to work, edit or customize your design. You can also find more 3D designs for printers on Easy Keyboard Wall Mount.
