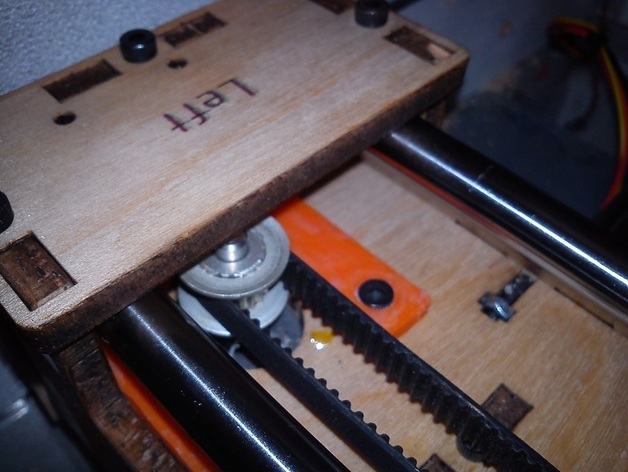
Easy Install Thing-O-Matic Universal X & Y Axis Belt Tensioner
thingiverse
To lessen the likelihood of the Gossamer's thing slipping off bolt heads due to high tension, add sections with a narrow diameter at the bottom of the holes. Although this makes installation harder as bolts need to be fully removed, it helps spread force across a larger surface area and prevents plywood or acrylic damage. Note that over-tightened bolts may deform plywood and crack acrylic. A suggestion is drilling 6mm holes on the left side panel for easy access to bolts holding the left end piece to the Y-Carriage. Furthermore, using a 4.4mm hole allows clear plastic collars from ABP rollers as hole inserts with built-in washers to protect plywood from damage. Always use washers when tightening screws. To modify Gossamer's .SCAD file, change "twice_z_resolution" to double the value of a single layer of printed plastic. After printing, clean up, insert captive nut and remove side panels/plywood parts as necessary for motor mount bolt access. Remove motors, insert printed piece, reinsert motor mount bolts but not too tight, and insert a bolt through the hole on the rear panel or left end piece for Y-belt tensioning. Tighten the belt tension bolt and reattach any removed printer parts to enjoy better printing results at higher speeds.
With this file you will be able to print Easy Install Thing-O-Matic Universal X & Y Axis Belt Tensioner with your 3D printer. Click on the button and save the file on your computer to work, edit or customize your design. You can also find more 3D designs for printers on Easy Install Thing-O-Matic Universal X & Y Axis Belt Tensioner.
