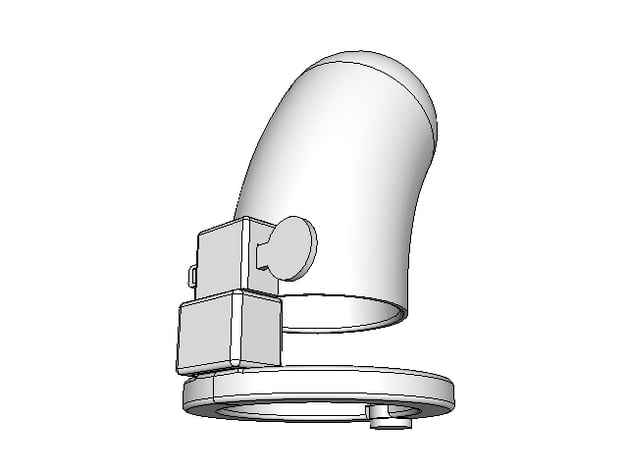

Easy Install Male Chastity
thingiverse
This device assembles fairly easily once prepared properly, with parts fitting together smoothly. The ring is designed for easy use, featuring an articulated design that allows for smooth movement. Some parts may require light sanding to ensure a precise fit. After printing, start by cleaning the parts of any build artifacts. Next, fit the two ring halves at the rounded end, verifying that they fit cleanly and can be rotated partially. Check the fit and mobility before installing the ring pin. Once the ring halves fit properly and move freely, slightly sand the top of the post to create a smooth surface. Insert the tip into the small hole, aligning the three parts so the pin is aligned with the hole. Use a small hammer or other object to strike the pin, forcing it into place. Be cautious to keep everything aligned, as a single quick strike should suffice. The ring should be able to open partially once assembled. The rectangular "lock" slides over the posts of the closed ring. Light sanding may be required to make installation and removal easy. The goal is for it to fit snugly, helping to keep things in place while installing the main cage. Finally, insert the cage on top of the post using the key-like piece to lock it in place. The "key" will require some sanding to make installation easy. Alternatively, a standard thin zip-tie can be used in its place. Take care to remove any supporting framework your printer may have created to support the cage. Leaving any sharp pieces behind could lead to an uncomfortable fit. Use common sense and ensure everything fits together smoothly and comes apart easily before use.

With this file you will be able to print Easy Install Male Chastity with your 3D printer. Click on the button and save the file on your computer to work, edit or customize your design. You can also find more 3D designs for printers on Easy Install Male Chastity.
