Easy Ender 3 V2 Display Mount (Tight fit)
prusaprinters
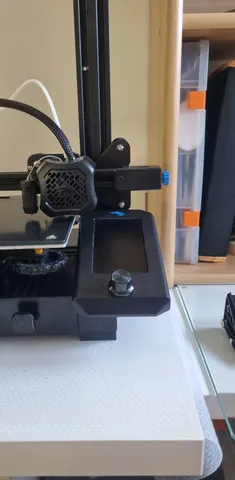
Installation:Print partsRemove original display stand from display & printerRemove black cover from the bottom right aluminium frameInsert printed parts on the 2 pins behind the display (1. Photo: make sure to place parts in the right direction)Insert assembled parts slowly 1 by 1 into the top right extrusion hole of the frameIf needed: Cut the right amount of material of the top right corner from your drawer to not interfere with the display (2. Photo)Place cover back on frame and make sure nothing interferes with printer bed / displayThere might be a little force needed to place the parts in place since I designed it to have a tight fit. To test the stability of the design I did the mandatory wiggle test, applied some force at the corner of the screen but didn't note any problems and seems very stable.Recommended printing parameters:60% Infill0.2mm Nozzle Diamenter No support
With this file you will be able to print Easy Ender 3 V2 Display Mount (Tight fit) with your 3D printer. Click on the button and save the file on your computer to work, edit or customize your design. You can also find more 3D designs for printers on Easy Ender 3 V2 Display Mount (Tight fit).