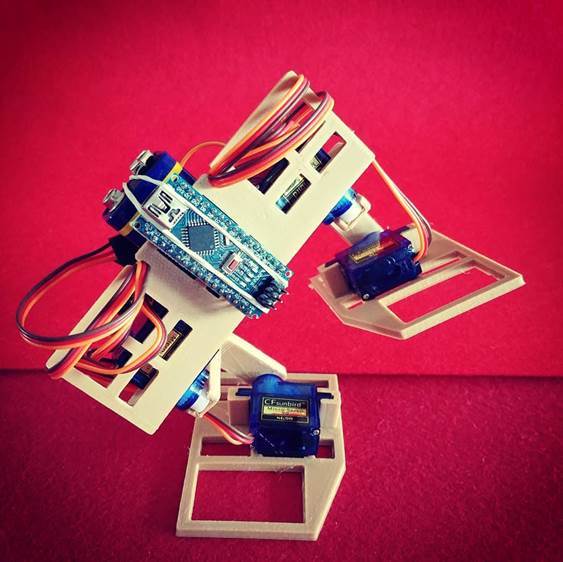
Easy Biped walking robot
thingiverse
Building a Simple 3D Printed Biped Robot is a Fun Project Using SG90 Servos, a 9V Battery, and an Arduino Nano. The first step is to assemble the biped robot's body using the provided 3D printed parts. You will need to attach the servos to the body using the servo mounts, making sure they are securely fastened with screws. Next, connect the SG90 servos to the Arduino Nano and power it up with a 9V battery. Since there is some play in the servo shaft attachments, you'll want to pack them with strips of cardboard to prevent any unwanted movement. To complete the robot's assembly, attach the legs to the body using the provided screws. Make sure they are firmly attached and won't come loose during use. Once assembled, your 3D printed biped robot is ready for action! Just upload the code to the Arduino Nano and watch it move. You can adjust the speed and movement of the robot by tweaking the code in the Arduino IDE. Note: For this project, we recommend using an infill of 100% to ensure the structural integrity of the printed parts. This will give your biped robot a solid base that can withstand repeated use.
With this file you will be able to print Easy Biped walking robot with your 3D printer. Click on the button and save the file on your computer to work, edit or customize your design. You can also find more 3D designs for printers on Easy Biped walking robot.
