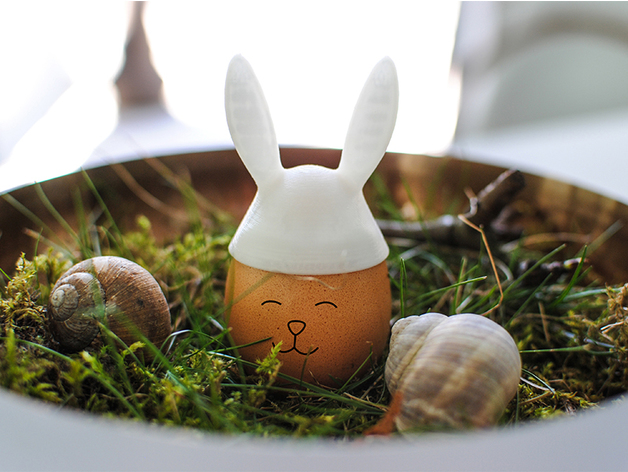
Easter Egg Bunny Helmet
thingiverse
Here's a step-by-step guide on how I designed this Easter egg bunny helmet using Vectary, a powerful 3D modeling platform. Firstly, I started by navigating to the Vectary website and signing in to my account. From there, I clicked on the "Create New Model" button and chose the "Simple Bunny" template as the base for my design. Once the template was loaded into the workspace, I began customizing it by adjusting the bunny's ears, whiskers, and nose to give it a more Easter egg-inspired look. I used Vectary's intuitive tools to resize and reshape these features until they fit perfectly with the overall aesthetic I had in mind. Next, I turned my attention to designing the helmet itself. I started by adding a basic shape to serve as the base of the helmet, using Vectary's polygon tool to create a smooth curve that would provide a comfortable fit for the bunny's head. From there, I added additional details such as the iconic Easter egg logo on the front and a pair of straps in the back to secure it firmly in place. One of the most fun parts of this design process was adding the Easter egg-themed decorations. I used Vectary's texture tool to add colorful patterns and designs to the helmet, making sure that each one was carefully placed to create a cohesive look. I also added some subtle shading and lighting effects to give the model a more realistic appearance. Finally, I exported my completed design as a 3D model and uploaded it to the Vectary website for sharing with others. If you'd like to see the finished product in all its glory, you can check it out here: https://www.vectary.com/u/VECTARYdemo/mr.-bunny
With this file you will be able to print Easter Egg Bunny Helmet with your 3D printer. Click on the button and save the file on your computer to work, edit or customize your design. You can also find more 3D designs for printers on Easter Egg Bunny Helmet.