Easiest CR-10 S/S4/S5 Z-Braces / M8 rods / strong print
thingiverse
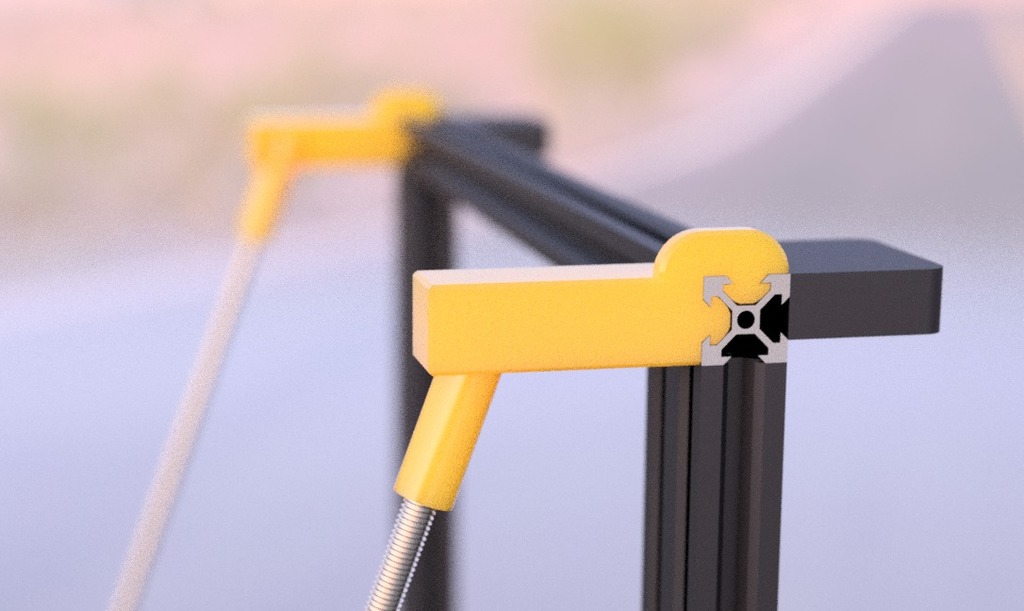
This should be by far the simplest Z-rod upgrade for your printer. * Check out my construction video here: https://www.instagram.com/p/B00FgQPo8bj/ * Be sure to follow me on Instagram: @b03tz3D (instagram.com/b03tz3d) * Here is the download link for STEP files and more: https://a360.co/2YtN8cA * Credit me if you do anything with it. The top brackets are a very precise fit, so be sure not to overextrude or you will need to do some sanding. Everything prints without supports! Printing tips I printed everything at 75% infill, except the screws, which were printed at 85%. But to be fair, if you print with three parameters, you can easily get away with 50% infill or less (don't use less than 30%). It is a very strong mount! I printed all parts at 0.2mm. Stuff you will need The only things you will need are (which you cannot print): - 2x M8 rod (56cm or 22 inches) - 4x M3 screw / bolts For the M3 screws, print these drop-in T-nuts: https://thingiverse.com/thing:3050607. Trust me, they are very strong and can easily handle this job! If you don't want to use them, you can also use M4 with metal drop-in T-nuts if you want. Construction order - Slide in top brackets - Screw the top screws on the M8 rod - Screw the M8 rod into the bottom brackets (make sure it's snug and tight) - Slide the top screws in their slots - Adjust / tension the whole setup (I made it so that it pulls on the frame)
With this file you will be able to print Easiest CR-10 S/S4/S5 Z-Braces / M8 rods / strong print with your 3D printer. Click on the button and save the file on your computer to work, edit or customize your design. You can also find more 3D designs for printers on Easiest CR-10 S/S4/S5 Z-Braces / M8 rods / strong print.