EAGLE KEY RING
thingiverse
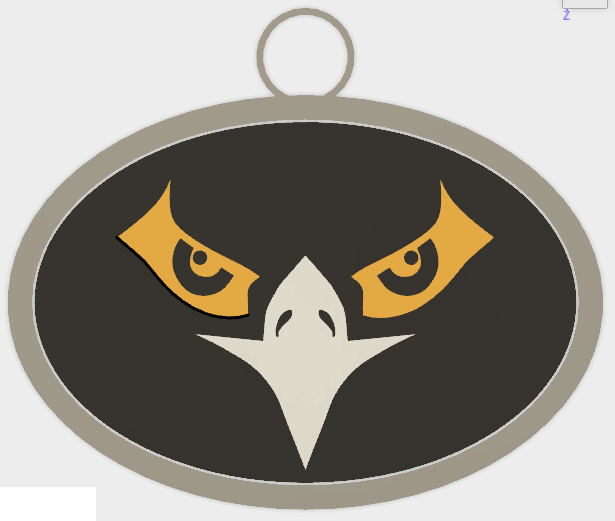
Designing an Eagle Key Ring in Fusion 360 involves several key steps. Firstly, launch Fusion 360 and create a new project by selecting "File" then "New Design." Choose the appropriate unit system, such as Imperial or Metric, depending on your preference. Next, access the modeling workspace by clicking on the "Model" tab located at the bottom of the screen. This is where you will design the key ring's components. Begin by creating a new sketch on the X-Y plane by selecting the "Sketch" tool and choosing the "2D Sketch" option from the drop-down menu. Draw two lines to form the shape of the eagle's wings, ensuring they are symmetrical about the Y-axis. Use the "Rectangle" tool to draw a rectangle for the key ring's body, positioning it at the center of the sketch. Add two more rectangles on either side of the body to create the wing tips. Use the "Union" tool to combine all these shapes into one solid object. Select the entire shape and click on the "Extrude" tool to give it depth. Set the extrusion height to 2 inches, which is sufficient for a standard key ring. With the eagle's body now having depth, access the "Features" tab in Fusion 360 and select the "Boss" tool. This will allow you to add details such as eyes and beak. Use the "Circle" tool to draw two circles for the eyes and a smaller circle for the beak. Once all the features are added, use the "Hole" tool to create a hole in the center of the eagle's body where the key can be inserted. Position this hole at 1 inch from the top of the body, which is typical for key rings. Finally, access the "Assembly" tab and add a small cylindrical object as the key. Place this key into the hole you created earlier to complete your eagle key ring design in Fusion 360.
With this file you will be able to print EAGLE KEY RING with your 3D printer. Click on the button and save the file on your computer to work, edit or customize your design. You can also find more 3D designs for printers on EAGLE KEY RING.