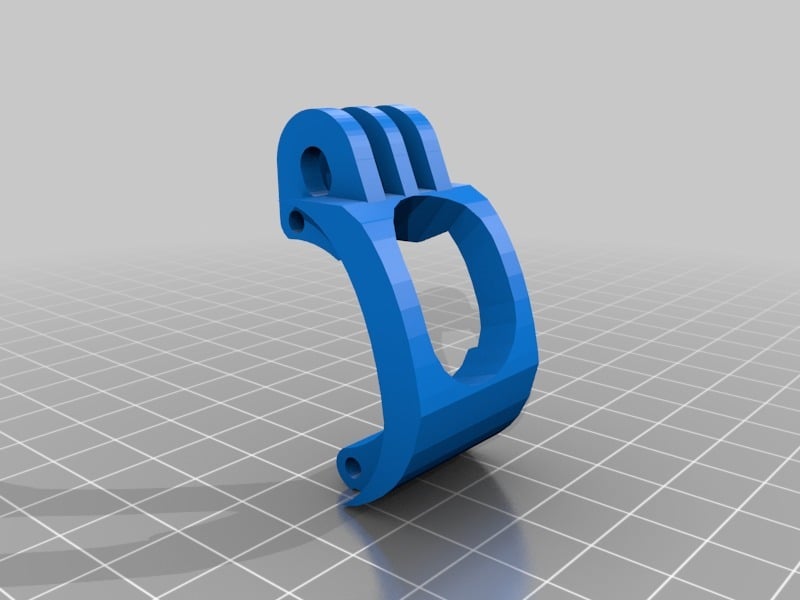
Eachine Tyro99 - GoPro mount
thingiverse
Supporting the attachment of a GoPro to a Tyro 99 system requires attention to detail and a few simple steps. First, ensure that your GoPro is properly secured with its standard adhesive mount or one of the many available accessories designed specifically for this purpose. Next, identify the mounting points on your Tyro 99 system where you can attach the GoPro. Typically, these are located at strategic positions such as near the helmet's face shield or on the side rails, providing a clear view and minimizing obstruction. Using the provided screws or clips, firmly secure the GoPro mount to the designated spot. Make sure it is tightly fastened to ensure stability during use. After attaching the GoPro, power it on and configure it according to your preferences for resolution, frame rate, and other settings. Then, test the system by taking a few shots to verify that everything is functioning correctly. In addition to the standard attachment process, some users may opt to utilize third-party mounts or accessories specifically designed for their Tyro 99 system. These can provide additional mounting options or enhance the overall stability of the GoPro. It's worth noting that certain models of GoPros may have specific requirements or restrictions when it comes to attachments and usage on a helmet-mounted system like the Tyro 99. Be sure to consult your device's user manual for any relevant information.
With this file you will be able to print Eachine Tyro99 - GoPro mount with your 3D printer. Click on the button and save the file on your computer to work, edit or customize your design. You can also find more 3D designs for printers on Eachine Tyro99 - GoPro mount.