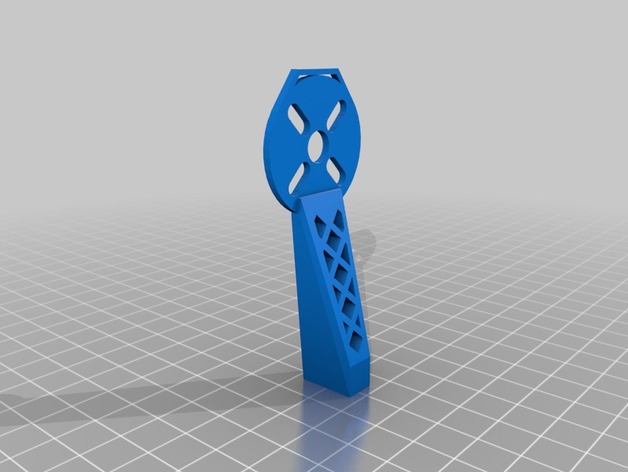
Eachine Falcon 250 legs
thingiverse
Installing new landing gear on your Eachine Falcon 250 is a straightforward process that requires minimal tools and expertise. First, locate the existing legs under the quadcopter's frame. They are typically held in place by small screws or clips. Remove these fasteners to release the old legs from their mounts. Next, take the replacement legs and align them with the same mounting points on the frame. Make sure they are properly seated and not twisted before securing them with the same type of fasteners you removed earlier. Tighten the screws firmly but avoid overtightening, as this can damage the surrounding material. Once both legs are securely attached, double-check that your Eachine Falcon 250 is stable and level on a flat surface. The new landing gear should provide improved stability and support for your quadcopter during takeoffs, landings, and hovering in place.
With this file you will be able to print Eachine Falcon 250 legs with your 3D printer. Click on the button and save the file on your computer to work, edit or customize your design. You can also find more 3D designs for printers on Eachine Falcon 250 legs.
