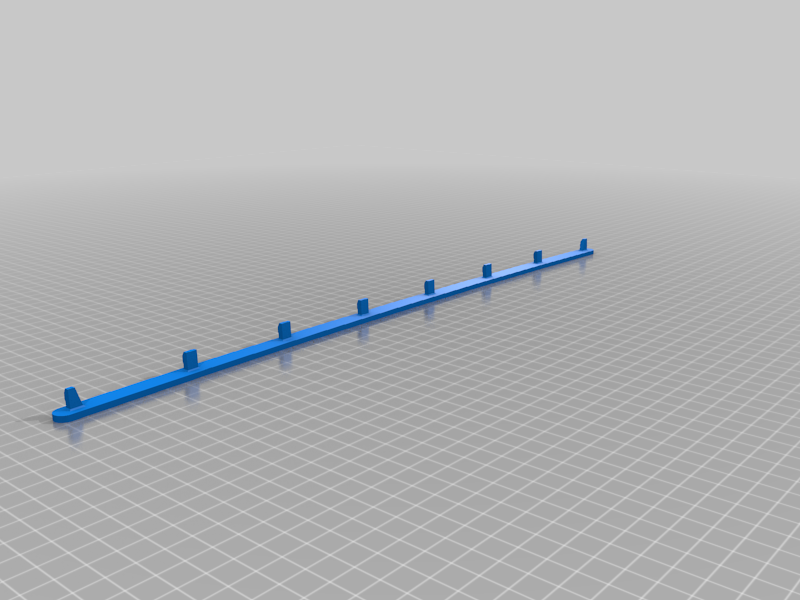
E46 A-Pillar Cover Lid
thingiverse
When replacing the A-Pillar lid on an E46, it's essential to take into account whether the original component is broken or if you've used a sponged cloth during reupholstering. To compensate for this added material, the replacement part should be 1mm narrower. To attach the new part, start by printing it out and then applying contact glue spray to both surfaces. Allow the solvents in the spray to dry completely for about 5-10 minutes, or until you're confident they've evaporated - I personally waited seven minutes to ensure everything was secure. Next, apply Loctite to the back of the part and use your fingers or a spatula to firmly press it into place. Once this is done, position the A-Pillar lid correctly and appreciate your OEM-style cover in all its glory.
With this file you will be able to print E46 A-Pillar Cover Lid with your 3D printer. Click on the button and save the file on your computer to work, edit or customize your design. You can also find more 3D designs for printers on E46 A-Pillar Cover Lid.
