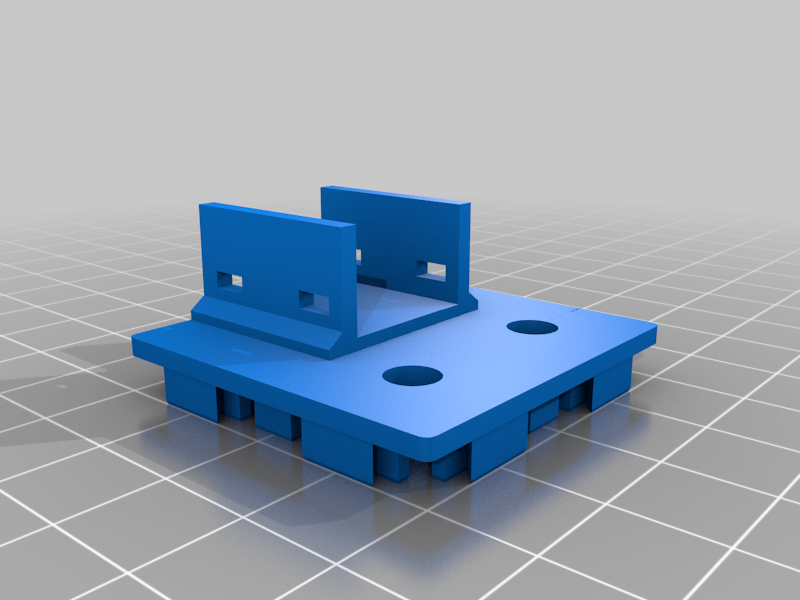
E3V2_4040_Cable_Chain_Cap
prusaprinters
<p>This object was made in Tinkercad. Edit it online <a href="https://www.tinkercad.com/things/g6mrlttqMjA">https://www.tinkercad.com/things/g6mrlttqMjA</a></p> <h3>Print Settings</h3> <p><strong>Printer Brand:</strong></p> <p>Creality</p> <p class="detail-setting printer"><strong>Printer: </strong> <div><p>Ender 3 Pro</p></div> <p><strong>Rafts:</strong></p> <p>No</p> <p class="detail-setting supports"><strong>Supports: </strong> <div><p>No</p></div> <p><strong>Resolution:</strong></p> <p>0.2</p> <p class="detail-setting infill"><strong>Infill: </strong> <div><p>20%</p></div> <p><strong>Filament:</strong> Smith3D PLA Red</p> <p><br/> <p class="detail-setting notes"><strong>Notes: </strong></p> </p><div><p>End cap anchor for the extruder and hotend cables. The layout of the components of the E3V2 is slightly different than the E3/Pro so I remixed 2 parts to anchor the start of the extruder & hotend cables to the 4040 cap : </p> "V-Slot 4040 End Cap" by Bobnet (<https: thing:1758728="" www.thingiverse.com="">) and "cableChain\_bedCorner\_v2" by johnnywhiskie (<https: thing:2920060="" www.thingiverse.com="">). <p>It was initially printed it without the holes, but the fit was a little too loose with the tension from the cable on the chain. So I drilled 2 holes and fixed with M5 bolts. The holes were only added after, so please check for correctness before you print the entire model.</p> <h3>Post-Printing</h3> </https:></https:></div></p></p></p> Category: 3D Printing
With this file you will be able to print E3V2_4040_Cable_Chain_Cap with your 3D printer. Click on the button and save the file on your computer to work, edit or customize your design. You can also find more 3D designs for printers on E3V2_4040_Cable_Chain_Cap.
