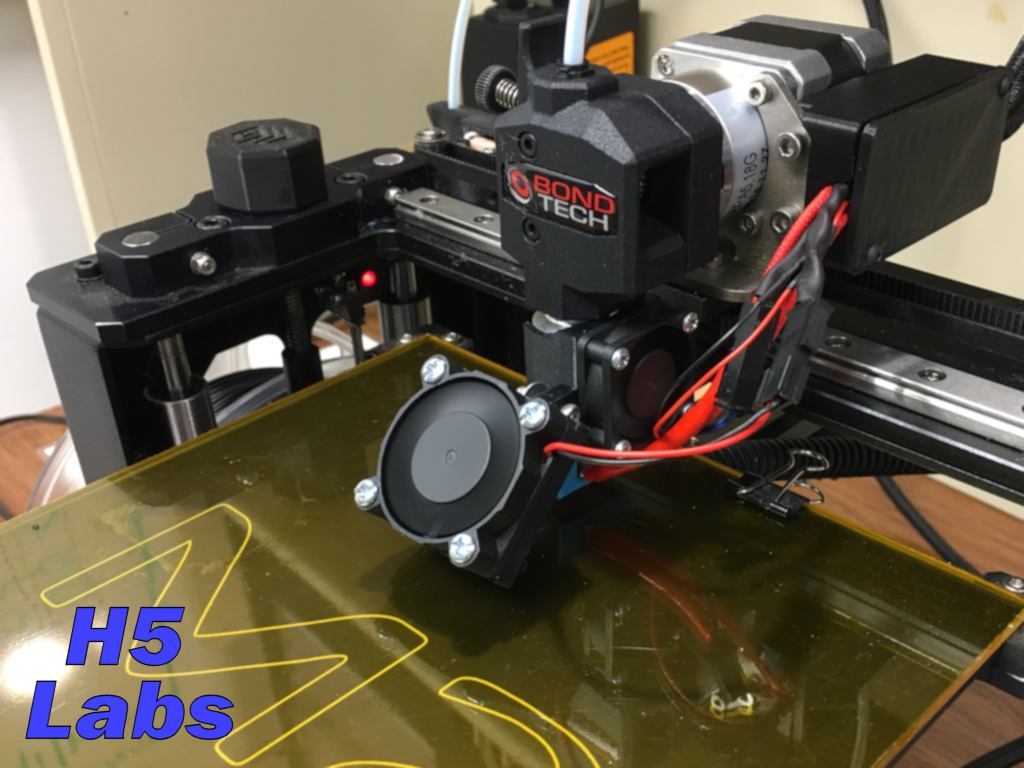
E3D V6 - Slim heat break and filament cooler
thingiverse
This is a compact-profile (left-to-right) fan mount system for the E3D V6 hot end, utilizing a 30mm fan to cool the heat break. The system also incorporates a 40mm fan for filament cooling, leveraging the same fans that come with the E3D V6 hot end. This adaptable fan mount system can be used on any machine employing the E3D V6 hot end. I designed it specifically to enable my modified MakerGear M2 to utilize a mirrored BondTech QR extruder and an E3D V6 hot end without sacrificing X or Y travel distance. Note that upgrading your M2 to the BondTech extruder and E3D V6 hot end requires updating firmware settings, cutting the aluminum mounting plate on the X-axis for clearance, rewiring the extruder stepper connector, enlarging the extruder stepper connector cutout in the black plastic wire junction box, and extending the X-axis homing bump-stop by 10.3mm. The fan mount system is easy to print and assemble, consisting of just two printed parts. Two different heat break mount designs are included: one for the original E3D V6 (22.3mm diameter) and another for the Chinese version (25mm diameter). I'm using the original design, but the Chinese variant has been included in case anyone needs it. To assemble the system fully, you'll need to print one of the two heat break mount designs and the filament blower design. An AutoDesk 123D design file is also provided, allowing users to modify fan mounting hole patterns if their fans have slightly different spacings. For the fans, I used the 30mm fan and screws that came with the E3D V6 (25mm hole spacing), along with the 40mm fan from the M2 originally used for extruder cooling. The 40mm fan was mounted using #6 x 5/8" sheet metal screws (32.5mm hole spacing). If your fans have different spacings, you can use the attached 123D file to adjust it. To assemble the heat break mount, I recommend using two M3 x 16mm (or #6 x 5/8") or longer machine bolts, washers, and nuts. The height is adjustable by a few mm. First, assemble the fans to their respective pieces, noting proper fan direction and orientation for wiring. Then, loosely assemble the two fan assemblies together using M3 hardware. Snap the assembly onto the E3D V6 heat break and zero your Z-axis. Adjust the height of the filament blower so that it rides about 1 to 2mm above the bed and tighten the screws.
With this file you will be able to print E3D V6 - Slim heat break and filament cooler with your 3D printer. Click on the button and save the file on your computer to work, edit or customize your design. You can also find more 3D designs for printers on E3D V6 - Slim heat break and filament cooler .
