E3D v6 Mount for DreamMaker OverLord
thingiverse
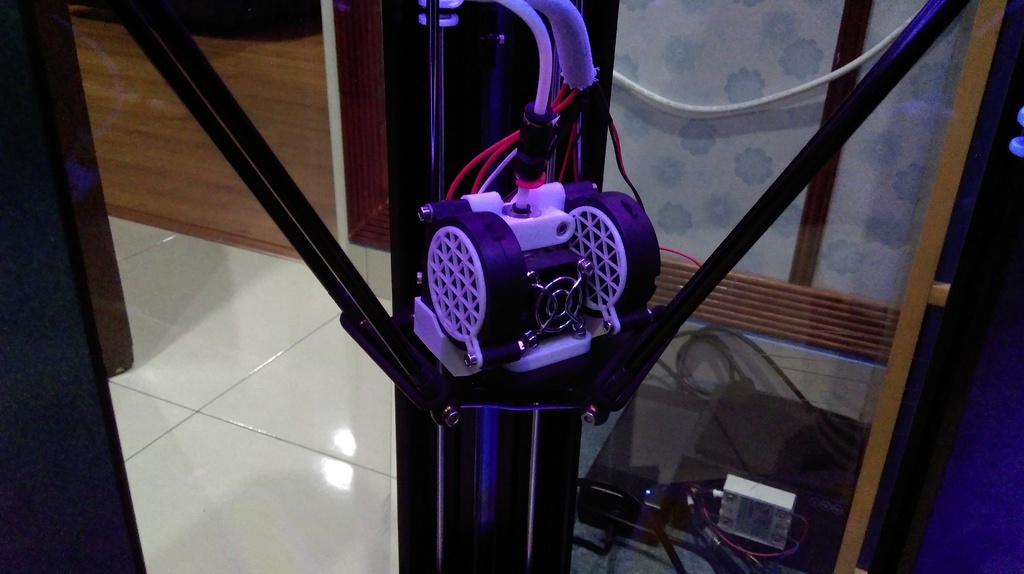
Print: 1 x Body 1 x Body Lock 1 x Fan Duct for left blower fan 1 x Mirrored Fan Duct for right blower fan 2 x Blower Guard Screws: 2 M3 screws and 2 nuts to attach the Body and the Body Lock. 2 M3 screws and 2 nuts to secure the Blower Guard to the blower fan. 2 self-tapping M3 screws to connect the blower fans to each side of the Body. 4 M3 screws are required to attach the mount to the printer's carriage. Blower Fans: 5015 24V For added rigidity, print the Body and Body Lock with at least two to three perimeters and 20-30% infill. Supports may be necessary for the angle overhang of the Body. Print the Blower Guard with three perimeters but without a top or bottom layer. Choose your preferred infill percentage and pattern. Assemble all printed parts together with blower fans and hotend, leaving out the heat sink cooling fan and bowden tube. Attach the assembled mount to the printer's carriage using screws. Finally, add any remaining components. No additional bed leveling calibration is required. Simply calibrate your Z offset using Pronterface. The fans are quite loud when running at full speed, but they produce a lot of airflow. FYI 1: Everything was printed with PLA, as that was the only material available at the moment. So far, everything has been working well except for the right Blower Duct, which is slightly deformed at the end due to heat from the heater block. FYI 2: This printer uses E3D hotend components (heat sink and heater block), not the E3D upgrade parts from DreamMaker. The heater block from DreamMaker appears larger, so results may vary.
With this file you will be able to print E3D v6 Mount for DreamMaker OverLord with your 3D printer. Click on the button and save the file on your computer to work, edit or customize your design. You can also find more 3D designs for printers on E3D v6 Mount for DreamMaker OverLord.