E3D-V6 Heat Shield Silicone Mold
thingiverse
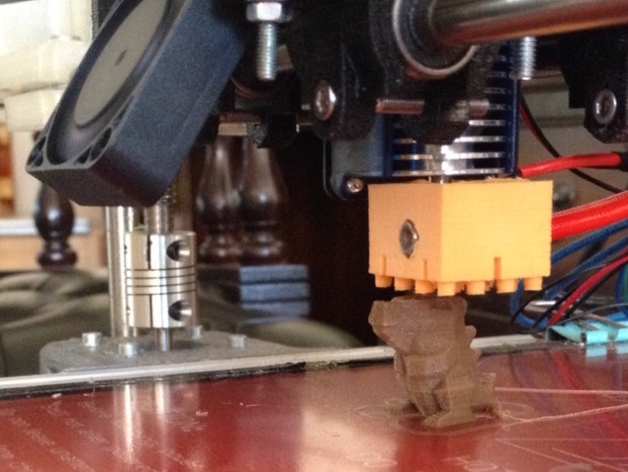
A silicone mold is used to make heat shields for the E3D-V6 nozzle. Update 9/25-15: Printing with the silicone shield has been ongoing for several hours now, and it's performing admirably well. Full speed on the fan after layer one results in no jams whatsoever. Making the shield requires a few steps: 1) Print the inside part first 2) Remove the supports afterward 3) Attach clear tape to the underside of the mold, ensuring the silicone stays put 4) Fill all holes with some added silicone 5) Insert the inside part into the mold and add more silicone 6) Place a heavy object on top to prevent buoyancy from causing it to float upwards during curing 7) A screw is then inserted for traction, gently pulling out the old 8) Remove the inside piece and trim any excess Mounting it to the hot end is equally straightforward: 1) The temperature sensor can stay in place as there's room in the silicone for the wires 2) Loosen the heater bolt, remove it, and make space 3) Install the silicone shield over the hot end 4) Reinsert the heater, securing it firmly The purpose of those pegs at the bottom is to decelerate airflow around the nozzle. However, creating a wall in front can result in turbulence behind, rapidly cooling it down - or so theory claims. As with bushes and trees, this would be more efficient for shelter than any building or wall. For now, I use CopyFlex rated for 240 C, despite only printing PLA. Higher-rated materials might become necessary for other applications though. This is a singular experience; only time will reveal long-term effects - rest assured I'll keep you updated.
With this file you will be able to print E3D-V6 Heat Shield Silicone Mold with your 3D printer. Click on the button and save the file on your computer to work, edit or customize your design. You can also find more 3D designs for printers on E3D-V6 Heat Shield Silicone Mold.