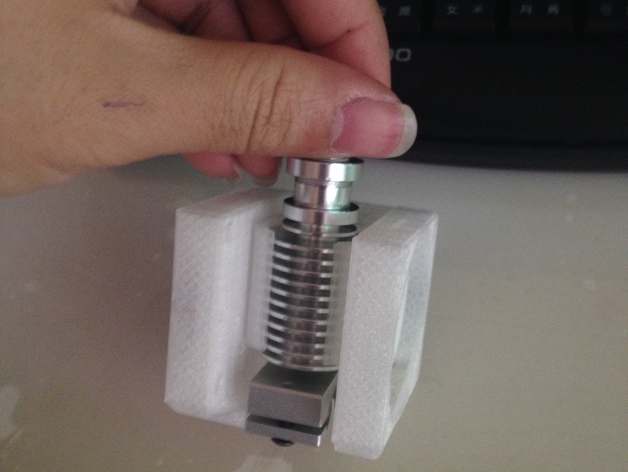
E3D V6 Fans
thingiverse
Here is a fresh and new set of assembly instructions specifically tailored for SolidWorks 2015. To properly integrate your E3D V6 Fan Tray into a 3D printed environment, start by importing the part into your software. Begin by selecting 'Part' under the toolbar and navigate to where you saved the file on your computer. Select the imported geometry by right-clicking on it within the modeling environment. Access the SolidWorks Toolbox via the 'Assembly' tab located at the top of the user interface. From this section, access the 'Mate Controller'. The controller allows for complete management over any motion or action required in order to achieve accurate fitment with parts. To create an appropriate constraint model within SolidWorks, make certain that you select the entire V6 assembly and choose "Mate" option while working through the modeling process. You may also want to add "Locks", this can assist further solidifying component connections within your model.
With this file you will be able to print E3D V6 Fans with your 3D printer. Click on the button and save the file on your computer to work, edit or customize your design. You can also find more 3D designs for printers on E3D V6 Fans.
