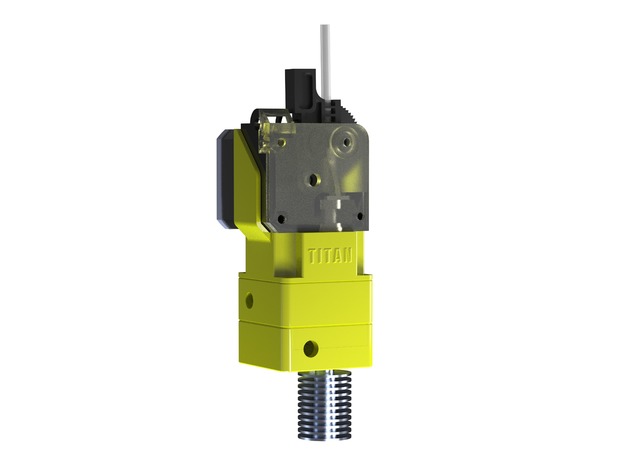
E3D Ultimaker Direct Titan Upgrade
thingiverse
THERE IS A NEW VERSION: https://www.thingiverse.com/thing:2749539 Want to add a Direct(ish) Titan Extruder to your Ultimaker 2? Then this is exactly what you need! You will have to add a length of PTFE (4mm OD) from the extruder down into the hot end, making sure it's securely in place. I recommend running a 4mm drill through the hole in the Titan fixture for added precision. There are some cable tie mounts available for all the electronics as they will no longer fit through the head. A thoughtful touch to keep everything organized and within reach. Important note: Remember to install the knurled long bolts before attaching the motor and extruder! This ensures a secure and stable connection from the start. 23/03/2017 - Version 2 is now live, with added support for the extruder which was previously pushing itself up. The design has been printed and thoroughly tested. Watch it in action! https://youtu.be/oXtv71BKYUk Print Settings: Printer: BigBox Rafts: No rafts are needed. Supports: Supports are not required. Resolution: Use a resolution of 0.18mm for optimal results. Infill: Print with an infill of 30% for added strength and durability. Notes: The print settings should make little to no difference in the overall outcome, but feel free to experiment if you have specific requirements.
With this file you will be able to print E3D Ultimaker Direct Titan Upgrade with your 3D printer. Click on the button and save the file on your computer to work, edit or customize your design. You can also find more 3D designs for printers on E3D Ultimaker Direct Titan Upgrade.
