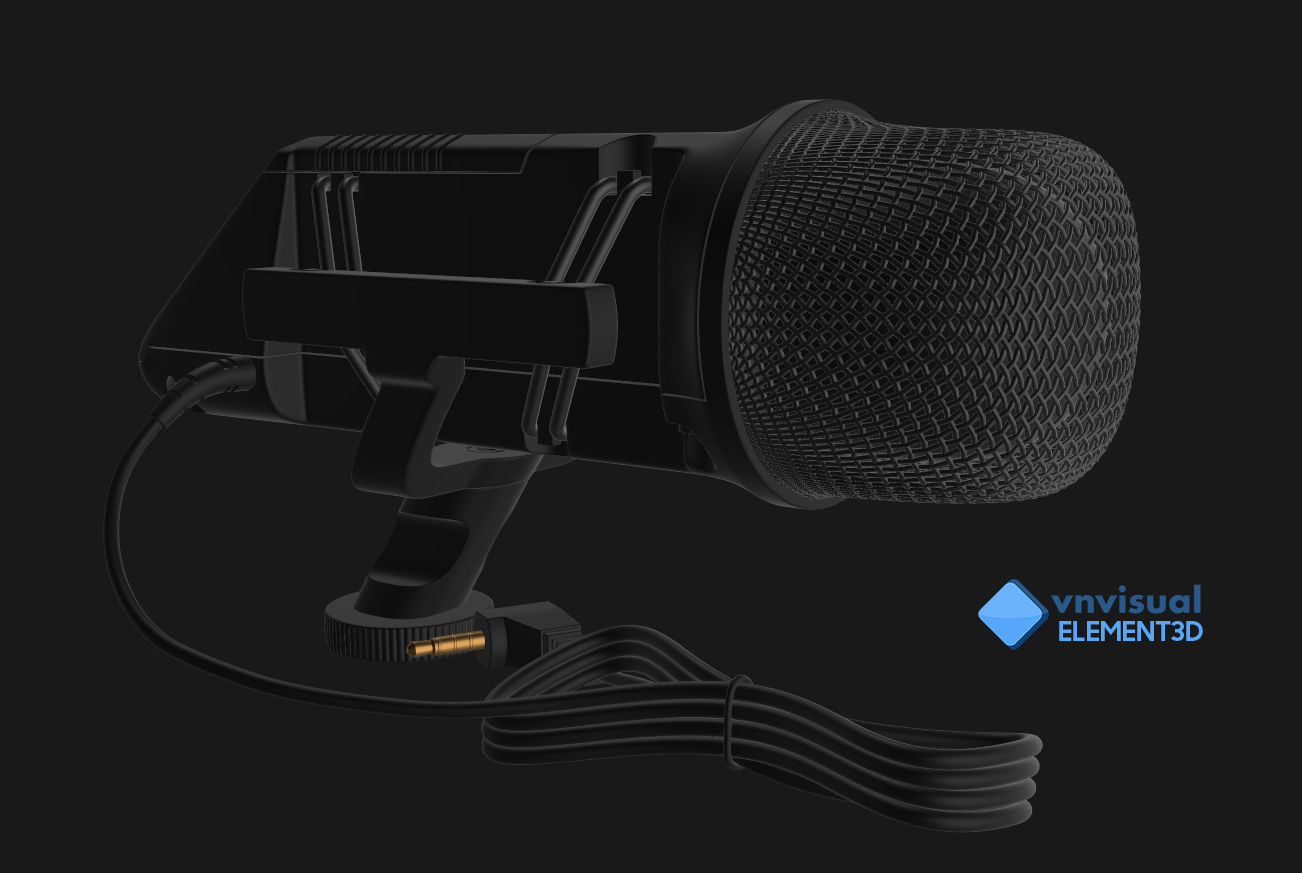
E3D - RODE Stereo VideoMic Microphone 3D model
cgtrader
Element 3D V2.2 offers a straightforward and user-friendly experience with its all-colors models preset. The E3D file comes equipped with a full materials setup, mirroring what's seen in previews. To get started: Open After Effects CC 2014 or higher and create a new composition. You'll need Element 3D V2.2 to utilize this feature. Create a new Solid layer and add the Element effect by navigating to Effect > Video Copilot > Element. Click on Scene Setup within Element 3D scene setup. Choose my .e3d preset for the model, then press Open inside Element 3D scene setup. If you don't see the model, remember to right-click on the model name and select Replace model. Then, choose the .obj model file from the respective models folder.
With this file you will be able to print E3D - RODE Stereo VideoMic Microphone 3D model with your 3D printer. Click on the button and save the file on your computer to work, edit or customize your design. You can also find more 3D designs for printers on E3D - RODE Stereo VideoMic Microphone 3D model.