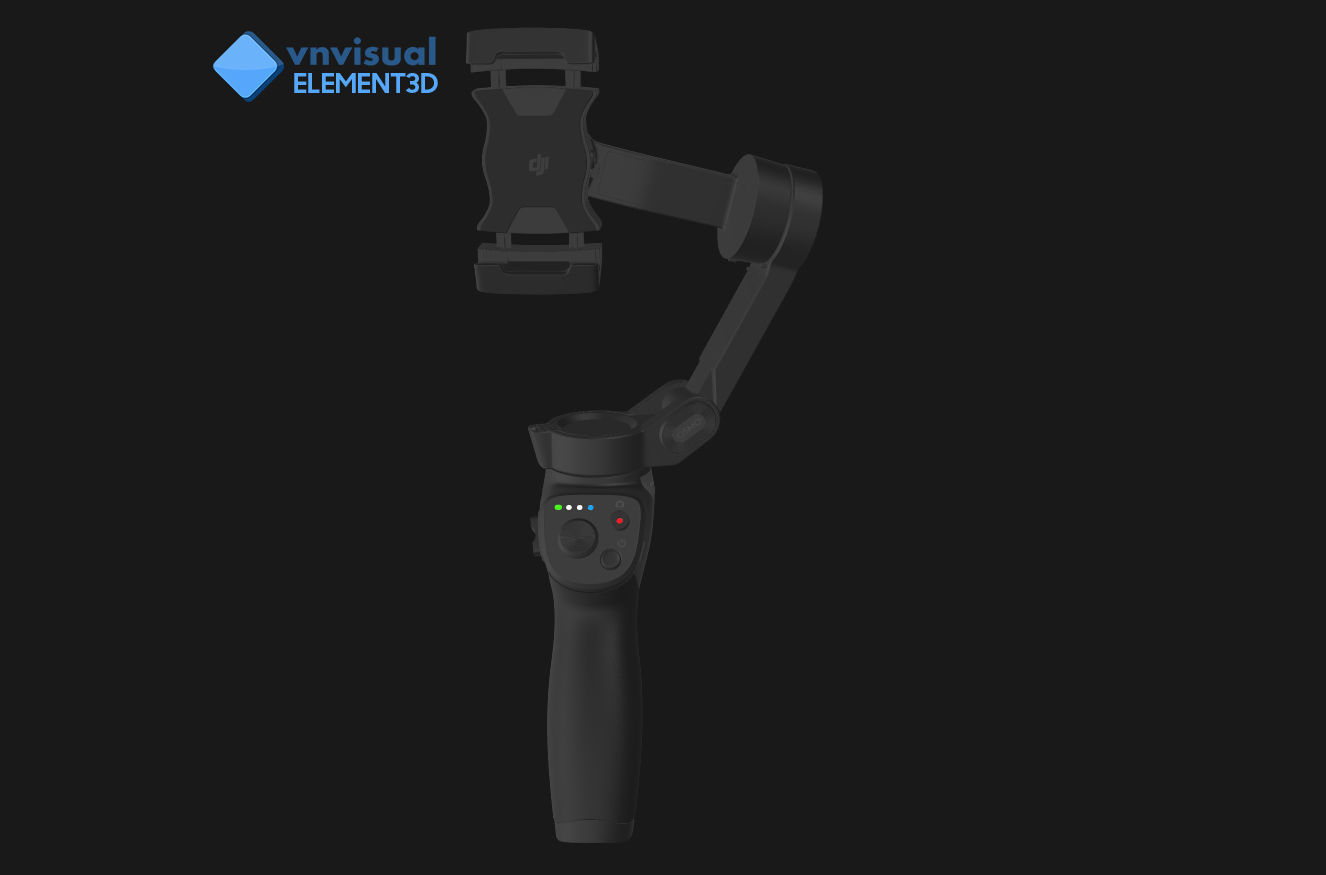
E3D - DJI Osmo Mobile 3 3D model
cgtrader
Element 3D V2.2: A Comprehensive User Guide Mastering Element 3D V2.2 has never been easier, thanks to its intuitive all-colors preset design. Every detail is meticulously crafted for seamless integration into your After Effects workflow. This preset includes a full materials setup, replicating the exact look of the preview. To further enhance your experience, we've included an OBJ 2015 file, ensuring compatibility with various platforms. Getting Started: 1. Begin by launching After Effects CC 2014 (or higher). Create a new composition to start working on your project. 2. Ensure that Element3D V2.2 is installed and accessible within your After Effects environment. 3. Navigate to the Effect tab and locate Video Copilot > Element. Add this effect to your Solid layer. 4. Click Scene Setup and then select IMPORT from the dropdown menu within the Element 3D scene setup. 5. Browse through your preset library, select the desired .e3d preset for the model, and click Open to apply it. 6. In case you encounter issues with the model not loading, right-click on the model name within the Element 3D scene setup and choose Replace Model. Then, locate the corresponding OBJ file in the respective models folder and select it. By following these straightforward steps, you'll be well on your way to harnessing the full potential of Element 3D V2.2.
With this file you will be able to print E3D - DJI Osmo Mobile 3 3D model with your 3D printer. Click on the button and save the file on your computer to work, edit or customize your design. You can also find more 3D designs for printers on E3D - DJI Osmo Mobile 3 3D model.
