E3D 6v For Da Vinci 2
thingiverse
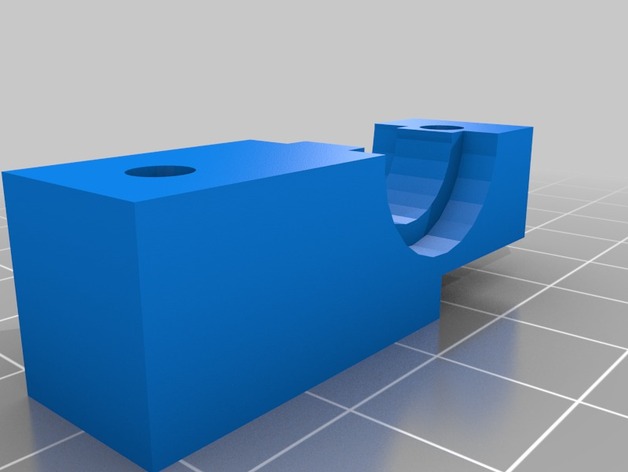
This is a remix of http://www.thingiverse.com/thing:608560 for the Da Vinci 1. My instructions still apply but I suggest you use this thing to download from, http://www.thingiverse.com/thing:1344230. I made some key changes for the Duo's design; first, I revised the drill template so that holes align differently due to changed locations on the machine. Then I slightly lengthened "Head A" by a bit, allowing filament alignment with the drive gear. This helps facilitate filament loading, as seen in images. Lastly, added pockets on "Head B" accommodate 30 mm screws effectively. Please visit voltivo.com/forum/davinci-hwmods/353-replace-the-extruder-hot-end#2749 for comprehensive instructions and detailed guides for implementing this modification. If you plan to carry out the same changes, consider using these tools: A Dremel (or equivalent) for drilling through plastic, four M3 screws (diameter: 3 mm, pitch:.50 mm), two E3D v6 Extruders, several zip ties, and other supplies listed in instructions. Also necessary are a drill and alternative tool to cut hard plastics. Print two clamping sets, one for each extruder, using the provided template. Note that large circles around stepper motor shafts have not been drilled but scored lightly with Dremel, as depicted in pictures. The metal arms need 3mm washers inserted between plastic parts to prevent jams or blockages in filament flow. Failing this, you risk causing the drive gear to spin without advancing the filament.
With this file you will be able to print E3D 6v For Da Vinci 2 with your 3D printer. Click on the button and save the file on your computer to work, edit or customize your design. You can also find more 3D designs for printers on E3D 6v For Da Vinci 2.