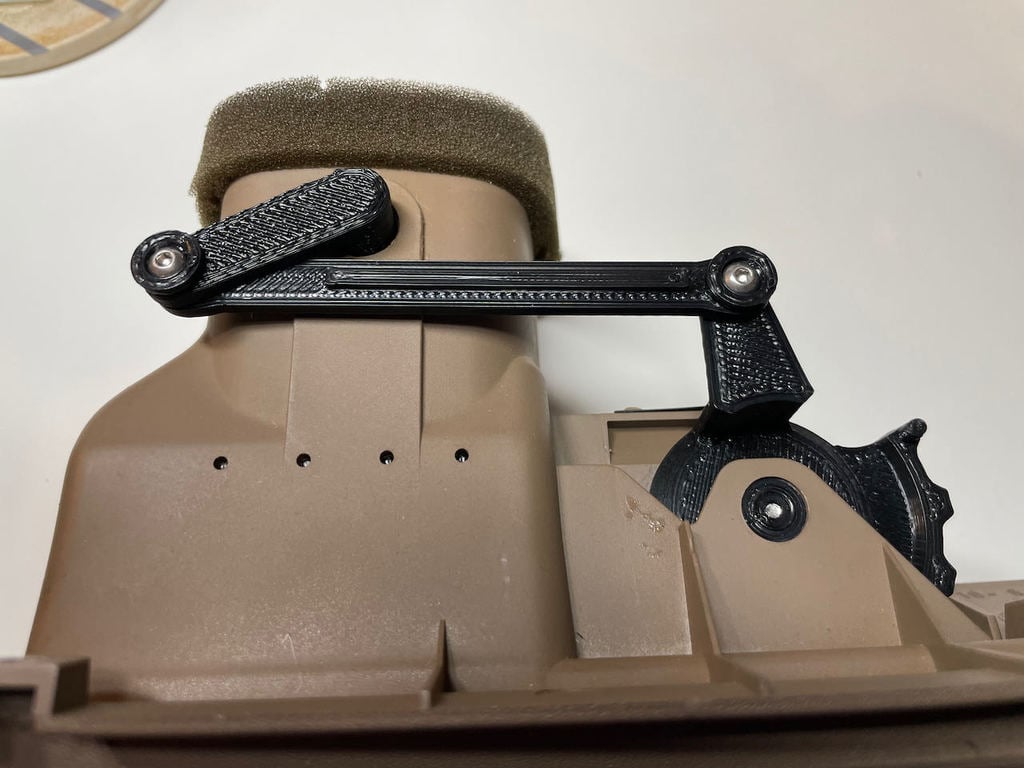
E36 Passenger Vent Controls
thingiverse
If you've owned an old BMW you know the plastic loves to just disintegrate. I was lucky enough to find a design that I remixed that was 80% there but needed some work. I made some adjustments and now works great and easy to assemble. I appreciate the work the original designer put into it to get me this far. For full assembly you will need to print the following: - 1x E36 Passenger Vent Knob - Left - 1x E36 Passenger Vent Knob - Right - 2x E36 Passenger Vent Lever - 4x E36 Passenger Vent Washer - 2x E36 Passenger Vent Knob Bushing Also needed: - 4x M3x8 Button Head Screws (use with E36 Passenger Vent Washer) - 2x M3x10 Button Head Screws (use with Passenger Vent Knob Bushing) Assembly video here (no sound): https://youtu.be/IumhXhk1Wwo Notes for Assembly: - Slightly pry on housing to slide the E36 Passenger Vent Knobs in. - Connect E36 Passenger Vent Connector and E36 Passenger Vent Lever before installing lever. - When installing E36 Passenger Vent Lever, ensure tabs of vent damper are aligned with the recesses in the lever before pressing in. - If lever assembly is too tight when trying to work it, slightly loosen the washer screws 1/2 turn. - Add some white paint to the marker on the front of the knob if you prefer. Printing Notes: - This was designed around printing with ABS and using a .6 nozzle, .4 layer height. Printing with other material and/or nozzle may require alterations or slight adjustments to scale.
With this file you will be able to print E36 Passenger Vent Controls with your 3D printer. Click on the button and save the file on your computer to work, edit or customize your design. You can also find more 3D designs for printers on E36 Passenger Vent Controls.
