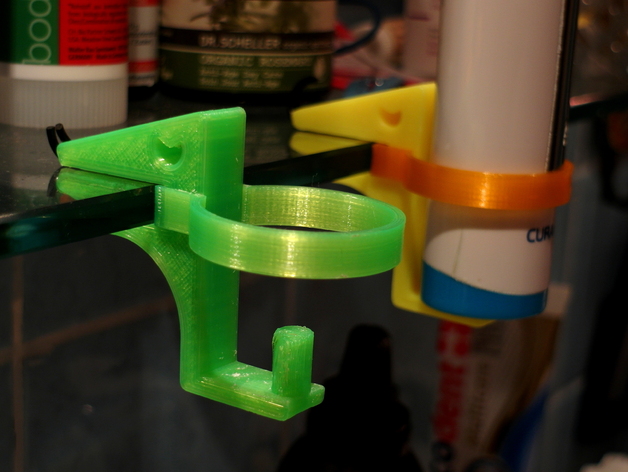
E.T.C - Reloaded - Dragon Style
thingiverse
I'm upgrading my previous project: http://www.thingiverse.com/thing:251150. Check out the full story behind this sequel. Since I've been using the original version daily, I've noticed some issues that need to be addressed. First off, the clamps tend to break at the bottom clamp part. So, I redesigned them to make them stronger. I added an eye shape and it's now a dragon head; I'm pretty excited about it. Another problem was that the clamps start to slip on the glass when the tension of the clamp loses its grip. The print I used is not flexible like iPhone 6 glass, and doesn't bend back either. But, that's okay because it breaks after just a few bends anyway. To fix this issue, I added four slots in the clamp where you can place once-cut o-rings. The design also got a bit of an overhaul - now, the ring is fixed securely within the clamp instead of slipping into a small slot that was bound to break. That was just asking for trouble! So, let's get started with the instructions: Printing recommendations: It's best to print this clamp at 0.2mm layer height. If you try 0.3mm, the slots might not come out as precise and your printer will be printing "in air" on the overhangs of the slots. The pin needs a little support while printing. When it comes to O-rings, ones with a strength of 2.5mm fit perfectly in the slots. To achieve the right tension, simply use two of them - mounting is tricky when you try to put them both on at once! You can either gather some extra material from around your workshop or glue the ring segments together beforehand.
With this file you will be able to print E.T.C - Reloaded - Dragon Style with your 3D printer. Click on the button and save the file on your computer to work, edit or customize your design. You can also find more 3D designs for printers on E.T.C - Reloaded - Dragon Style.
